
Creating Multiple Cones
Now that you’ve created one cone, I’m going to show you how you can create others and position them in different locations on your screen. I’ll also demonstrate that you can give your cones any names you’d like. Start off by deleting the cone you created earlier by erasing this code in your program:
; This is the code for creating the cone
cone=CreateCone()
PositionEntity cone,0,0,5
Now replace that code with the following, and run it once you are finished.
;Create and position four cones
coneleft = CreateCone()
PositionEntity coneleft,-3,2,5
apple = CreateCone()
PositionEntity apple,3,1,5
cone = CreateCone()
PositionEntity cone,-3,-2,5
coneyisland = CreateCone()
PositionEntity coneyisland,0,0,5
You should end up with the same display of cones as seen in Figure 5.9.
Figure 5.9. The demo05-02.bb program.
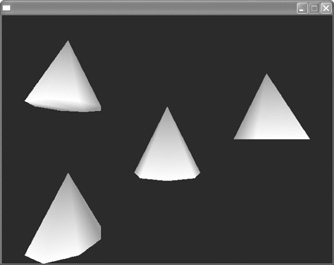
Notice that some of the cones have names that have nothing to do with cones at all. Remember that they are just names, and you can call them whatever you’d like, as long as it makes sense to you and others with whom you might be sharing the program code.
However, these strange names were only used for demonstration purposes. As we talked about in Chapter 4, it is better to only call the cones names that make sense, like cone1, cone2, cone3, etc.
Note: Identifiers
The names that you give to your objects are called identifiers.
You have noticed that some of the cones you created in the last step (see Figure 5.9) appear to be skewed. It’s not that the shapes of the cones are altered, it’s just that you’ve moved them around in your 3D world while your source of light and your camera have remained in the same spot. I’ll cover cameras and lighting a little later on in the book.