Welcome Screen
The Welcome screen that we’ll create includes the name of our game and instructions on how to control the game. We will actually use this Welcome screen in the final game that we create in this book. After the Welcome screen is created, we will export it to a format that can be understood by Blitz3D.
Launch CorelDRAW and click New in the Welcome screen that appears. The first thing that we need to do is change the units of measurement to pixels. In the Units drop-down menu in the Property bar, select Pixels, as in Figure 8.30.
Select the Rectangle tool from the toolbox on the left side of the screen and click and drag a rectangle onto the page. It doesn’t matter how big you make the rectangle since we are going to adjust this momentarily.
In the Property bar, change the dimensions of your rectangle to 1024 by 768, as in Figure 8.31. This will ensure that our Welcome screen will take up the entire screen when we later import it into our game.
With the rectangle still selected, click on the color Yellow in the Colors palette on the right side of the screen. The rectangle should now be yellow. Press Shift+F2 to zoom in to the rectangle.
Select the Text tool (the letter A button) from the toolbox on the left side of the screen and click anywhere inside the rectangle. A cursor should begin flashing inside the rectangle. Click the Font Size drop-down menu from the Property bar and select 48, as in Figure 8.32.
Note: Font
In addition to changing the font size, you can also change the font face by clicking on the Font drop-down menu in the Property bar and selecting a different font.
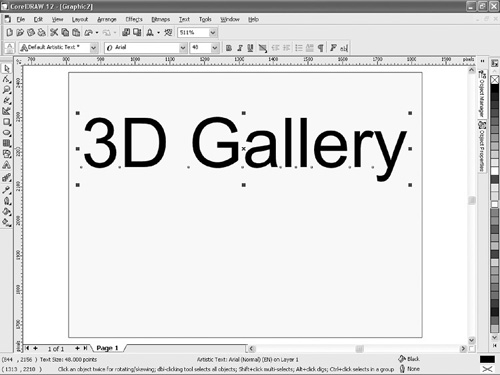
Type the words “3D Gallery” and then select the Pick tool (the white arrow at the top of the toolbox on the left side of the screen). A series of black boxes called handles will appear around the text.
Position the mouse pointer over the x in the middle of the text and click and drag it until it is positioned as in Figure 8.33.
Figure 8.33. Position the words “3D Gallery” in the top third of the rectangle, as shown here.
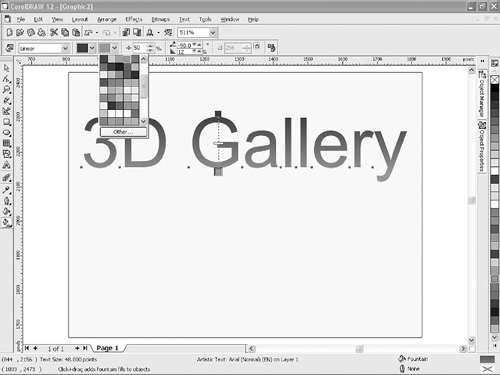
Click on the Interactive Fill tool (the bottom tool in the toolbox). Position the mouse pointer at the top of the G in “Gallery” and click and drag downward until you reach the bottom of the G. Two little colored boxes should appear—one at the top and one at the bottom of the G, as shown in Figure 8.34.
Figure 8.34. Click and drag from the top of the G to the bottom using the Interactive Fill tool.

In the Property bar you should notice two Fill drop-downs: one that is black and another that is white. Click on the Fill drop-down list on the left and select a dark blue from the menu that appears. Click on the Fill drop-down list on the right and select a light-blue color, as shown in Figure 8.35.
Figure 8.35. Select the two colors for your text from the Fill drop-down menus.
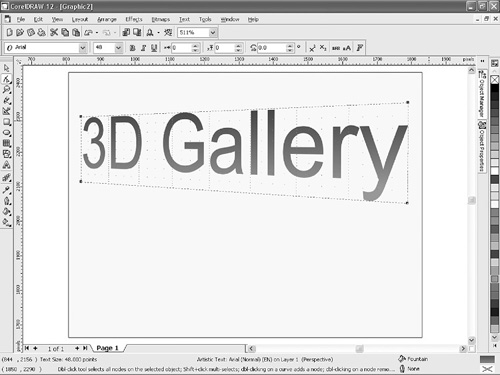
Now we will make the text seem three-dimensional by using the Perspective effect. Click Effects > Add Perspective from the Menu bar. A red grid will appear around your text. Position your mouse pointer over the black handle in the top-right corner of the grid and click and drag it upward slightly. Now position the mouse pointer over the black handle in the bottom-right corner of the grid and click and drag downward slightly. You should be left with an image similar to the one you see in Figure 8.36.
Figure 8.36. Make the text appear as if it is jumping off the page by using the Perspective feature.
Click the Text tool again—click once in the rectangle, change the font size to 12, and choose your favorite font. Type “Press the Enter or Return Key to Start” and then position the text as shown in Figure 8.37. Notice too that I’ve changed the font of the words “3D Gallery” to something thicker, and the text stands out much better than before.
Select the Rectangle tool and click and drag a rectangle on the page, similar in size and position to the one shown in Figure 8.38. Click on your favorite color in the Color palette to give your rectangle some color. Right-click on the x in the top of the Color palette to remove the outline from the rectangle.
Select the Shape tool (the second tool from the top in the Tools palette). Four black handles will appear around the rectangle. Position your mouse pointer over any of these black handles and click and drag inward to round the corners of the rectangle, as shown in Figure 8.39.
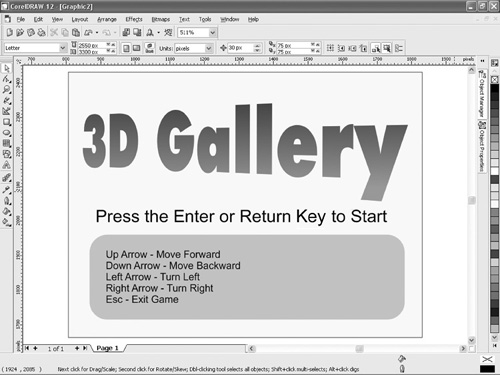
Select the Text tool again and click within the rectangle you just created. Change the font size to 7. Type the following: “Up Arrow – Move Forward.” Press the Enter key, and then type “Down Arrow – Move Backward.” Continue adding the following new lines of text: “Left Arrow – Turn Left,” “Right Arrow – Turn Right,” and “Esc – Exit Game.” Select the Pick tool and move the text to the left side of the rectangle, as shown in Figure 8.40.
Figure 8.40. Position the text you created on the left side of the rectangle.
Repeat Step 14 to create another block of text that includes the following: “Space Bar – Fire,” “P – Pause Game,” “Mouse Button – Continue,” “R – Reload Bullets,” “V – Hover.” Position this new block of text as shown in Figure 8.41
Now it’s time to export our image to a format that Blitz3D can understand. In this case, we will convert our drawing into a .bmp image, but we could just as easily save it as a .jpeg or .gif. Click File > Export to open the Export dialog box. Click the Save As Type drop-down arrow and scroll until you can select BMP—Windows Bitmap. Now give your file the name “welcome,” and then click the Export button.
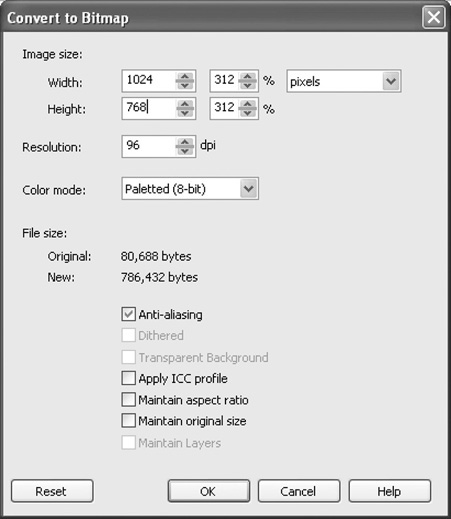
In the Convert to Bitmap dialog box that appears, enter 1024 in the width box and 768 in the height box. Make sure the resolution is 96 dpi and the Color mode is set to Paletted (8-bit), as shown in Figure 8.42. Click OK and another dialog box will appear. Click OK in this dialog box, and your file will be exported.
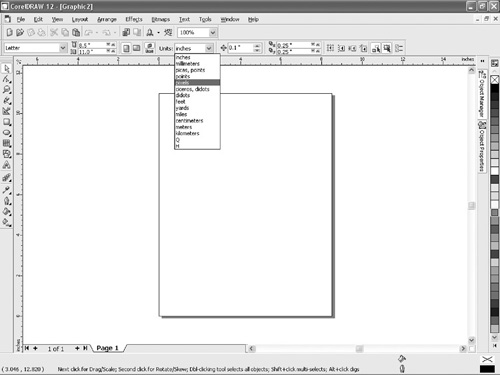
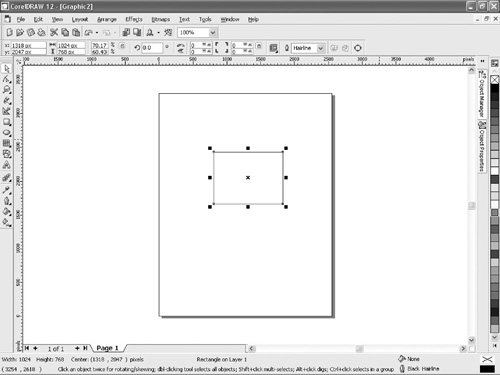
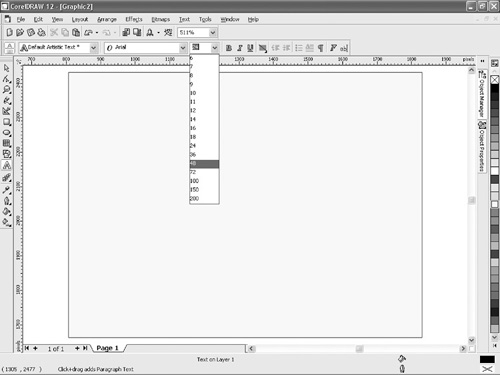
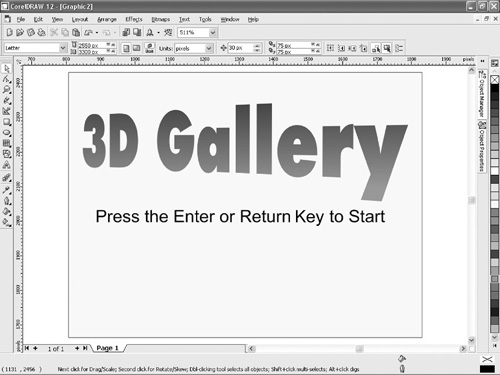

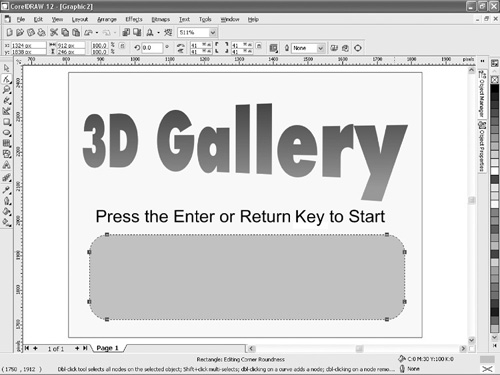
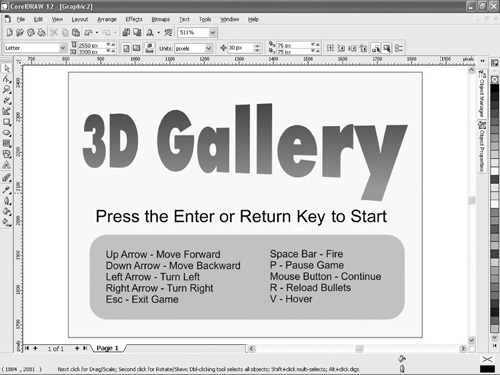
Figure 8.42. Ensure that these settings are entered.