Pause Screen
When the player pauses the game, typically a Pause screen appears letting him know how he can restart the game. We will create a Pause screen that incorporates some design elements from the final game that we’ll be creating in this book.
Launch CorelDRAW and click New in the Welcome screen that appears. The first thing that we need to do is change the units of measurement to pixels. In the Units drop-down menu in the Property bar, select Pixels.
Select the Rectangle tool from the toolbox on the left side of the screen and click and drag a rectangle onto the page. It doesn’t matter how big you make the rectangle since we are going to adjust this momentarily.
In the Property bar, change the dimension of your rectangle to 1024 by 768. This will ensure that our Pause screen will take up the entire screen when we later import it into our game.
With the rectangle still selected, click on the color blue in the Colors palette on the right side of the screen. The rectangle should now be blue. Press Shift+F2 to zoom in to the rectangle.
Select the Text tool (the letter A button) from the toolbox on the left side of the screen and click anywhere inside the rectangle. A cursor should begin flashing inside the rectangle. Click the Font Size drop-down menu from the Property bar and select 24. You can also choose any font face you’d like.
Click on the color dark blue in the Color palette and right-click on the color white. This will give the text you are about to type a dark blue fill and a white outline.
Type the words “Game Paused” and then select the Pick tool (the white arrow at the top of the Tools palette on the left side of the screen). A series of black boxes called handles will appear around the words.
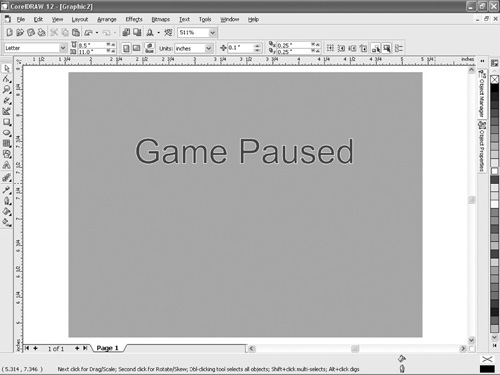
Position the mouse pointer over the x in the middle of the text and click and drag it until it is positioned as in Figure 8.43.
Figure 8.43. Position the text “Game Paused” about one third of the way down.
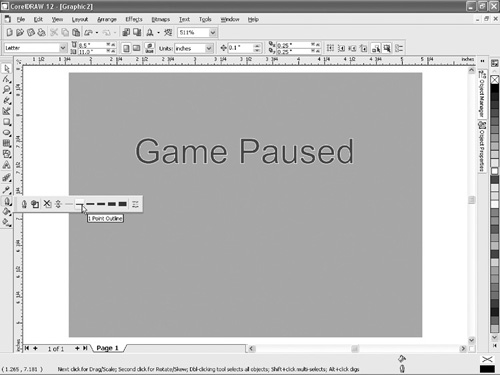
Click on the Outline tool flyout and select the 1-point outline as shown in Figure 8.44. This will thicken the outline.
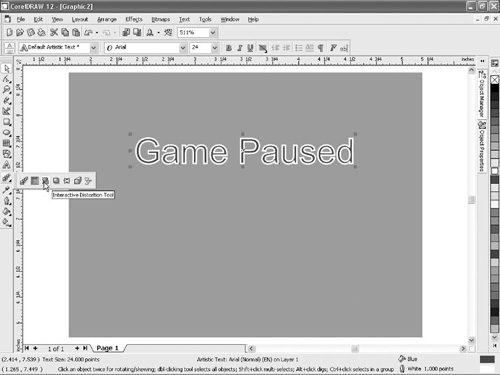
Click and hold the button under the Text tool (letter A) in the toolbox. This will open a flyout of different tools. Select the Interactive Distortion tool, the third button in, as shown in Figure 8.45.
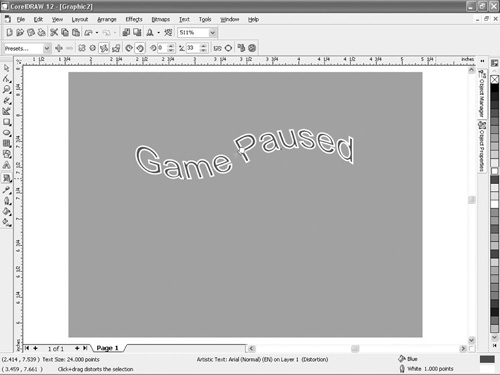
Click the Twister option from the Property bar. Position the mouse pointer over the middle of “P” in “Paused” and ever so slightly click and drag upward to twist the words, as shown in Figure 8.46.
Click the Text tool, then click once in the rectangle, change the font size to 12, and choose your favorite font. Type “Press the Mouse Button to,” press Enter, and then type “Resume Play.” Press Ctrl+E to center the text, and then select the Pick tool and position the text as shown in Figure 8.47.
Click and hold the button under the Text tool (letter A) in the toolbox. This will open a flyout of different tools. Select the Interactive Drop Shadow tool, the fourth button in.
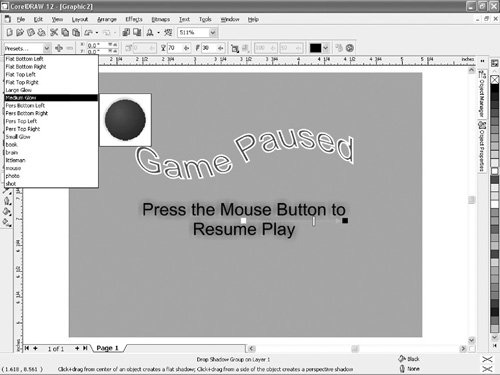
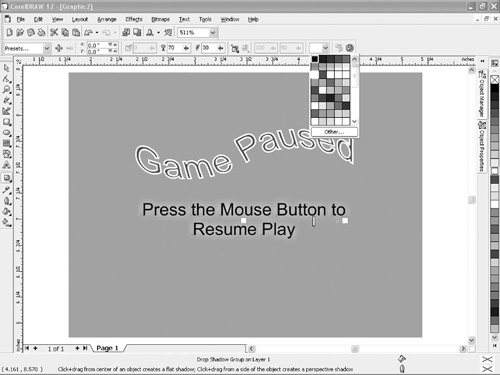
From the Presets drop-down menu, choose Medium Glow, as shown in Figure 8.48. The text will now have a black glow.
We will now change the color of the glow. In the Property bar is a Drop Shadow Color box. Click on the drop-down button and choose the color white. The glow color will now change to white as shown in Figure 8.49.
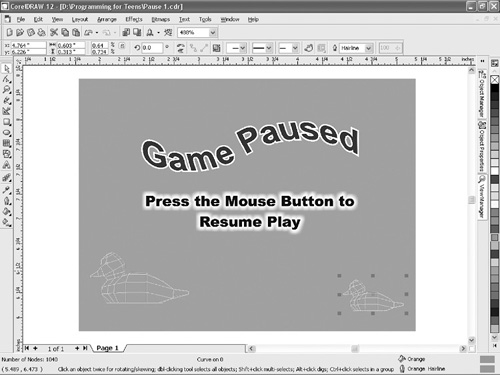
Click File > Import to open the Import dialog box so that we can import an image of a 3D duck into our image. Navigate to the CD folder and click on the file called duck.cdr. Click the Import button. The dialog box will close and the mouse pointer will change into two lines connected at a right angle. Click once on the page to import the duck and it will appear. Using the Pick tool, position the duck in the bottom-left corner of the rectangle, as shown in Figure 8.50.
With the duck still selected, press Ctrl+D to make an exact duplicate of the duck. Position the mouse pointer over any of the corner handles of the duplicate duck and click and drag inward slightly to reduce its size. Position the duplicate duck in the bottom-right corner as shown in Figure 8.51.
Figure 8.51. Position the duplicate duck in the bottom-right corner and slightly reduce its size.
Click and hold the button under the Text tool (letter A) in the toolbar. This will open a flyout of different tools. Select the Interactive Blend tool, the first button in, as shown in Figure 8.52.
Click on the small duck on the right and drag until the mouse pointer is over the larger duck on the left. When you release the mouse button, 20 copies of the ducks will appear between the first and the last as shown in Figure 8.53.
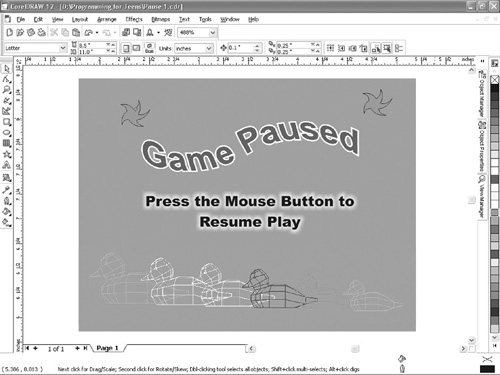
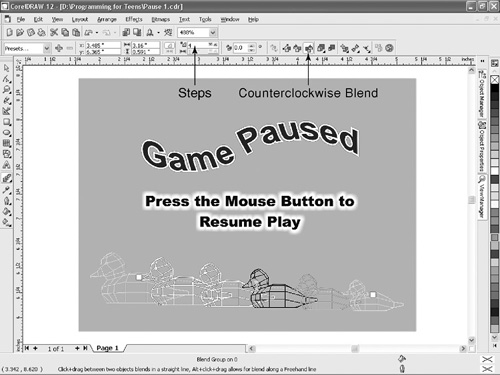
In the Property bar, change the number of transition steps from 20 to 4 (see Figure 8.54). There will now be four ducks between the first and the last. Also click the Counterclockwise Blend button to change the color of the ducks within the blend.
Figure 8.54. Change the number of blend steps to 4 and then click the Counterclockwise Blend button.
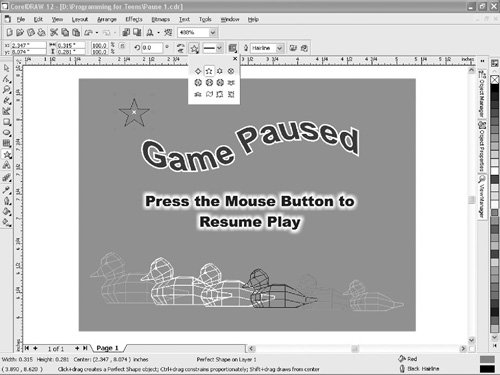
From the Property bar, click the Perfect Shapes button and select the five-sided star as shown in Figure 8.55. Click and drag a star onto the rectangle and then click on the color red in the color palette to fill the star.
Using the technique you used in Step 11, apply a slight twister to the star. Duplicate the star by pressing Ctrl+D. Position the two stars as shown in Figure 8.56. You are now ready to export your file to a format that Blitz3D can understand. Follow Steps 16 and 17 from the Welcome screen section, this time saving the file as pause.bmp.