
Monitoring what your new Oracle BI system is doing, and how well it does it, is vital for the longterm success of a project. Analysis of the system usage can help to improve performance and user adoption. It is just as useful to know who is not using the system as who is using it.
One of the great features of Oracle BI is that you can use the system, its dashboards and analysis, to monitor the system itself, which means to say that you can use OBIEE analysis to tell you how OBIEE is performing for your users.
In this chapter, we will learn how to activate the usage tracking feature and create useful reports from it. You will also learn how to fine-tune and improve the usage tracking feature.
The idea is simple: save each request that is made to the BI Server in a record in a table, in a database. In that record of the request, state who issued it, what they ran, when it ran, and how well it performed. These are the typical attributes that are stored:
- User runs the request
- Date and time shows when the request was started and ended
- What was requested gives the details of the item that was run
- Time taken breakes down into various parts
- Number of rows
- Error codes
- System setup
Once the information has been captured in the database table we can analyze it. This is best done using OBIEE!
Let's get the system set up to track usage. For our system, which uses the standard table method, the configuration is in three parts, and they are all linked to each other. The steps are:
- Setting up the database tables.
- Setting up the BI Server repository.
- Updating the BI Server's configuration.
There is an option to store the usage tracking records in a text file, but as this is not as useful as the database method, it will be more difficult and slower to analyze a text file than a database table.
Near the beginning of the book, we ran the repository creation utility (RCU) to set up some schemas in the database for OBIEE to use. This created a database schema called BIPlatform with several tables, some of which are used for storing usage tracking records. Also worth noting is that you can move the usage tracking tables to another database and/or schema, but at this time we recommend you just use the tables provided by the RCU.
Tables created in the BI Platform Schema that relate to usage tracking are:
S_NQ_ACCTS_NQ_DB_ACCTS_NQ_INITBLOCK
The S_NQ_ACCT table has been in use since the nQuire days (hence the NQ in the name), but it has been updated in recent releases. It stores records relating to the logical query that is run. The S_NQ_DB_ACCT table supplements the logical record with details of the physical query that was run against the database. The S_NQ_INITBLOCK table is new and is used to log the queries run when a user logs in.
Another table, S_NQ_SUMMARY_ADVISOR, is also installed by the RCU, but it does not relate directly to usage tracking. It is an added feature that helps to identify possible aggregates that would speed up dashboard performance.
The usage tracking record capture process uses a table that is defined in the BI Server repository (RPD file). This is simply a reference to the S_NQ_ACCT table, with a connection pool that has the write ability.
To create the metadata in the repository you can use the import metadata functionality in the BI Administration tool by following these steps:
(Before you start, take a backup of the repository):
- Open the BI Administration Tool.
- Open your repository (use a local master copy):

- Navigate to File | Import Metadata...:

- Select a connection to the Database Server.
- Enter the credentials for the BIPLATFORM user:

- Click Next.
- Select Tables:

- Click Next.
- Select the three tables.
- Click Finish:

You now have a new database in the Physical schema:
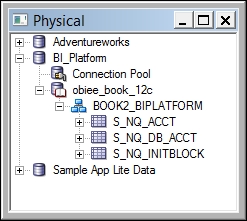
At this stage we can configure usage tracking to use the preceding tables, but before we do, we will create the business model and presentation layer objects:
- Right-click on the
S_NQ_ACCTtable. - Select Properties.
- Uncheck the Cacheable option.
- Click OK.
- Repeat the removal of caching for
S_NQ_DB_ACCTandS_NQ_INITBLOCK. - Right-click on the
S_NQ_ACCTtable again. - Select New Object and then Alias.
- Enter the name:
Usage Tracking Logical. - Right-click on the
S_NQ_ACCTtable again. - Navigate to New Object | Alias.
- Enter the name
Fact Usage Tracking. - Click OK.
- Using the same technique, create an alias of
S_NQ_DB_ACCTand call itUsage Tracing Physical. - Create an alias of
S_NQ_INITBLOCKand call itUsage Tracking Initblock. - Now create a physical join from the fact table to the
LogicalandPhysicalaliases. - Right-click in the middle pane, and select New Business Model.
- Enter the Name:
Usage Tracking. - In the new business model, create a logical fact table using the Fact Usage Tracking alias.
- Create a logical dimension using the
Usage Tracking Logical. - Add another logical table source that includes the physical tables:
Usage Tracking LogicalandUsage Tracking Physical. - Rename the columns to more user-friendly names.
- Create a Presentation catalog.
You should end up with a repository looking like this:
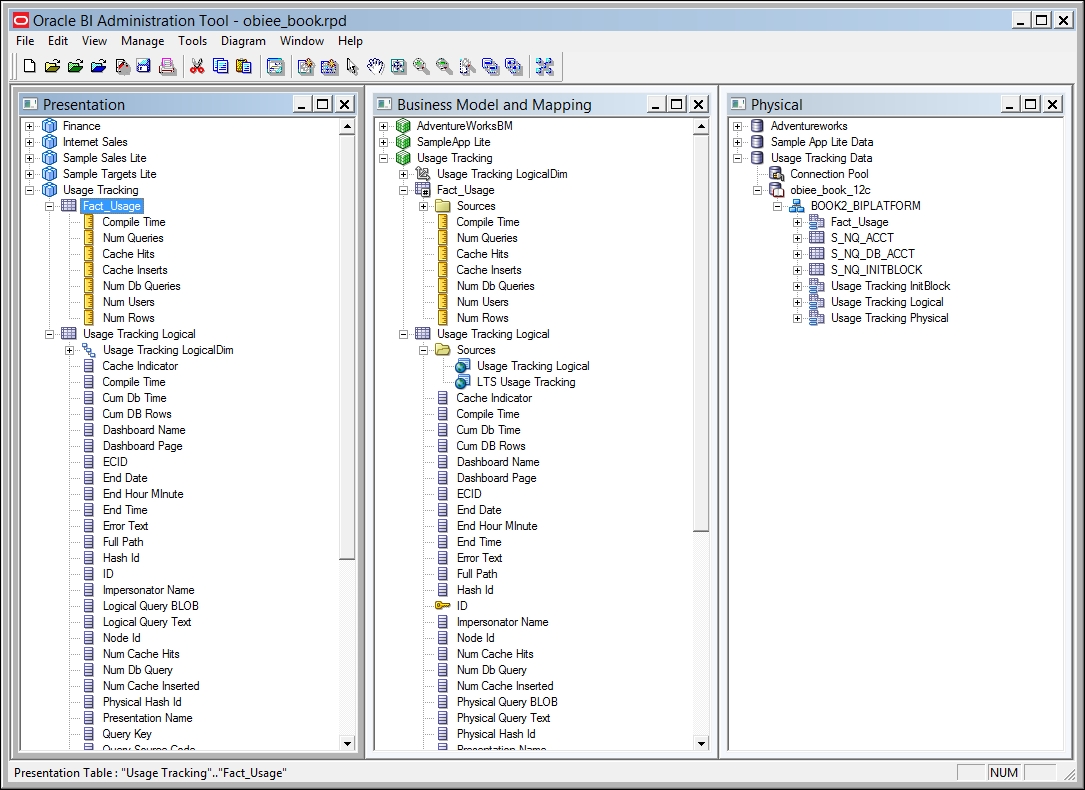
Now that we have the tables set up in the RPD file, we can configure the BI Server to start recording usage:
- Take a backup copy of the file
NQSCOnfig.ini, which is in the folderOracle_homeuser_projectsdomainsbiconfigfmwconfigbiconfigOBIS. - Open the file
NQSConfig.iniin a text editor. - Find the section called
USAGE_TRACKINGand change the enable setting to Yes. - Change the settings for the tables and connections for the entries:
PHYSICAL_TABLE_NAMECONNECTION_POOLINIT_BLOCK_TABLE_NAMEINIT_BLOCK_CONNECTION_POOL
See the following code:
PHYSICAL_TABLE_NAME = "Usage Tracking
Data"."obiee_book_12c"."BOOK2_BIPLATFORM"."S_NQ_ACCT";
CONNECTION_POOL = "Usage Tracking Data"."Connection Pool";
INIT_BLOCK_TABLE_NAME = "Usage Tracking
Data"."obiee_book_12c"."BOOK2_BIPLATFORM"."S_NQ_INITBLOCK;
INIT_BLOCK_CONNECTION_POOL = "Usage Tracking Data"."Connection
Pool";
- Save the file.
- Restart the BI Services:

At this point, every request made to the BI Server will be logged in to the S_NQ_ACCT table.