
The final installation task in this chapter is the creation of the schemas that will be used by the WebLogic part of the Fusion Middleware software. For this step, we will use the Repository Creation Utility (RCU) that has been installed as part of the Fusion Middleware system software.
Before we begin, let's create and configure a user and database in our SQL Server database:
- Open SQL Server Management Studio.
- Create a new login, called
obiee_sa, which uses SQL Server Authentication. Make a note of the password you create for this user. - Create a new database.
- Enter the database name of
obiee_book. - Set the owner as
obiee_sa. - Select Options in the left-hand panel.
- Scroll to the Miscellaneous Section in the right-hand panel.
- Change the value for Allow Snapshot Isolation to True.
- Change the value for Is Read Committed Snapshot On to True:

- Click on OK.
You will also need to code on your SQL Server Database to set the collation; open a New Query window.
- Enter the following command (enter all commands):
DECLARE @collate sysname
SELECT @collate = convert(sysname, serverproperty('COLLATION'))
IF ( charindex(N'_CI', @collate) > 0 )
BEGIN
select @collate = replace(@collate, N'_CI', N'_CS')
exec ('ALTER database obiee_book COLLATE ' + @collate)
END
GO
- Execute the command by pressing F5.
Now we can proceed with running the Repository Creation Utility (RCU).
The utility can be found in the C:fmw_obieeOracle_homeoracle_commonbin folder:
- Open a
cmdwindow. - Change directory to
C:fmw_obieeOracle_homeoracle_commonbin. - Run the
rcu.batcommand: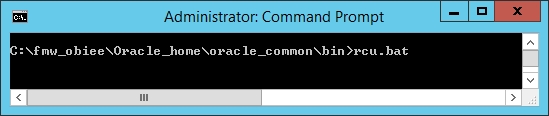
- Click on Next.
- In this step, we can choose the method that will create the schemas. We will choose the System Load and Product Load option because we have DBA access to our database:

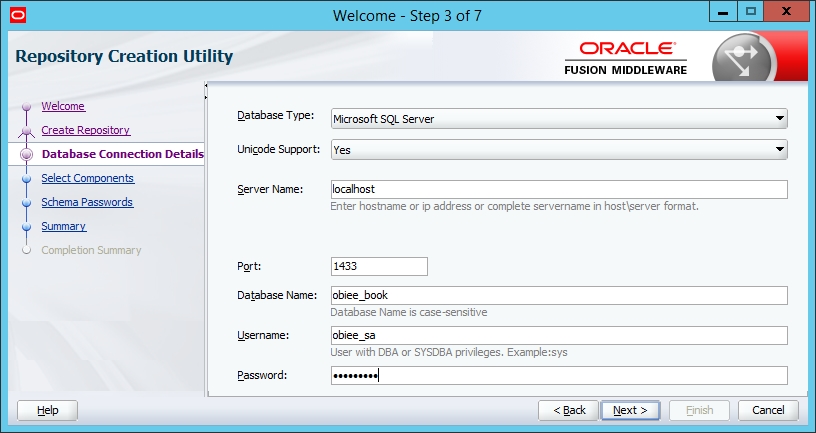
- Now we can enter the connection details for our database. Note that we have the option to install in Oracle, IBM DB2, MS SQL Server, or MySQL. We have a SQL Server database installed here, but you can use any supported database that suits you.
- Enter the details of an existing user in SQL Server--one that has DBA rights. Use the same user we created previously -
obiee_sa. - Click on Next:
You will now see a screen full of green ticks!
- Click on OK:

- Now, set the Schema Passwords. You can choose any of the three options available in step 5, but just make sure you make a note of the passwords!

- We choose a different password here to demonstrate best practice when securing a production system. In development, you can choose one of the other options.
- Finished!

Note
There is an alternative method for schema creation; while installing the OBIEE software, you can ask it to create the schema for you. This is not as flexible as the method we just saw, which is why I recommend that you run the RCU as an independent step here. It's also important to know which schemas are just for WebLogic Server, and which have been added for OBIEE.