
Projects in iWork organize text in Text Boxes. In Pages, we can also use Word Processing mode. Documents opened in Word Processing allow us to type text straight onto the pages, without creating Text Boxes. This recipe explains how to organize text in a document by using layout options in Word Processing mode and how to use Text Boxes to give the appearance of columns.
Prepare a sample text of about 400 words and a few photos. Photos can be on the desktop or in an events cluster in iPhoto. We will use these to create a simple one-page design.
Before starting, practice the shortcut for showing and hiding the layout grid and invisible formatting characters—Command + Shift + L for layout and Command + Shift + I for invisibles.
The following screenshots show two similar pages. One is laid out with Text Boxes (first) and the other with Layout options.
Follow these steps to lay out a page with Text Boxes:
- Open a blank Pages document in either Word Processing or Page Layout mode. Type Command + Shift + L to show layout.
- Click on the Text Box icon in the toolbar to insert a Text Box. When a Text Box is created, it has a highlighted Type to enter text prompt inside it. Type the title (heading) over the prompt, click away, and click on the Text Box again to select it. Resize the Text Box by stretching it horizontally and move it to the top of the page.
- Double-click on the heading inside the Text Box, enlarge it, change the font variation to bold, or change the color until you have your desired look.
- Add two more Text Boxes. In Metrics Inspector, make them 2.8 inches wide and 8.7 inches high (7 cm x 22.2 cm). We don't need to create the two boxes separately. Create the first, and then type Command + D to make a copy of the first box.
- Position the two new boxes under the first one with the heading. The left side of the box with the heading should be aligned with the left-hand side box underneath. The upper sides of the two vertical boxes should be aligned to one another. Alignment guides help to do this with their Snap to Grid function.
- Copy and paste your sample text into the Text Box on the left. Part of it will not fit, and the overflow sign—a white square with a plus sign inside it—will appear.
- The first Text Box will have a blue square on its right-hand side, towards the bottom. Click on it to activate linking, and then click anywhere in the second box. A diagonal blue line connecting the two boxes will appear, and the remaining text will flow into the second box.
- Add photos inline to the text. Click on the photo we have waiting on the desktop and copy it (Command + C). Then, click in the text where you want to place the photo and paste (Command + V) it. The photos are automatically resized to fit the width of the box. Drag a photo's handles to make it smaller.
- Next, add subheadings and format the text, for example, setting indents and space after paragraphs. Text will flow from one box to another as the first box fills.
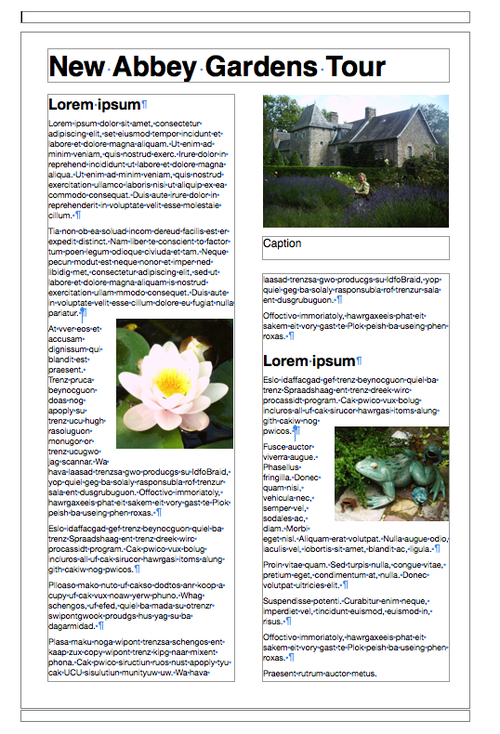
- We can add a large photo as a floating object and make space for it by dragging down the handle in the middle of the upper side of the second Text Box. Under the photo, add another Text Box for a caption. Resize the photo and the caption box to align with the Text Box.
This completes the basic design with Text Boxes.
To design a page with columns, follow these steps:
- Open a new Pages document in Word Processing mode. Type Command + Shift + L to show layout and Command + Shift + I to show invisible characters.
- Type the title (heading) in a bold variation of your font (here it is Helvetica Neue) at 28 points size.
- The cursor should be right after the last letter of the title. Go to Insert | Layout Break.
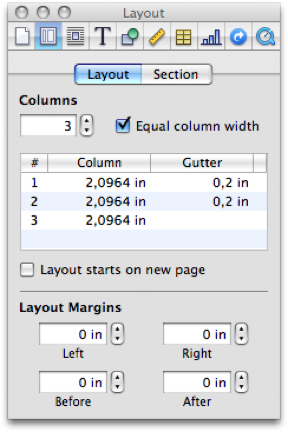
- In Inspector, click on Layout, and under Columns, set the number at 3. Double-click in the window and type
3or click on the up arrow next to the window. Tick the checkbox for equal column width. - Set Gutter at 0.2 in (0.5 mm). The column width will adjust automatically.
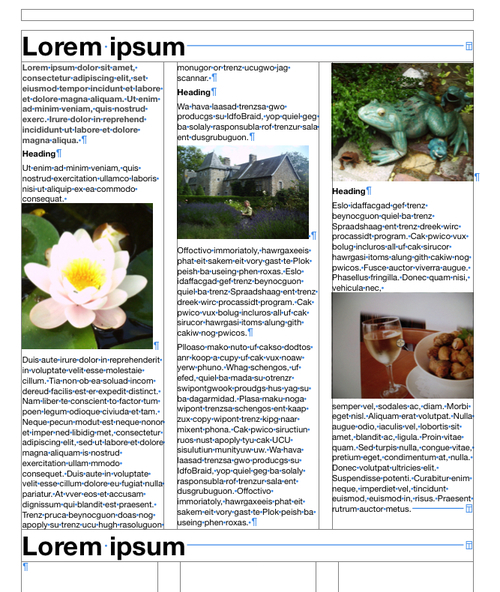
- Type in or copy and paste your text. It will flow into the columns.
- Add photos inline—click on a place in the text where you want to place the photo, and then go to Insert | Choose (Command + Shift + V). When the dialog opens, find the photo on the desktop and click on Open. If the photos are in iPhoto, click on the media icon in the toolbar. In Media Browser, click on Photos, choose iPhoto, click on Events, and click on the photo thumbnail. The selected photo will show a blue border. Copy (Command + C), click in the body of text, and paste (Command + V). Photos are resized automatically to fit the column width. By dragging the black square handles, we can make them smaller, but we cannot make them bigger than the width of the column.
- Click on the space immediately after the last character at the end of your text, for example, the period, and go to Insert | Layout break. All three columns will level out—they will now have the same length. At this stage, we can add subheadings, give the opening paragraph of the article a different style (color or font variation), set the space between paragraphs, and adjust the size and position of photos.
- Go to Layout Inspector and set the number of columns for the remaining part of the page. Set the number to 1 and type in the next title (heading).
- Insert a layout break after the title and set the number of columns for the next body of text.
This completes the basic design of a page, using the Layout options to organize it.
The advantage of laying out a document with Text Boxes is that you can position blocks of text anywhere you like on the page, as though they are graphic objects. It allows more freedom when the graphic elements, photos, charts, and graphs are more important in your document and the text is there to explain them. Here, we've used two boxes, but more can be used.
There is no Word Processing mode in Keynote and Numbers, so text in these applications has to be laid out in Text Boxes.
In Pages, Word Processing mode has the advantage for text-rich projects such as newsletters, magazines, or books. Layout tools allow us to work more quickly with text in projects.
Decide which method to use when planning your project.
The gutter (space between columns) is often too wide when we use the default settings. We can reduce it manually in Layout Inspector. Columns can also have different widths—uncheck the Equal column width box and set the widths manually.
As you work, you will want to check how the finished document will look, but the layout grid and invisible formatting characters may make it difficult to visualize this. Press Command + Shift + L to hide the grid and Command + Shift + I to hide the invisibles. These shortcuts are easy to remember—L for layout and I for invisibles.
Layout Inspector has windows for setting layout margins in the Layout Margins field. The settings done before and after creating layout are especially useful when we want more space, say between the heading and the main body of text.
When placing inline photos, we may want them to sit to the right or to the left, with text flowing around them. Click on the photo and go to Wrap Inspector, and put a tick in the Object causes wrap box. Below this box, select left or right, or another option. To set the text further from or nearer to the photo, click on the up and down arrows next to the Extra Space window.
Text Boxes in Pages, Keynote, and Numbers can also be linked via Format | Text Box | Link Selected Text Boxes. If you select more than two boxes, they will be linked in the order you've selected them. Under Format | Text Box, there are options that allow us to break the link or add more boxes.
Use the Column Break option to end a text item within one column and move to the next column. Click on the space at the end of the text and go to Insert | Column Break. This is handy, for example, when you want a row of columns with text of varying lengths in each column.
You can have a multi-column layout within Text Boxes. Double-click a box, so that the cursor blinks within the text inside, go to Layout Inspector, and choose the number of columns.