
Make sure areas without touch-proof
connectors are covered with light-proof
material during installation.
Array Mounting
If the customer’s roof slope is not ideal,
you can compensate with the right
mounting frame to adjust the orientation
and elevation of the array. The PV sys-
tem’s performance diminishes, though, if
the arrays are improperly mounted.
Always follow the manufacturer’s instruc-
tions. Always wait for dry weather before
you install a system. Do not drill addi-
tional holes in the frame, or you may
invalidate the UL equipment rating or
void the warranty.
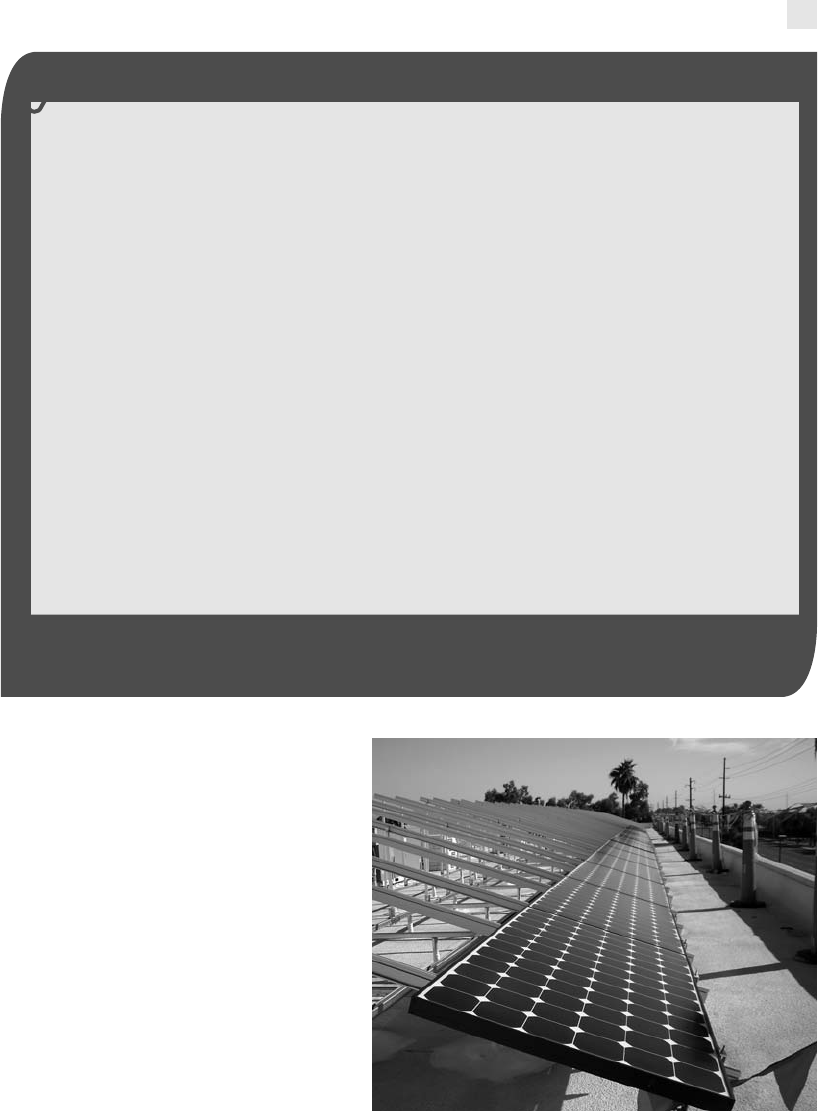
PerfectPower employees install arrays at a home in Phoenix, Ariz.
Courtesy of PerfectPower, Inc.
CHECKLIST NO. 3: INVERTER STARTUP TESTS
Turn off the inverter.
Test the continuity of all DC fuses installed in the DC string combiner box.
Put in all string fuses and close fused switches in the combiner box.
Ensure that the open-circuit voltage at the DC disconnect switch is in accordance with
manufacturer’s installation manual.
Repeat steps 2 and 3 if there is more than one DC disconnect switch.
Check each voltage beginning from the PV array to the inverter DC disconnect switch.
Close each switch after testing, except for the final switch before the inverter. The PV
system may have a single DC switch.
Confirm that all power to the inverter is off.
Seek advice from the inverter instruction guide and follow the startup process.
Make sure that the inverter is operating.
Confirm that the operating voltage is in accordance with the manufacturer’s installation
manual.
Close any boxes associated with the inverter system.
Verify that the inverter is generating the anticipated power output on the meter—the
device for recording electricity movement.
Give the initial startup report to the homeowner.
CHAPTER 1 Introduction to Advanced Photovoltaic System Installation 13
..................Content has been hidden....................
You can't read the all page of ebook, please click here login for view all page.