The examples are shown Chapter 13, My Name is Bayes, Naive Bayes, and can be made scalable for even larger dataset to solve different purposes. You can package all these three clustering algorithms with all the required dependencies and submit them as Spark job in the cluster. If you don't know how to make a package and create jar files out of the Scala class, you can bundle your application with all the dependencies using SBT or Maven.
According to Spark documentation at http://spark.apache.org/docs/latest/submitting-applications.html#advanced-dependency-management, both the SBT and Maven have assembly plugins for packaging your Spark application as a fat jar. If your application is already bundled with all the dependencies, use the following lines of code to submit your Spark job of k-means clustering, for example (use similar syntax for other classes), for Saratoga NY Homes dataset. For submitting and running a Spark job locally, run the following command on 8 cores:
$ SPARK_HOME/bin/spark-submit
  --class com.chapter15.Clustering.KMeansDemo
  --master local[8]
  KMeans-0.0.1-SNAPSHOT-jar-with-dependencies.jar
  Saratoga_NY_Homes.txt
In the preceding code, com.chapter15.KMeansDemo is the main class file written in Scala. Local [8] is the master URL utilizing eight cores of your machine. KMeansDemo-0.1-SNAPSHOT-jar-with-dependencies.jar is the application JAR file we just generated by Maven project; Saratoga_NY_Homes.txt is the input text file for the Saratoga NY Homes dataset. If the application executed successfully, you will find the message including the output in the following figure (abridged):

Now, let's dive into the cluster setup in standalone mode. To install Spark standalone mode, you should place prebuilt versions of Spark with each release on each node on the cluster. Alternatively, you can build it yourself and use it according to the instruction at http://spark.apache.org/docs/latest/building-spark.html.
To configure the environment as a Spark standalone mode, you will have to provide the prebuilt versions of Spark with the desired version to each node on the cluster. Alternatively, you can build it yourself and use it according to the instruction at http://spark.apache.org/docs/latest/building-spark.html. Now we will see how to start a standalone cluster manually. You can start a standalone master by executing the following command:
$ SPARK_HOME/sbin/start-master.sh
Once started, you should observe the following logs on terminal:
Starting org.apache.spark.deploy.master.Master, logging to <SPARK_HOME>/logs/spark-asif-org.apache.spark.deploy.master.Master-1-ubuntu.out
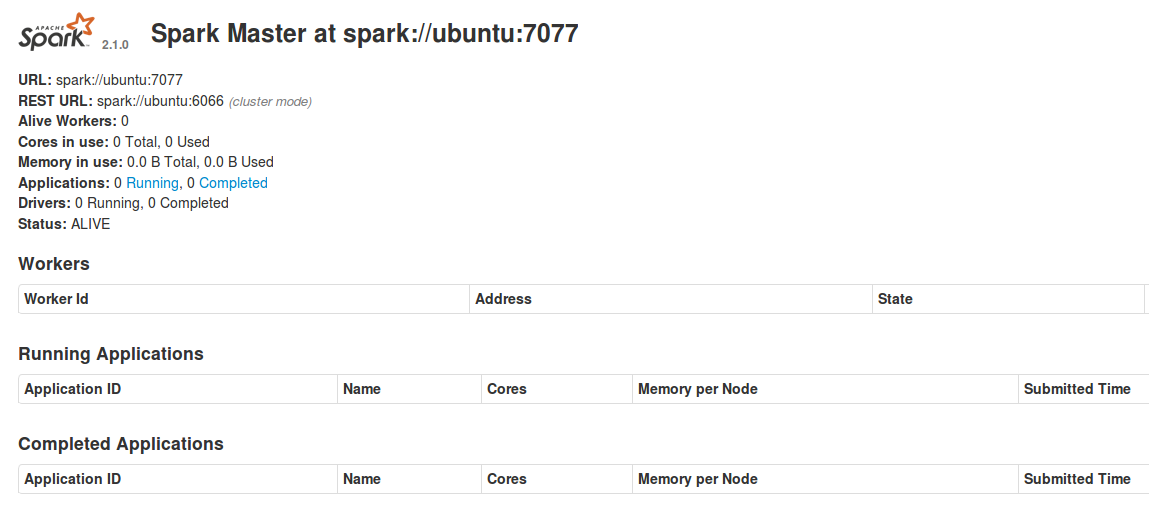
You should be able to access Spark web UI at http://localhost:8080 by default. Observe the following UI as shown in the following figure:
You can change the port number by editing the following parameter:
SPARK_MASTER_WEBUI_PORT=8080
In the SPARK_HOME/sbin/start-master.sh, just change the port number and then apply the following command:
$ sudo chmod +x SPARK_HOME/sbin/start-master.sh.
Alternatively, you can restart the Spark master to effect the preceding change. However, you will have to make a similar change in the SPARK_HOME/sbin/start-slave.sh.
As you can see here, there are no active workers associated with the master node. Now to create a slave node (aka a worker node or computing node), create workers and connect them to the master using the following command:
$ SPARK_HOME/sbin/start-slave.sh <master-spark-URL>
Upon successful completion of the preceding command, you should observe the following logs on terminal:
Starting org.apache.spark.deploy.worker.Worker, logging to <SPARK_HOME>//logs/spark-asif-org.apache.spark.deploy.worker.Worker-1-ubuntu.out
Once you have one of your worker nodes started, you can look at its status on the Spark web UI at http://localhost:8081. However, if you start another worker node, you can access it's status in the consecutive ports (that is, 8082, 8083, and so on). You should also see the new node listed there, along with its number of CPUs and memory, as shown in the following figure:

Now, if you refresh http://localhost:8080, you should see that one worker node that is associated with your master node has been added, as shown in the following figure:

Finally, as shown in the following figure, these are all the configuration options that can be passed to the master and worker nodes:

Now one of your master node and a worker node are reading and active. Finally, you can submit the same Spark job as standalone rather than local mode using the following commands:
$ SPARK_HOME/bin/spark-submit
--class "com.chapter15.Clustering.KMeansDemo"
--master spark://ubuntu:7077
KMeans-0.0.1-SNAPSHOT-jar-with-dependencies.jar
Saratoga_NY_Homes.txt
Once the job started, access Spark web UI at http://localhost:80810 for master and http://localhost:8081 for the worker, you can see the progress of your job as discussed in Chapter 14, Time to Put Some Order - Cluster Your Data with Spark MLlib.
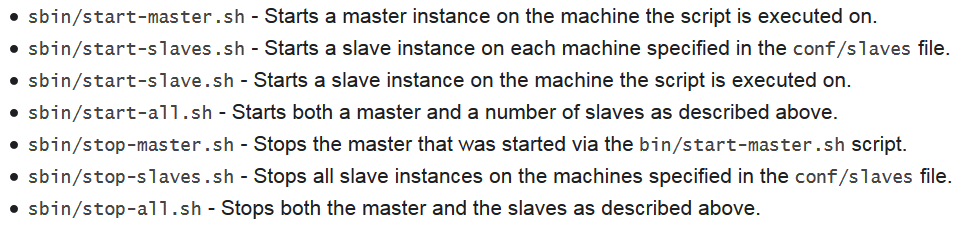
To summarize this section, we would like to redirect you to the following image (that is, Figure 15) that shows the usages of the following shell scripts for launching or stopping your cluster: