- Navigate to https://integrator.lcs.dynamics.com/DataLoader/Index.
- Click on Sign in and log in using your Office 365 credentials.
- Log in using your Office 365 credentials.
- Click on CRM Connections as shown in following diagram:

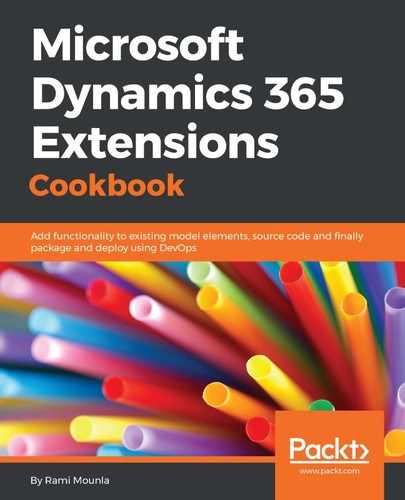
- In the CRM Connections page, click on the + sign and enter the following details:
- CRM Username: <your Dynamics 365 username>
- CRM Password: <your Dynamics 365 password>
- Then, click on Fetch CRM instances.
- Once the instances are loaded, select the correct instance you want to connect to and click on Create:
- Wait until the connection status in the CRM Connections page turns to Running:

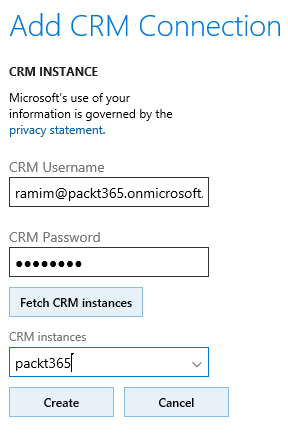
- Back on the main screen, click on New import and follow these steps:
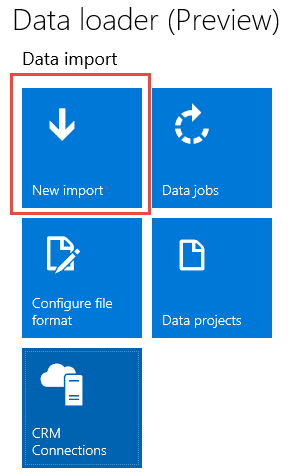
8.1. Create a new project by giving it a name and selecting the instance, then clicking on Next:
8.2. In step 2, select the file format of your choice and the entity type, and then click on upload to upload the file based on your preferred format. Wait until the file status is completed before clicking on Next.
8.3. In step 3, define the mapping that was not automatically matched, and then click on Next when you are satisfied with the mapping.
8.4. In step 4, give your job a name and click on Start job.
- On the main screen, click on Data jobs and then select the job you just created.
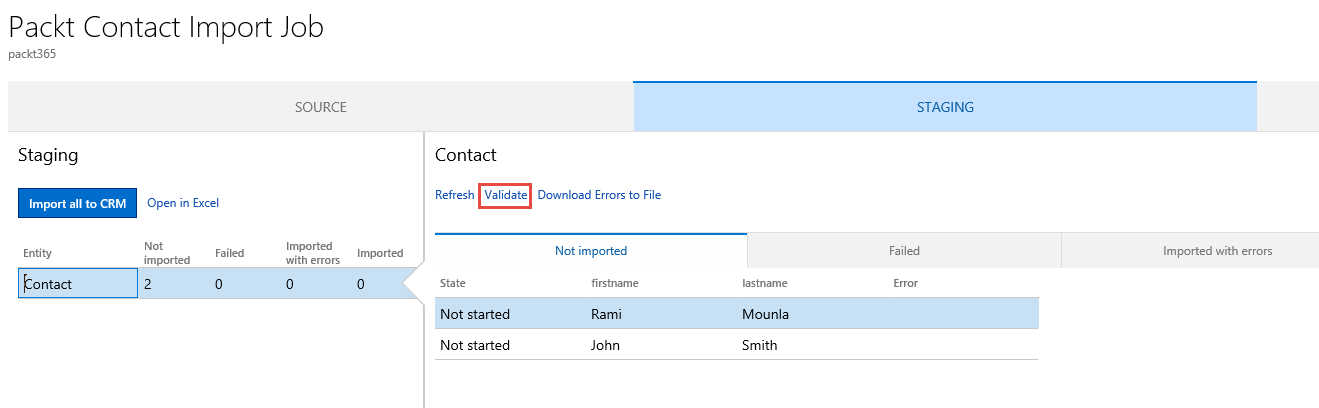
- In your job window, on the STAGING tab, click on Validate:
- Once the records are marked as Valid, click on Import all to CRM.