Create a new solution by selecting New | Project from the File menu.
In the New Project dialog, select Installed | Templates | Visual C# | Dynamics 365 | New Visual Studio Solution Template for Dynamics 365 from the list of templates and give it the name Packt.Xrm.Extensions. Ensure that .NET Framework 4.5.2 is selected at the top, as shown here:
You will be prompted to connect to Dynamics 365. If you have already logged in, you can leverage the existing connection; otherwise, you can follow the familiar prompt to connect.
In the Configure Microsoft Dynamics 365 Solution dialog select Start from CRM:
You will then be prompted with the connection details that you can change or accept by pressing Next. Then select your preferred solution as per this screenshot and click on Done:
In the Visual Studio Template Selection dialog, select Add New Templates.
In the next step of the dialog, select Add Plugin Project then click on Next, as highlighted here:
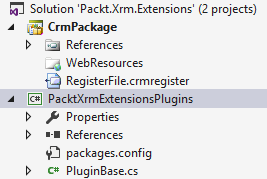
In the final step, give your project a name, such as Packt.Xrm.Extensions.Plugins. Your final solution will look something like this: