
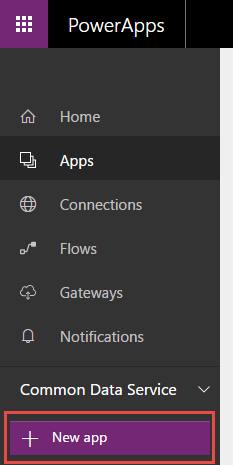
- Log in to your Office 365 portal and click on the PowerApps icon highlighted as follows:

- From the left navigation, click on Apps, followed by + New app in the bottom-left corner, as shown in following screenshot:
- In the Create an app in Packt CDS screen, select Blank app | Phone layout.
- In PowerApp Studio, click on Data sources | Add data source from the right dialog. Select the Common Data Services model.
- Tick the checkbox next to Feedback and click on Connect.
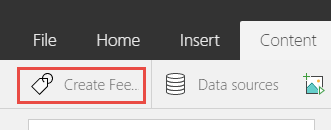
- From the insert tab, click on New screen and rename it to Create Feedback by clicking on the name tag in the Content tab. Ensure that the data source is set to Feedback, as shown in following screenshot:
- In the new screen, insert a form called Form1 by clicking on Forms | Edit from the Insert tab.
- Set the data source on the newly created form to your CDS | Feedback and click on Connect.
- From the list of fields, unhide the following fields in order to ensure that they are properly placed on the form:
- Customer
- Sentiment
- FeedbackContent (set the FeedbackContent data card to Edit Multiline Text).
- Click on the screen and, from the Insert tab, insert a Cancel icon and a Check icon with the respective actions:
- ResetForm(Form1);Back()
- SubmitForm(Form1);Back()
Your screen layout should now look something like this:

- Navigate back to your first screen (Screen1).
- From the Insert tab, click on Text box. Enter the Feedback text.
- From the Insert tab, again, insert a Text gallery Vertical control and maximize it to cover the entire space under the title text.
- Select the newly added control, and under Options | Content, click on the datasource icon and select Feedback, as shown here:
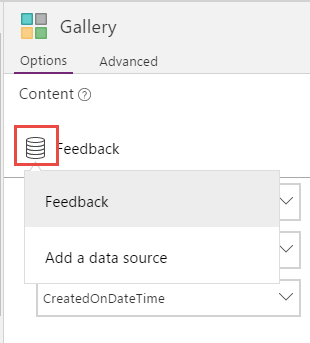
- Back in the gallery control, ensure that the three displayed fields have the following fields. Order the fields as per the next screenshot:
- ThisItem.Sentiment
- ThisItem.CreatedOnDateTime
- ThisItem.FeedbackContent
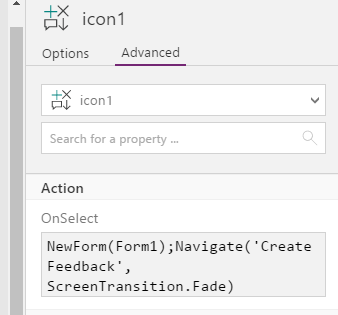
- From the insert tab, insert a + Add icon, as shown here:
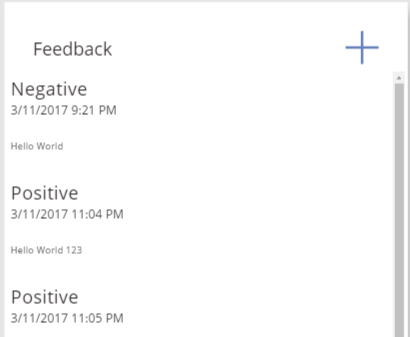
- Click on the newly created icon and add the following OnSelect Action:
NewForm(Form1);Navigate('Create Feedback', ScreenTransition.Fade)
- From the File menu, save your app as FeedbackApp.