
Eliminating Posterization
Here's a trick that can minimize the posterization. I should warn you that you have to apply this technique manually to each area that is posterized. Although it might take you a little bit of time, the results will be worth it.
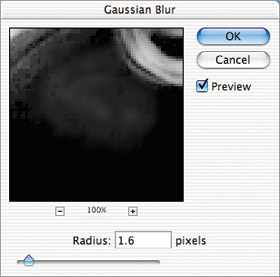
To begin, select the Magic Wand tool, set the Tolerance to 0, and click on an area that looks posterized. Next, choose Select > Modify > Border, and use a setting of 2 for slight posterization or 4 for a moderate amount of posterization. Now apply Filter > Blur > Gaussian Blur until the area looks smooth (Figures 5.36 and 5.37). Repeat this process on all of the posterized areas until you're satisfied with the results.
Figure 5.36. Turn off the Preview check box to see the edges of the posterized area.
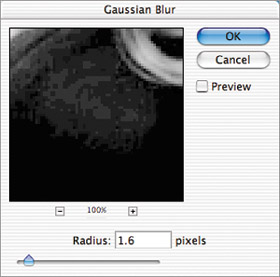
Figure 5.37. With the Preview check box turned on, increase the Radius setting until the posterized area appears smooth.
If you find that a large number of your images end up with post-scan posterization, then you might want to look into getting a scanner that's capable of delivering 16-bit images to Photoshop. A typical grayscale image will contain no more than 256 shades of gray, which is technically known as an 8-bit image. That's sufficient for most images, but extreme adjustments will cause posterization. One way to avoid posterization is to use a scanner that can produce images that contain thousands of shades of gray, which is technically known as a 16-bit image. Most scanners are capable of capturing more than 256 shades of gray from a photograph, but few are capable of actually delivering all those shades to Photoshop. So, the next time you shop for a scanner, be sure to ask if it is capable of delivering 16-bit images to Photoshop.