
Modify
The features in this little menu have helped get me out of many sticky situations. At first glance, it might not be obvious why you would ever use these commands, but I guarantee they'll come in very handy as you continue through the book. Here's a list of the commands found under the Select > Modify menu, as well as descriptions of what they do:
Border: Selects a border of pixels centered on the current selection. If you use a setting of 10, the selection will be 5 pixels inside the selection and 5 pixels outside the selection. You can use this to remove pesky halos that appear when you copy an object from a light background and paste it onto a darker background (Figures 2.67 and 2.68).
Figure 2.67. The original selection. (©2005 Stockbyte, www.stockbyte.com)
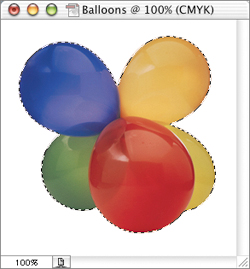
Figure 2.68. A 10-pixel border.

Smooth: Attempts to round off any sharp corners in a selection (Figure 2.69). This can be especially useful when you want to create a rounded-corner rectangle. It can also produce an interesting effect after you've used the Type Mask tool (Figures 2.70 and 2.71).
Figure 2.69. Smooth 16 pixels.

Figure 2.70. The original selection.

Figure 2.71. Smooth setting of 6.

Expand: Enlarges the current selection while attempting to maintain its shape (Figure 2.72). This command works well with smooth, freeform selections, but it's not my first choice for straight-edged selections because it usually slices off the corners.
Figure 2.72. Expand 12 pixels.

Contract: Reduces the size of the current selection while attempting to maintain its shape (Figure 2.73). The highest setting available is 16. If you need to use a higher setting, just use the command more than once.
Figure 2.73. Contract 12 pixels.
