
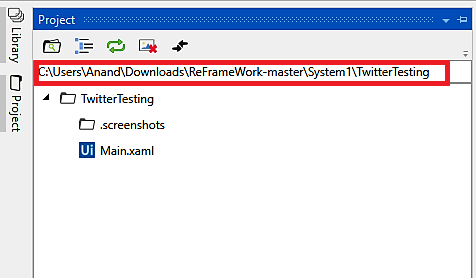
When it comes to configuration, UiPath does not have any pre-built configuration file such as Visual Studio, but we can create one. It is considered to be one of the best practices to keep environment settings in a config file so that they can be easily changed by the user when required. Thus, when we create a project, the project.json file that holds all the activities is created automatically. Project.json can be found in the folder where the project is saved. To access the folder, we can just open the Project, then copy the path (as shown in the following screenshot), and paste it into File Explorer:
Then you can see a project.json file in File Explorer like the one shown in the following screenshot:

The following screenshot displays the code inside the project.json file, when you open that file in Notepad:

You can also store your settings with the help of a spreadsheet or credentials. There are various parameters contained in the project.json file. They are:
- Name: This is the title of the project that is provided when creating a project in the create New Project window:

- Description: When creating a project, a description is also required. You can add the description in the Create New Project window, as shown in the preceding screenshot.
- Main: This is the entry point for the project. It is saved as main.xml by default, but you can change its name from the Project panel. Also, you have multiple workflows for a project, it is necessary to attach all these files to the main file with the Invoke Workflow File activity. Otherwise, those files will not be executed:

- Dependencies: These are the activities packages that are used in a project and their versions.
- Excluded data: Contains keyword that can be added to the name of an activity to prevent the variable and argument values from being logged at the verbose level.
- Tool version: The version of Studio used to create a project.
- Adding Credential: We can add particular settings that can be used further. For example, we can save the username and password to be used further, so this can be done with the help of the Add credential activity that can be found in the Activities panel, as shown in the following screenshot:

After adding credentials, type the required values in the Properties panel, as shown in the following screenshot:

So, when the credentials are set, we can delete, secure, or request credentials, as shown in the following steps:
- Delete Credentials: If we want to delete a credential then we can just drag and drop the Delete Credentials activity and then define the target for the credential:

- Get Secure Credential: This is used to get the values, that is, the username and password, that were set during the addition of a credential. We have to set the target the same as before; the output will be the username and password:

- Request Credential: This is a property in which the robot displays a message dialog asking the user for username and password and stores this information as a string. This can then be used in further processes. The user can select OK to provide credentials or even cancel it if they do not want to provide credentials.