
The following are the steps to be followed to publish a workflow in UiPath:
- First, open UiPath Studio, create a new project, and give it an appropriate name.
- Go to the SETUP Ribbon and click on the Publish button. Now check whether the project has been published successfully or not:

If the workflow has been published successfully, then a dialog box will appear containing all the necessary data required to run that workflow from Orchestrator:

The Info dialog box displays all the information as mentioned in the following list:
- The URL of the Orchestrator where the project is published.
- The name of the package that has been published by you from UiPath Studio.
- The version of the package that is published to Orchestrator. When we create any project in UiPath Studio then by default the path is saved in C:UsersusernameDocumentsUiPath or it can be changed manually by the user. On creating a project, a folder is created that contains the following types of file:
- The.screenshot folder
- The.xaml file that is automatically created during automation
- project.json; this project file holds information about the project
When we publish the package to Orchestrator Server then it automatically reaches the server and can be viewed on the Packages page. However, if somehow the package is not found on the Orchestrator Server then we can add a package manually as well, as shown in the following steps:
- Click on the Upload Package option:
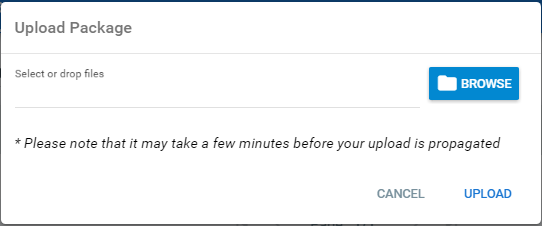
- Click on BROWSE and navigate to the location to which your package was published in the first step.
- Click on UPLOAD.
- Now search for your package by clicking on Processes and then typing your package name in the empty Search box on the Packages page.