Most of us at some time or another have written a to-do list—a list of tasks we need to perform. Maybe you put together a list of the improvements or repairs you want to make to your house. Maybe it is something simpler like a list of errands to run. Whatever the case, having a list of the tasks you need to complete can be valuable for keeping you on track.
Microsoft Office Outlook 2007 includes a feature to help you stay on track. The Tasks folder stores your to-do list. You can create tasks for yourself, assign them a due date, and easily mark them as completed. You can create one-time tasks or recurring tasks. Outlook also lets you assign tasks to others and receive status updates on the tasks from the people to whom you assign them. This section explains how to use the Tasks folder to create and manage one-time and recurring tasks, as well as assign tasks to others.
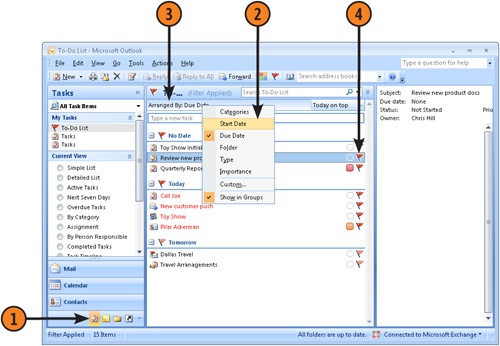
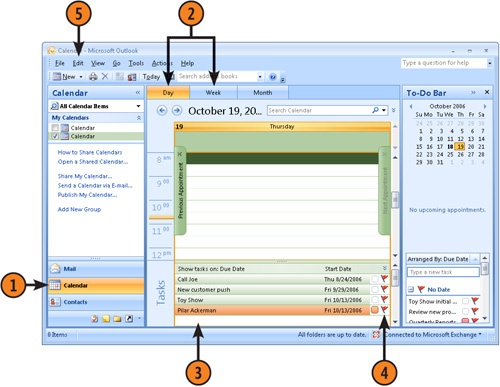
Outlook includes a Tasks folder that you can use to store your tasks and tasks that you assign to others. The Tasks folder offers a handful of ways to view and work with your tasks, including the Daily Task List that appears at the bottom of the Calendar, and the Tasks List in the To-Do Bar. The default view for the Tasks folder is the Simple List view, which shows whether the task is complete, the name (subject) of the task, and the due date.
 Click the Tasks icon on the Navigation Pane to open the Tasks folder.
 Double-click a task to open the task’s form. If you don’t have a task created yet, just double-click in the Tasks folder to start a new task.
 Click Details in the Show group of the ribbon’s Task tab to display additional task information.

- In Outlook, click the Tasks icon on the Navigation Pane to open the Tasks folder.
- When the Tasks folder opens, click the Arranged By column and choose an item by which to sort the list.
- Click Arranged By again, and click Due Date to restore the default sort method.
 Click the flag beside the task’s subject to mark the task as complete.
Tip
You can add and remove columns from the Task List to show the task data most important to you. Right-click the column header and select Field Chooser. In the Field Chooser dialog box, click a column and drag it to the column header. To remove a column, drag it from the column header to the Field Chooser dialog box. Note that you must widen some views or turn off the Reading Pane to accomplish this with some views (such as the To-Do List).