
We are going to create a speedometer to show how fast you are going, and then we are going to create a compass to show what direction you are facing. Let's dive right into it.
- Create a new actor and name it
Speedometer. Double-click it and we are going to edit it a bit. Change the Width and Height to32, and in the Attributes box, click the + button to add a new attribute. Click the Integer selector and click OK, and name itSpeed. - Let's drag in a Display Text and change the text field to
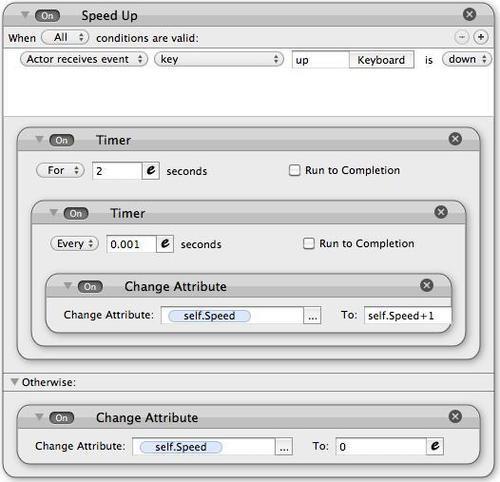
self.Speed, the size to15and the color toLime. Then create a new rule, name itSpeed Up, and change it to Actor receives event | key | up | is down. - Next, drag in a Timer behavior, change it to For
2seconds, and then drag in another Timer behavior and change it to Every0.001seconds. Then drag in a Change Attribute behavior and change the behavior to Change Attribute: | self.Speed | To: | self.Speed+1. - Next, expand the Otherwise roll-out and duplicate the Change Attribute behavior, changing to Change Attribute: | self.Speed | To: | 0.
- As with all the other steps, take a look at the next screenshot to see if you filled out everything correctly.
- Now, drag our Speedometer into the relevant box of our HUD. Make sure that it is in the HUD layer, so it follows the camera. Then duplicate the Speedometer actor and rename it
Compass. - Double-click it so we can edit it. Delete the Speed Up rule and change the Display Text behavior's Text field to
game.PlayerR. Go back to the Scene Editor and drag it into the Compass part of our HUD.
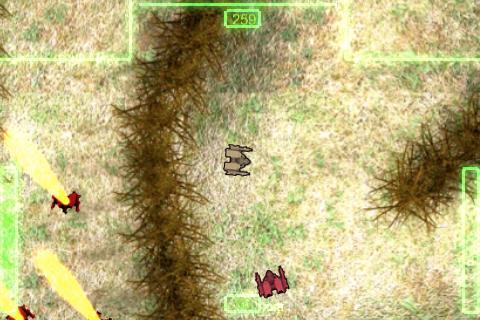
The previous screenshot shows the final product, the burning twisted wreckage and the enemies detecting us when we get close. We also have a compass and a speedometer!
We added some spice to our user interface by creating a simple speedometer and a compass. The compass can be used for objective-type missions when you want the player to get to a certain area in the map.
That's it for this chapter my friend! I hope you learned a lot from it. In the next chapter, we are going to finish up the game mechanics, and add in the second level with the turrets and more! We are almost done! Prepare yourself for another fun chapter, I'll see you there!
- How would you create an image that looks like it's glowing?
a. In your imaging software, create an image with a Gaussian blur. Then, in GS add an Additive Blending Mode
b. In your imaging software, create a "Pixelated" filter. Then, in GS, add an Opaque Blending Mode
c. In your imaging software, create a "Bloom" filter. Then, in GS, add a behavior that will set the Bloom Effect to On
d. None of the above
- True or False: GameSalad can do complex things such as targeting
a. True
b. False
- How would you create bullets?
a. Within GameSalad, you must create an NSMutableArray then code them within a timer
b. Create a Spawn Actor Behavior within a timer to constantly spawn, or outside of one just to spawn once
c. Create a shoot Behavior within the bullet's behaviors
d. None of the above