
Now, we are going to add a storyline screen. This is going to inform the player of his objectives. Create another level back in the project Home screen and name it Level 1 — Objectives and double-click it, so we can edit it.
- This screen is going to be pretty cool, we are going to create a new game attribute. So click the Attributes tab with the Game button selected, then click the + button to create a new attribute. Select text, then click OK.
- Rename your new attribute to
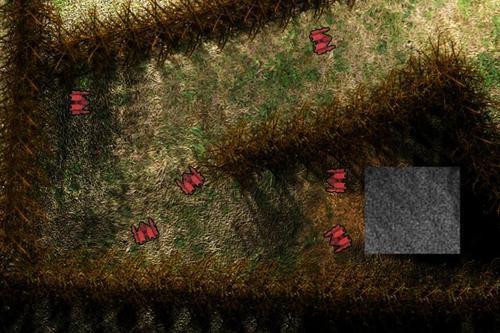
Player Name, and change the text to something generic likeCommander. - What we are going to do with this is, we are going to get the player to type in their name, and GameSalad will save it. So every time a character talks to you, they will use your name! Cool huh? Ok, let's continue. Create an awesome-looking image for the objective, something that looks similar to the following:
- Import this image into GameSalad and create an actor out of it by dragging it from the Library to the Inspector, then drag it into the scene. Double-click it so we can edit it.
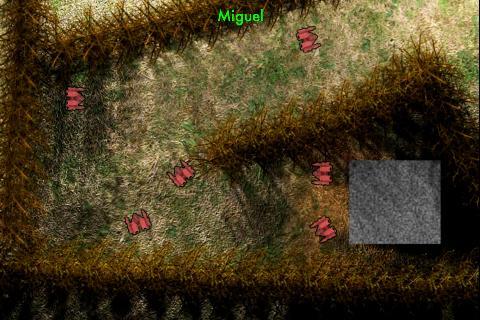
- Simply add in a Display Text behavior, and click the italic e button beside the textbox. Now, click the black down arrow button, then click Game | Player Name.
- Change the Font to Futura, Size to
15, and Color to green. Then we need to add in one more behavior; find Keyboard Input and drag it in. Change the settings to Change Attribute: | game.Player Name | Keyboard Prompt | Type in your name. - This will now bring up a keyboard and textbox. You can type in your name and it will display it on our image.
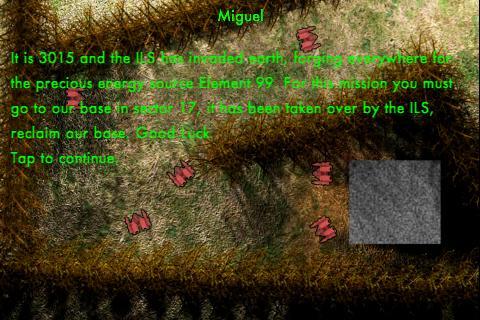
- Pretty cool! Now, we have to continue the writing. For this, we have to create another actor, so create it in the Inspector and name it
Text, then drag it into your level, and double-click it so we can add our text. - Add in a Display Text behavior and type in whatever you like. You can explain a little bit of the back story, and your objectives, then change the Alpha to
0. If you don't remember how to do this, it's easy! You will find it in the Color drop-down in the Attributes box of the actor. - Now, create a new rule, and we are going to use the same Tap to Begin behavior. Change it to Actor receives event | touch | is | pressed.
- Then drag in a Change Scene behavior and leave it at Next Scene.
..................Content has been hidden....................
You can't read the all page of ebook, please click here login for view all page.