- Once you have finished all your testing, right-click the app and click Compress "..." (this being the name of the file), which will now "zip" your app. Now that the app is all done, you can close GameSalad and go to www.itunesconnect.apple.com. Log in and click Manage Your Applications, then on the next page, click Add New App. If you are signed in for multiple developer accounts for iOS and Mac, click iOS on the next page.
- Change the app name to whatever you like. The SKU number is just a number to identify your app, I usually change it to the current time that I am uploading it, so in this case,
955, and the Bundle ID to the one you set up (again we discuss all of this in the appendix). Click Continue and you are asked to select an availability date, price, and specific stores that you want your app to show up in as shown in, the following screenshot:
Tip
Just a note on pricing, there are 85 different price tiers all ranging from $0.99 all the way to $999.99 USD. Think carefully when you are choosing your price; if you set it too high, no one will want to buy it. Start off at $0.99, or price tier 1, then if you get little or no downloads, change it to free later. Now we have to fill out all the Metadata, this is all the stuff the user will see on the App Store when they download it. All of this information is very important, especially the description. You have to grab the attention of the user before he or she even looks at the screenshots. Think about what you are going to say because it can make or break your app. If it doesn't sound interesting, why will anyone buy it?
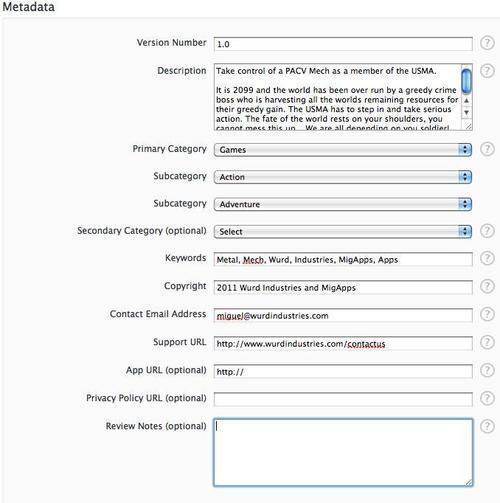
- You will then be met with the Metadata screen as shown in the previous screenshot. In this page, you will be asked to fill out the version number, description, categories, keywords, copyright information, contact e-mail (customer/tech support), support URL (if you have a website set up for your app), app URL, privacy policy URL, and the review notes.
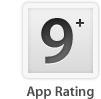
- Now, if you scroll down you have to rate your app, not 4 out of 5 Stars, but kind of like an ESRB or PEGI rating. Rate the amount of cartoon and realistic violence, sexual content, nudity (any app with this rating may be rejected by Apple, they do not allow any games or apps with explicit nudity), profanity, crude humor, alcohol, tobacco, drug use or references, mature/suggestive themes, simulated gambling, horror/fear themes, prolonged graphic or sadistic realistic violence, graphic sexual content and nudity, these have 3 degrees of frequency: None, Infrequent/Mild, and Frequent/Intense.
- Based on your rating, you will get 1 out of 5 ratings for your app. They are as follows:
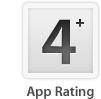
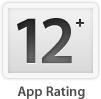
This app can be used by children; there is almost no violence or anything offensive whatsoever in this game.
Example: Toy Tennis
This app will include mild cartoon or fantasy violence, nothing severe.
Example: iMMUNE 1, and iMMUNE 2: Rise of the Salmonella
This will be more intense, frequent violence, profanity, or horrific images that may offend users.
Example: Rage
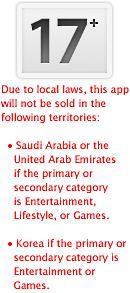
This is pretty self-explanatory; this app will be very intense, it will include lots of graphic violence, frequent intense use of profanity, or crude humor.
Example: Hilarious Pickup Lines 17+
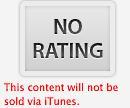
This app, as you can see, will not be published through iTunes, the app is so explicit or offensive, that Apple will automatically reject it.
- The game that we have been creating is only 9+, so now let's upload it.
- You have to upload a big icon as well, it's 512x512. This will be the main icon image that you will see on the App Store. It has to be close to the current icon that you will see on your home screen, and the one you provided in the GameSalad project when you published it, otherwise it will be rejected by Apple.
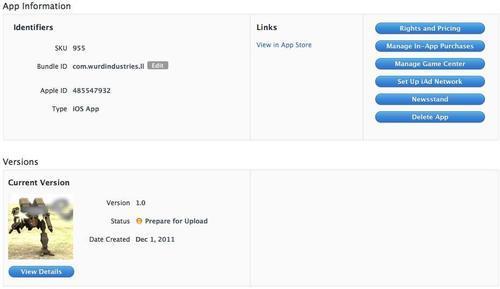
- Next upload some screenshots, preferably some really awesome-looking ones! Click OK and your app will be created. Following is a screenshot of the application information screen: