
This is the 3D Studio Max interface, it looks quite confusing, doesn't it? It's actually simple. I've used 3D Studio Max since I was in school and I love it. I made a couple of movies and animated into live-action video, anyways enough rambling.

- Let's get into some simple character creation! Let's start off by creating a box.
- The dimensions of the box are 20x20x20, (that is, Length, Width, and Height are
20.0) - Change the segments to
10each, this will make it easier for editing the shape of the box later, The more segments you have, the more flexibility you will have when modeling. We are going to make the box rounder.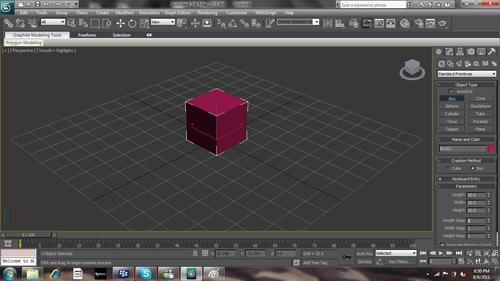
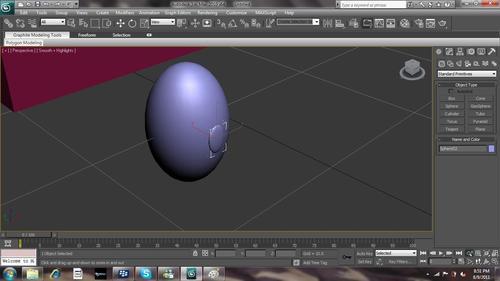
- Next create a sphere, and stretch it along the Z axis (in layman's terms, "we are going to make it taller").
- Shift + click the sphere to clone it, then scale it down to make the pupil of an eye.
- Now let's move the eye to the face, and clone the eye and pupil to make a 2nd eye.
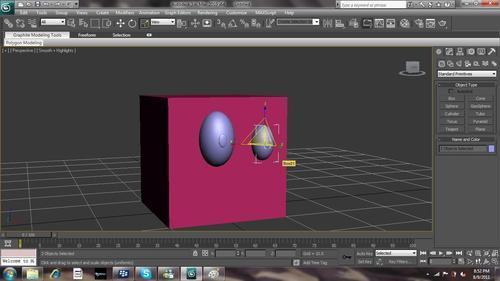
- Create another sphere, but make it longer, and flatten it along the Y axis.
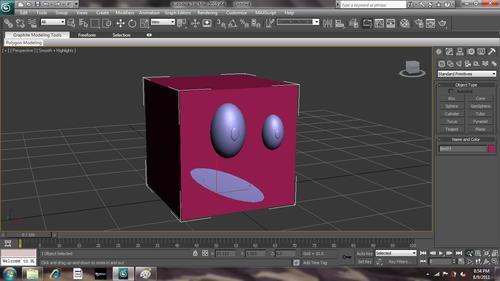
- Drag the new sphere on the box for the mouth. Now, we are going to look after the textures.
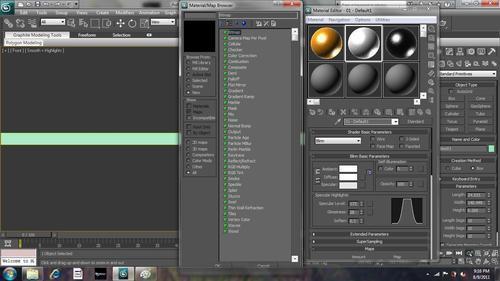
- Open up the Material Editor. I used the following settings:
- Diffuse: Orange
- Specular Level: around
170 - Glossiness:
28 - Reflection | Falloff | Falloff Type | Fresnel (For a reflection around the edges)
- Bump | Speckle:
2strengthThe given settings can be seen in action in the following screenshot.
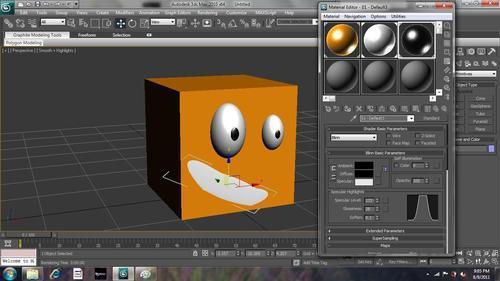
- Drag the new material to the body of our character.
- Duplicate the material twice and change the color of one to white and the other to black. Drag the whites to the eyes and the mouth, and the black to the pupils.
- You could give the mouth more of a smile and reposition it to directly underneath the eyes. I have added a Mesh Smooth to the box to round out the edges.
- Create an omni light and move it in front and off to the side of the character.
- Press the F button to get to the Front View.
- Now we are going to render the character. Press F10 to bring up the render dialogue, and change the render size to 50x50.
- Adjust the camera and light, so you can see the character at its best.

Now save this image as a PNG and let's move on to the platform image.
- Create a long and thin box approximately 350x10 (there's no need to edit the segments on this box because we aren't going to be manipulating them).
- Go to the Material Editor.
- Change the material Diffuse to Bitmap and select a texture of your choice. Textures are so easy to find, simply search for something like
"Wood Texture"and you'll be able to find one, no problem!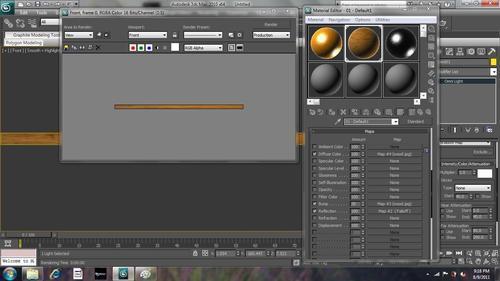
- Remove the Specular, Glossiness, and Reflection.
- Drag the Map from the Diffuse to the Bump, and change the strength from
2to100. - Render the image and save it as a
PNG. - That's it! Let's import these new images into GameSalad and drag the new images into the Character and Platform actors.
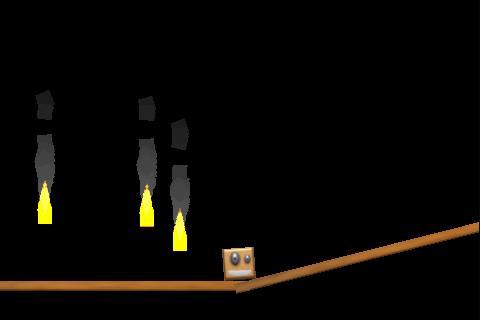
We have our new updated images in our first level, it looks beautiful! The torches look quite excellent too, don't they?
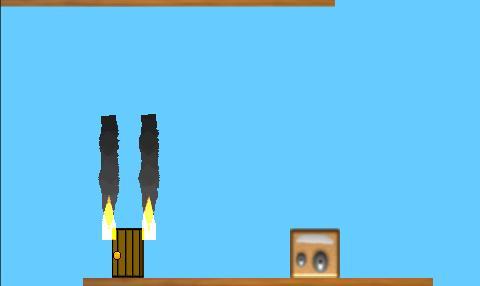
Looks like our player had another accident, but hey, the level looks good!

In this section, we looked at an alternate method for creating sprites, using 3D software. This comes in handy when you want to create a realistic-looking game, or it can even be used to create cartoony-looking games! It all depends on what your preference is.
If you're able to, create a 3D character on your own, make him look awesome!
You can of course do more with 3D images, such as using it on the background and the door. Both the rendered images and the hand-drawn images have their advantages. You can draw cartoony and realistic images with both Photoshop and 3D Studio Max, you just need to know how to do it. With Photoshop you can use textures, lighting effects, and more, or you can keep it all solid colors and thick black outlines for the cartoon look. With 3D Studio Max, you can do realistic images with nice textures, reflections, glossiness, lighting, and bump maps for the realistic look, or you can use the Ink and Paint map for the cel-shaded cartoon look. This effect was made famous in The Legend of Zelda: Wind Waker. It all depends on which software you find it easier to use.
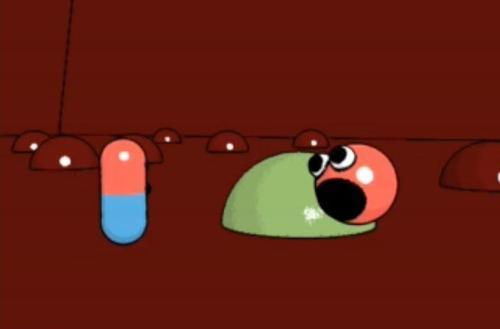
The previous screenshot is from the introduction video of iMMUNE, my first game released on the App Store. The whole game was created with 3D Studio Max Ink and Paint textures.
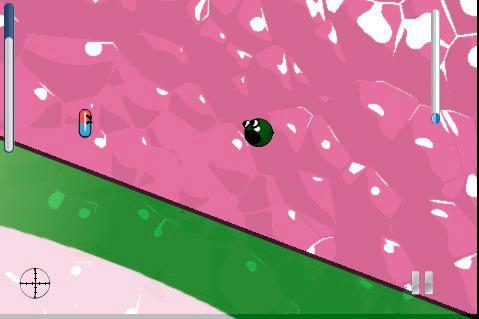
The previous screenshot is from iMMUNE, all the characters and background images were rendered with the Ink and Paint tool; as you can see, when put together they have a funky cartoon look to them that really looks nice. The next image was created with a mix of 3D Studio Max and Photoshop. When done right, they can both look either realistic or cartoon.
Are you getting all revved up to create a better game? Do you know what art style you want to use? Are you going for a hilarious action-comedy like Angry Birds? Or are you making a dark realistic game like Abuse? You may be able to start creating a game right now, but we haven't really dealt with any of the more complex areas of GameSalad, so just be patient, we are getting there. QUIZ TIME!