
Now that we are done with our company logos, we are going to create the menu.
- Add a new actor, and name it
Text Buttonor something similar. Drag it into the middle of the level and double-click to edit it. - Add a new rule to the actor, change it to Actor receives event | touch | is | pressed;; then add a Change Scene behavior to the rule and change its setting to Next Scene.
- Then add a Display Text behavior, and change the text to
Tap to Play. For now, this is going to be the only button we add; but in the next chapter, we will add some more. - Create a new level and name it
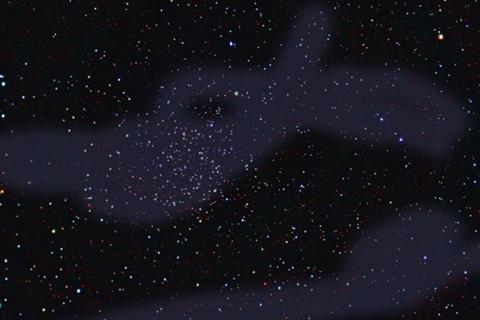
Level, this is going to be our playground for our spaceship to save the world. Next, we have to design the sprites:Our background: Following is a cool background screenshot for our level, lots of stars, and some space dust floating around.

..................Content has been hidden....................
You can't read the all page of ebook, please click here login for view all page.