
For this section, we are going to create an attribute, the value of which will be reduced by 1 each time we destroy an enemy. Once all the enemies are destroyed it will take us to another level.
- For this, we have to create a new game-wide attribute. So, go into your first playable level. In the Inspector with the Game button selected, click the Attributes tab, then click the + button to create a new attribute. Select the Integer option. Then click the Choose button and rename it to
Enemies Left. - Go to the first level, Level 1, and double-click the HUD actor in the level, click the big lock button to edit this level's HUD only. Drag in a Timer attribute and set it to For
0.1second. - Then drag in a Change Attribute behavior, and change it to Change Attribute: | game.Enemies Left | To | 8.
- Two big asteroids create three small asteroids, so 2 + 6 = 8. So, this will change the Enemies Left attribute to
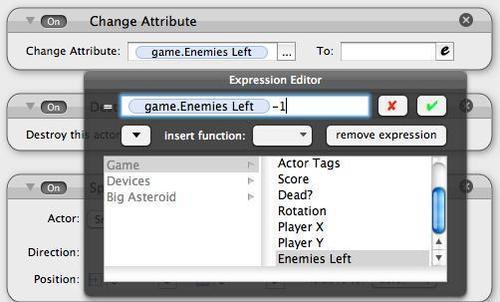
8in the first fraction of a second of gameplay. Unfortunately, GameSalad doesn't have a behavior to detect the start of the level as in The Games Factory, but this will work. - Now, let's go back into the Big Asteroid actor (the main one in the Inspector, not the one in the levels because that just won't work), open the Destroy group that we created, and add in a Change Attribute behavior at the very top of the group. Change it to the following Change Attribute: | game.Enemies Left | To: | game.Enemies Left -1.
- Do the same for the Small Asteroid, and the Alien Craft actor. Now, double-click the HUD actor again as we are going to add in a new rule. Click the Create Rule button, rename it to
Next Level, and change it to Attribute | game.Enemies Left | = | 0. - Add in a Timer behavior, change it to Every
2seconds. - Drag in a Change Scene and change it to
Next Sceneif you have to.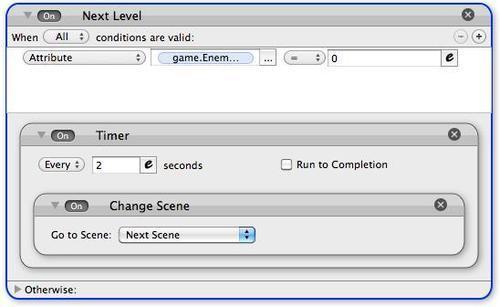
- Test the level just to make sure it works. If it doesn't, just go back through the steps to make sure everything was filled out properly.
- We now have to repeat the steps for the HUD for each level. So, to save some time, create a new group within the HUD actor, name it
Enemy Detection, drag in all the behaviors into the group, then drag that group into the custom section of the Behaviors, as shown in the following screenshot: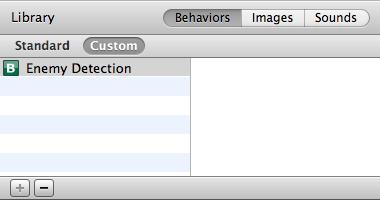
- That will make things so much easier because when editing the rest of the levels, you don't have to keep creating all the behaviors each time. Now, let's go over the figures for all the levels:
Level
Number for Enemies in the level
1
8
2
16
3
24
4
25
5
26
6
27
- Just go into each level, double-click the HUD actor, and drag in the custom Enemy Detection behavior, changing the Enemies Left value accordingly.
- Test each level to make sure everything works.
..................Content has been hidden....................
You can't read the all page of ebook, please click here login for view all page.