
SSH key pairs allow users to connect to their Linux instances without requiring passwords, and it is the default access mechanism for almost all Linux images that you will use for OpenStack. Users can manage their own key pairs through the OpenStack Dashboard. Usually, this is the first task a new user has to do when given access to our OpenStack environment.
Load a web browser, point it to our OpenStack Dashboard address at http://192.168.100.117/, and log in as a user in the default domain, such as the developer user, created in the Common OpenStack identity tasks recipe in Chapter 2, The OpenStack Client, with the cookbook4 password. The URL for our dashboard is same as the public load balancer IP as discussed in Chapter 1, Installing OpenStack with Ansible. If you need to find out at what URL your Horizon is, use public IP from the OpenStack catalog list as described in Chapter 3, Keystone – OpenStack Identity Service.
Management of the logged-in user's key pairs is achieved with the steps discussed in the following sections:
Key pairs can be added by performing the following steps:
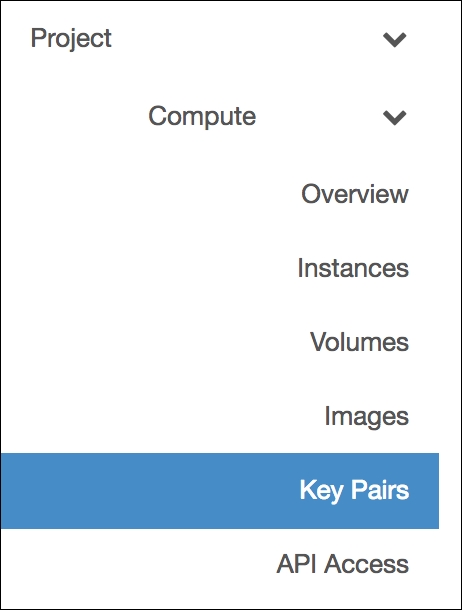
- A new key pair can be added to our system by clicking on the Key Pairs tab in the Project | Compute section:
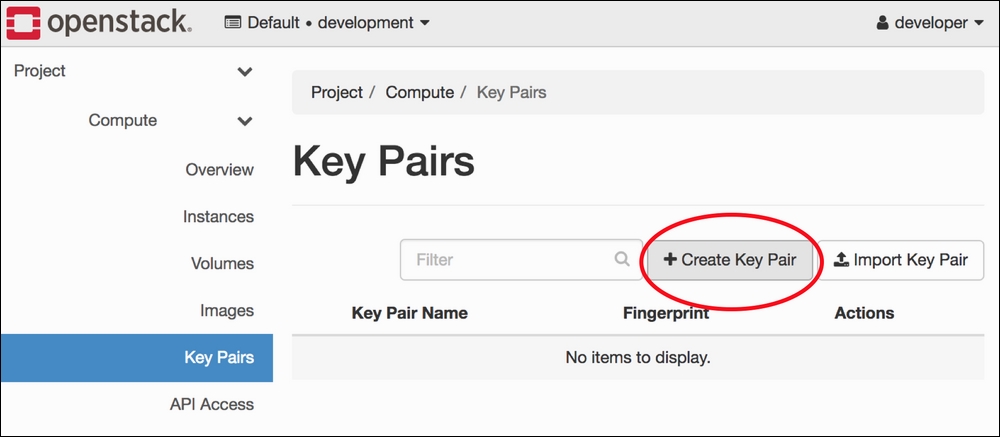
- We will now see a screen allowing key pair management. In the right-hand corner of the screen, there is a Create Key Pair button. Click on this button to create a new key pair:
- On the Create Key Pair screen, type in a meaningful name (for example,
developer) ensuring that there are no spaces in the name, and then, click on the Create Key Pair button: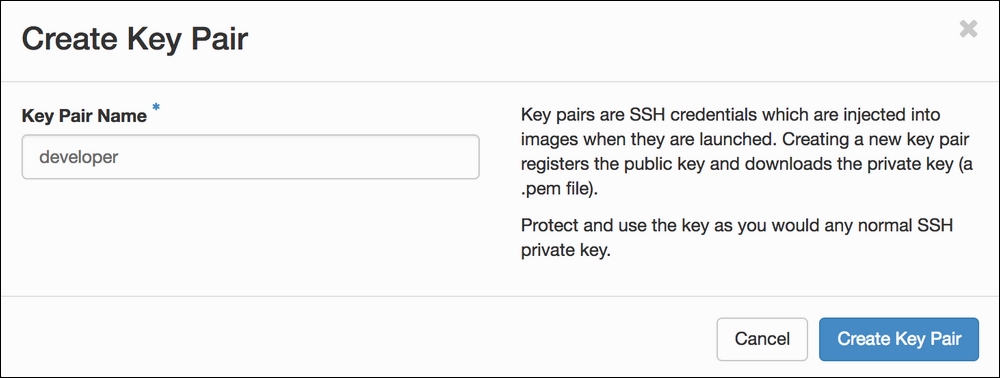
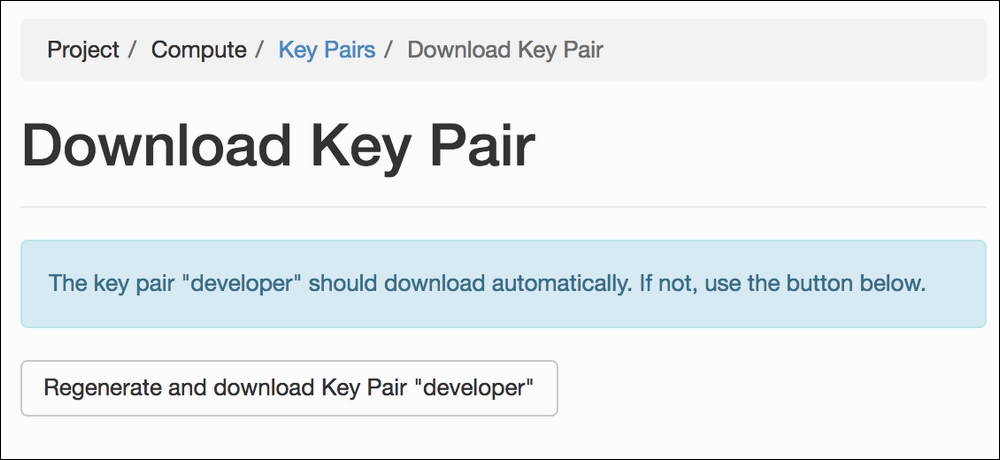
- Once the new key pair is created, the private key portion of our key pair will automatically download. If not, click on the Regenerate and download Key Pair "developer" button:
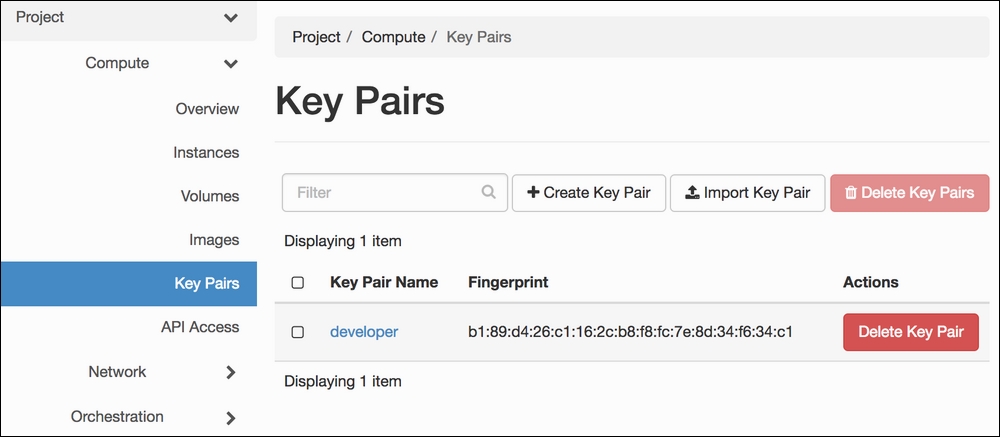
- Click on the Key Pairs link to return to our list of key pairs. We will now see the newly created key pair listed. When launching instances, we can select this new key pair and gain access to it only using the private key that we have stored locally:
Key pairs can be deleted by performing the following steps:
- When key pairs are no longer required, we can delete them from our OpenStack environment. To do so, click on the Key Pairs tab on the left of our screen.
- We will then be presented with a screen allowing access to key pair management. Under Key Pairs, there will be a list of key pairs that we can use to access our instances. To delete a key pair from our system, click on the Delete Key Pair button for the key pair that we want to delete:

- We will be presented with a confirmation dialog box:
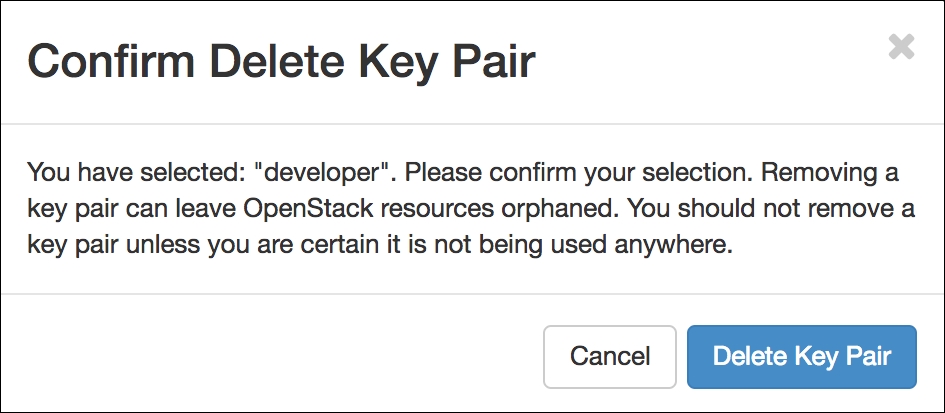
Once we click on the Delete Key Pair button, the key pair will be deleted.
If you have your own key pairs that you use to access other systems, these can be imported into our OpenStack environment so that you can continue to use them for accessing instances within our OpenStack Compute environment. To import key pairs, perform the following steps:
- We can import key pairs that have been created in our traditional Linux-based environments into our OpenStack setup. If you don't have one already, run the following from your Linux-based or other Unix-based host:
ssh-keygen -t rsa -f cookbook.key - This will produce the following two files on our client:
cookbook.keycookbook.key.pub - The
cookbook.keyfile is our private key and has to be protected as it is the only key that matches the public portion of thecookbook.key.pubkey pair. - We can import this public key to use in our OpenStack environment so that when an instance is launched, the public key is inserted into our running instance. To import the public key, ensure that you're at the Access & Security screen, and then in Key pairs, click on the Import Key Pair button:

- We are presented with a screen that asks us to name our key pair and paste the contents of our public key. So name the key pair, and then copy and paste the contents of the public key into the space—for example, the contents of
cookbook.key.pub. Once entered, click on the Import Key Pair button: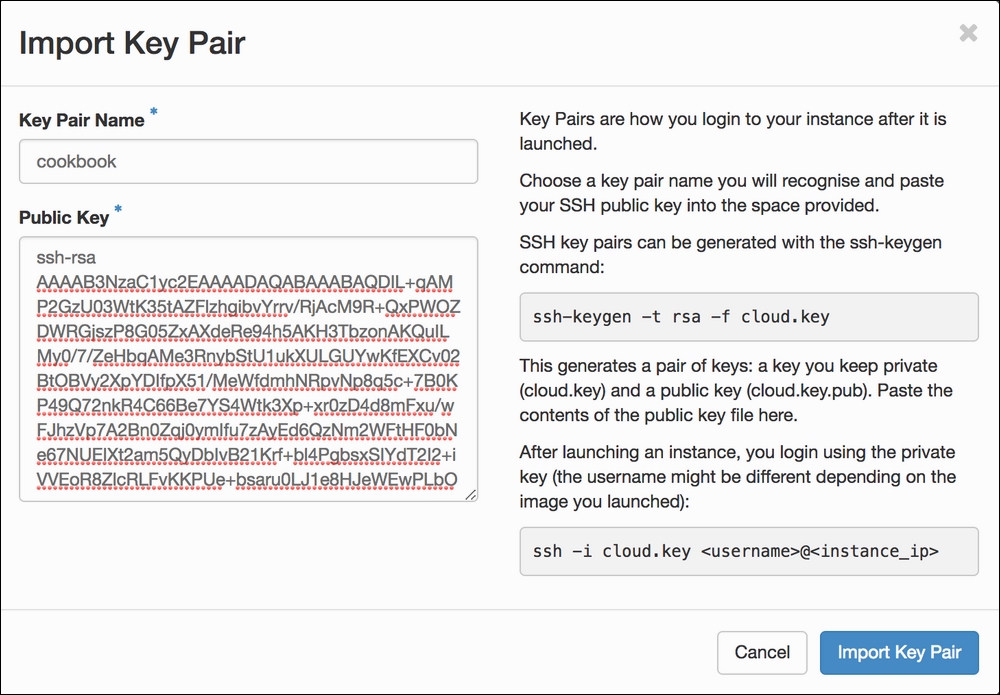
Once completed, we see the list of key pairs available for that user, including our imported key pair:

Key pair management is important as it provides a consistent and secure approach for accessing our running instances. Allowing the user to create, delete, and import key pairs to use within their projects enables them to create more secure systems.
The OpenStack Dashboard allows a user to create key pairs easily. The user must ensure, though, that the private key that they download, is kept secure.
While deleting a key pair is simple, the user must remember that deleting a private key that is associated with running instances will remove access to the running system. Deleting a key pair from the dashboard will not delete keys from instances that are already running. Every key pair created is unique regardless of the name. The name is simply a label, but the unique fingerprint of the key is required and cannot be recreated.
Importing key pairs has the advantage that we can use our existing secure key pairs that we have been using outside of OpenStack, within our new private cloud environment. This provides a consistent user experience when moving from one environment to another.