
The OpenStack Dashboard has the ability to view, create, and edit Neutron networks, which makes managing complex software-defined networks much easier. Certain functions, such as creating shared networks and provider routers, require a user to be logged in to the OpenStack Dashboard as a user with admin privileges, but any user can create private networks. To help with managing complex software-defined networks, the OpenStack Dashboard provides means to graphically view and update the network topography.
Load a web browser, point it to our OpenStack Dashboard address at http://192.168.100.117/, and log in as a user in the default domain, such as the developer user, created in the Common OpenStack identity tasks recipe in Chapter 2, The OpenStack Client, with the cookbook4 password. The URL for our dashboard is same as the public load balancer IP as discussed in Chapter 1, Installing OpenStack with Ansible. If you need to find out at what URL your Horizon is, use public IP from the OpenStack catalog list as described in Chapter 3, Keystone – OpenStack Identity Service.
This recipe will walk you through creating and deleting networks using the OpenStack Dashboard:
To create a private network for the logged in user, carry out the following steps:
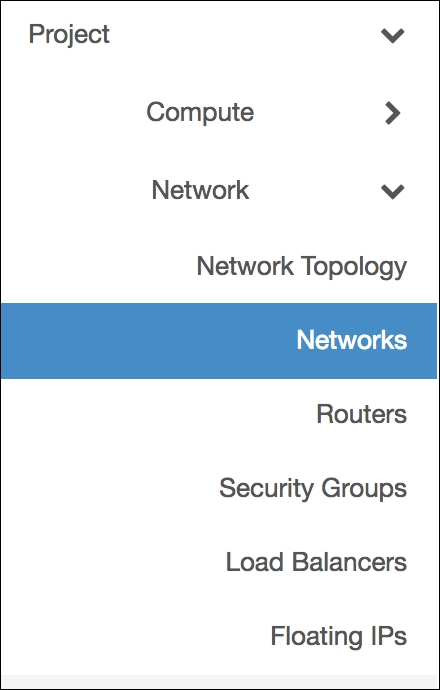
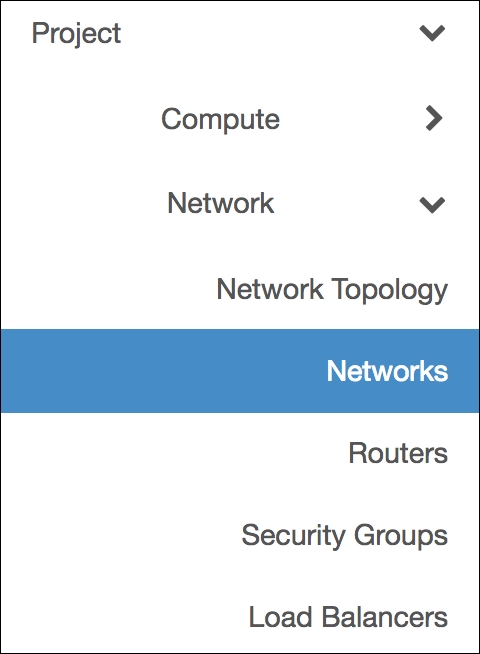
- To manage networks within our OpenStack Dashboard, select the Networks tab as shown in the following screenshot:
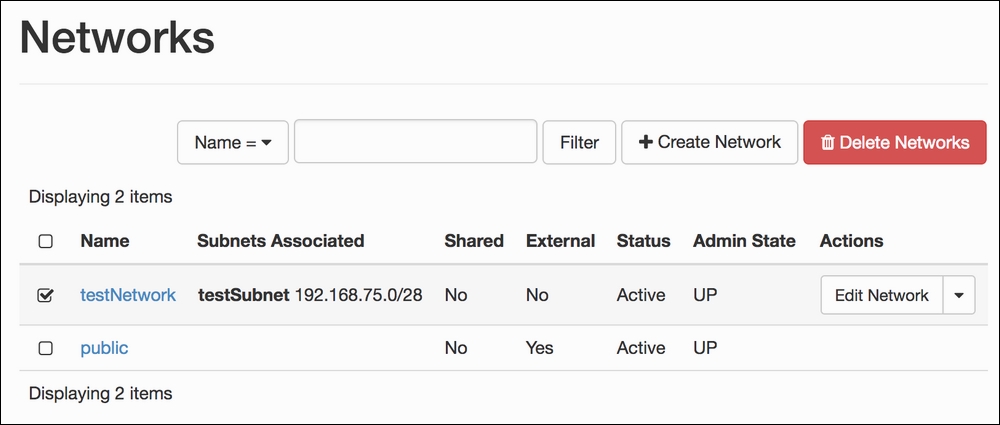
- When this has been selected, we will be presented with a list of networks that we can assign to our instances:

- To create a new network, click on the Create Network button.
- We will be presented with a dialog box that first asks us to name our network:
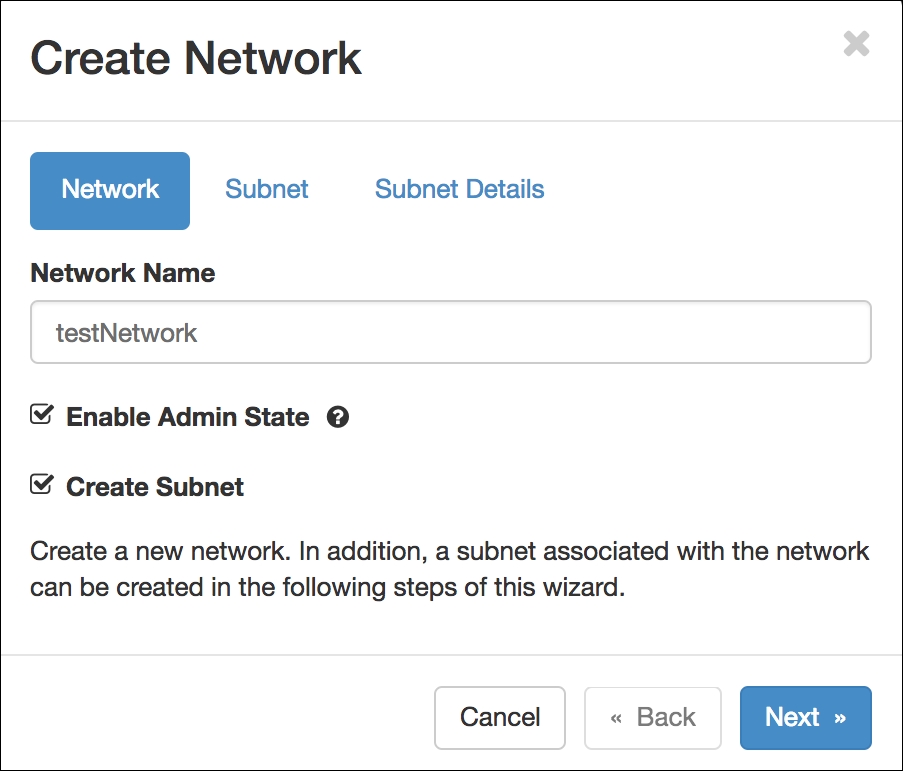
- After choosing a name, and keeping the admin state set to enabled (which means our network will be on and available for instances to connect to) we then assign a subnet to it by selecting the Subnet tab or clicking on the Next button:

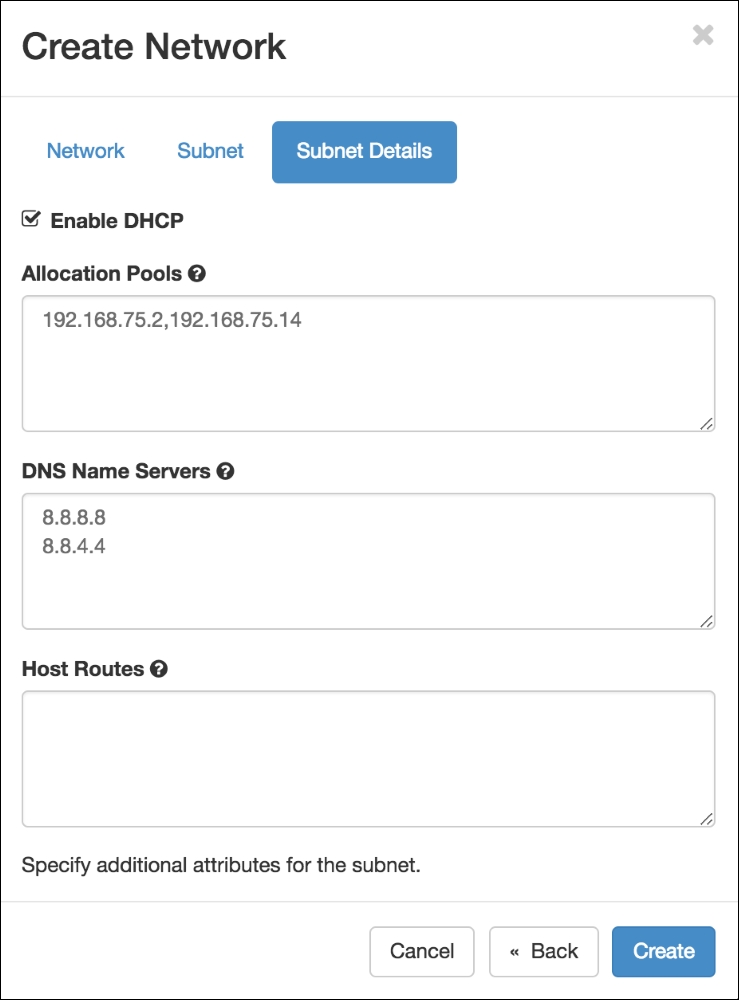
- After filling in details for our subnet, we select the Subnet Details tab that allows us to configure details such as DHCP range, DNS, and any additional routes that we want when a user chooses that network:
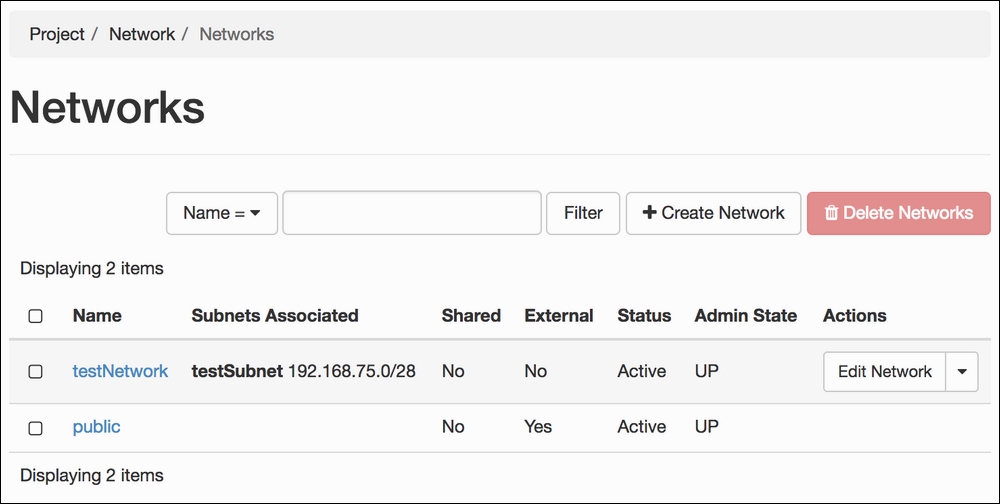
- After filling in all the details, clicking on the Create button makes this network available to the users of our project and takes us back to the list of available networks:
Once a private network is added, it probably needs to connect to the outside world. If you have a public network, simply create a router between your private network and the public network.
To manage routers, execute the following steps:
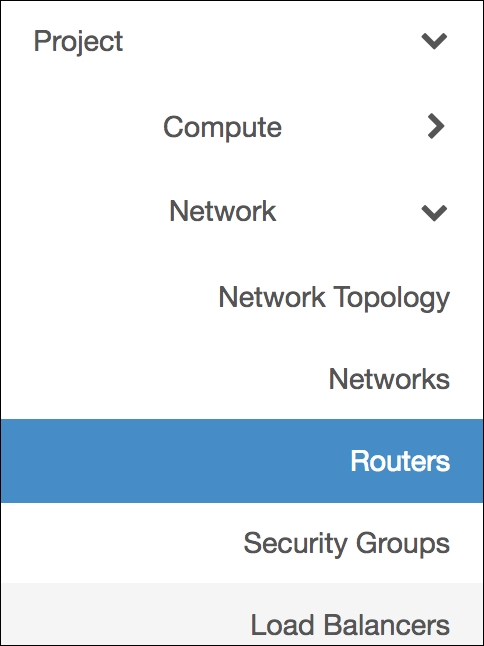
- Select the Routers tab, as shown in the following screenshot:
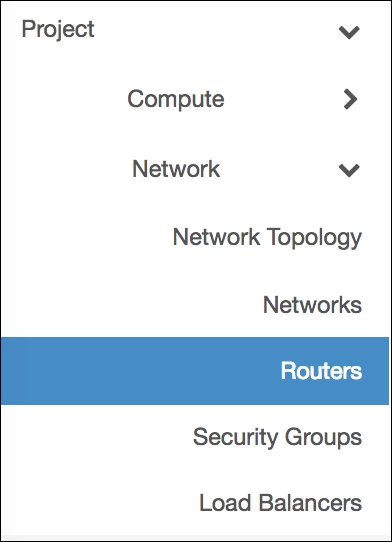
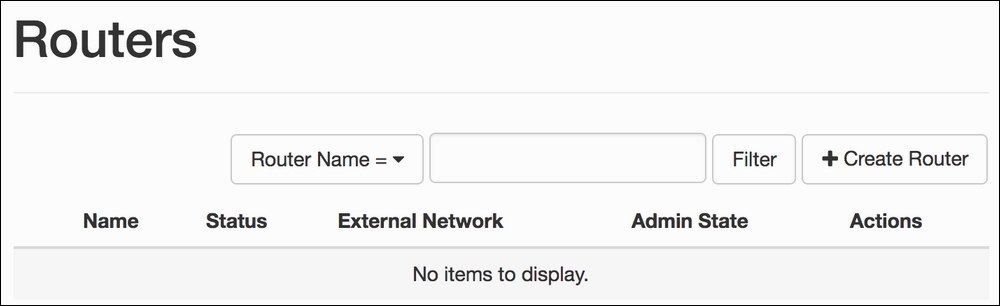
This will show you available routers for logged in users:
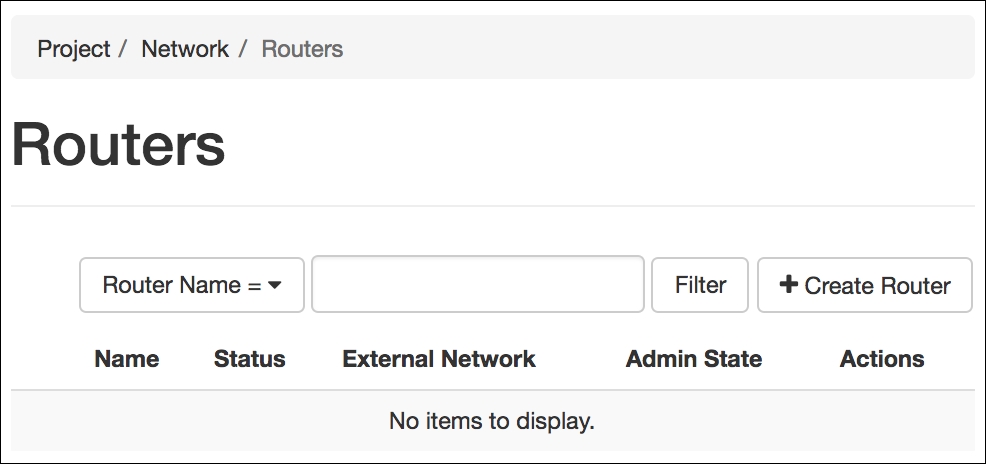
- Click on the Create Router button to add a new router:
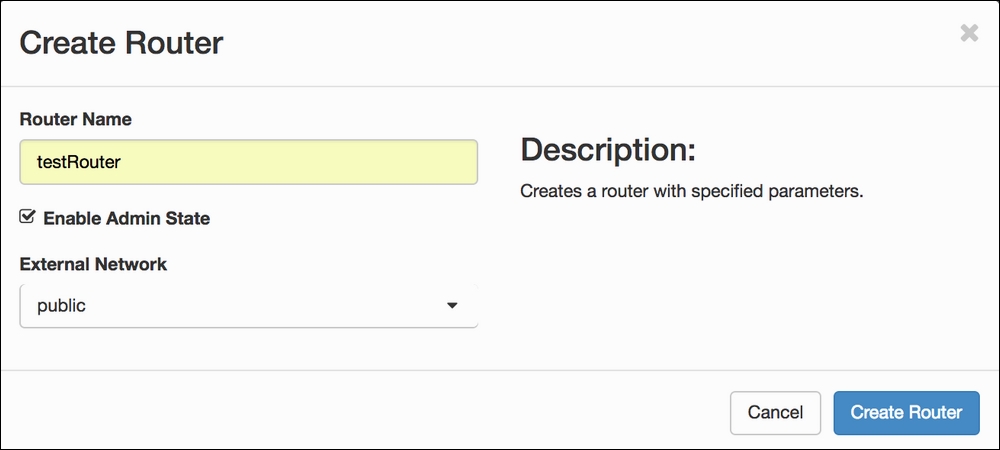
- Enter a router name and select external network. In our case, we will select the public network. Click on the Create Router button. A list of available routers will be shown, including the newly created router:

- Click on the newly created router's name to view the details:

- This router is still missing an interface. To add the private network as an available interface, select the Interfaces tab:
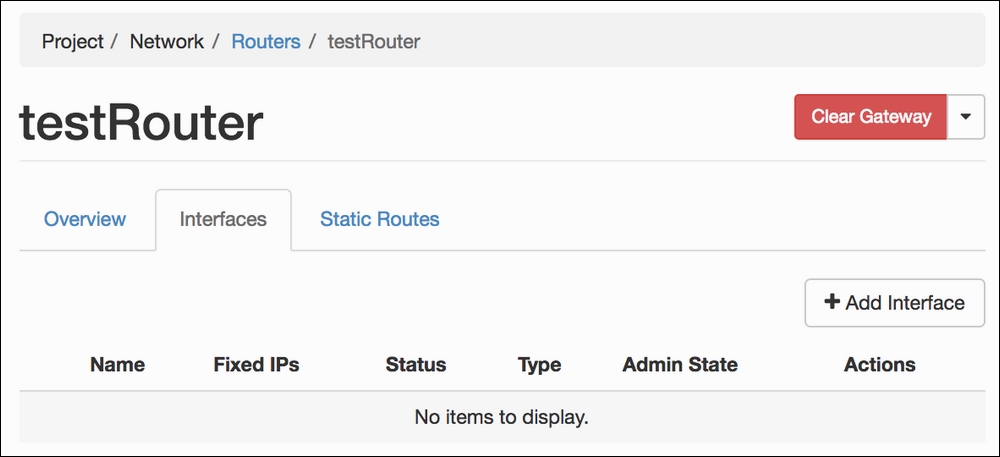
- Click on the Add Interface button to add the missing interface:
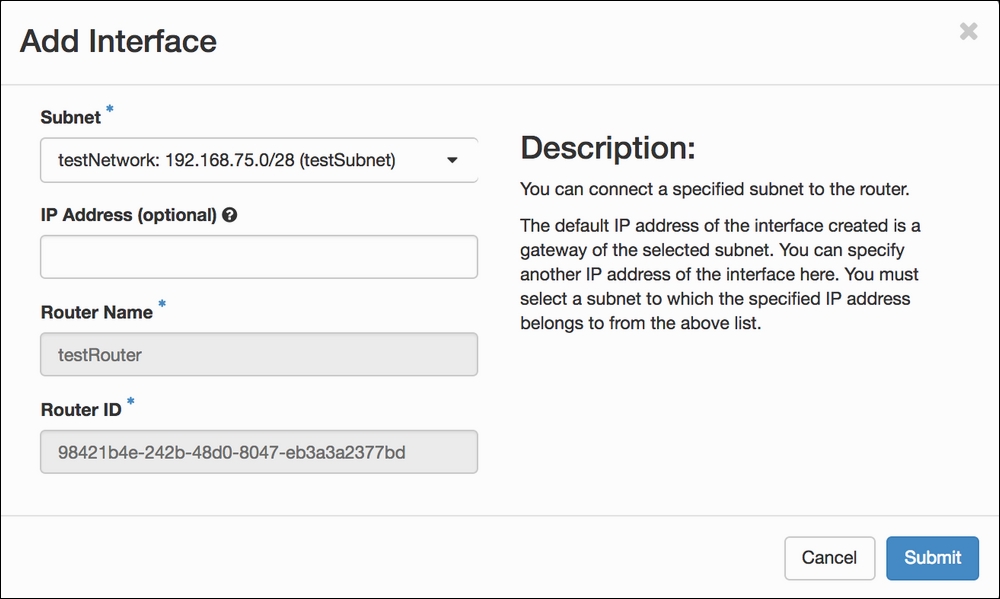
- Select the subnet that needs to be connected to the public network via our router, and click on the Submit button. Now our router has an additional interface:

The OpenStack Dashboard gives users and administrators the ability to view the topology of our environment. To view the network topology, carry out the following steps:
- To manage networks within our OpenStack Dashboard, select the Network Topology tab, as shown in the following screenshot:

- Clicking on the Network Topology tab gives a rich interface that gives an overview of our networks and instances attached to them as follows:
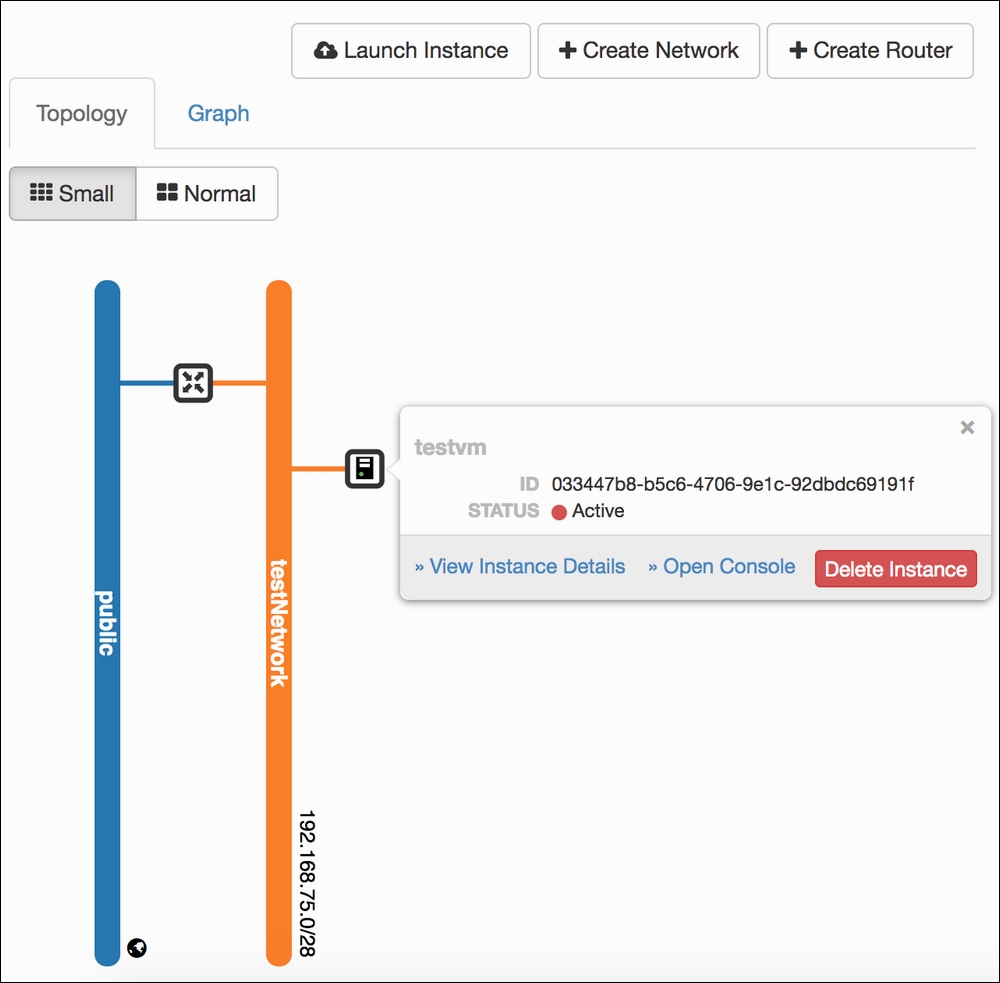
- From this interface, we can click on various parts of this interface, such as the networks (which takes us to the manage network interface) and the instances (which takes us to the instances interface), as well as to create new networks, routers, and launch new instances.
To delete a private router for a logged in user, carry out the following steps:
- To manage routers within our OpenStack Dashboard, select the Routers tab, as shown in the following screenshot:
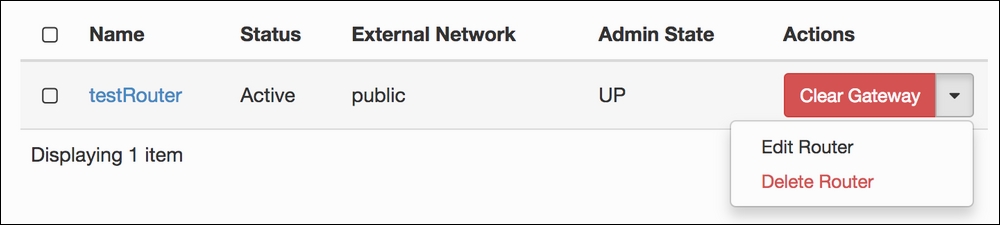
- When this has been selected, we will see all logged in user's the available routers:
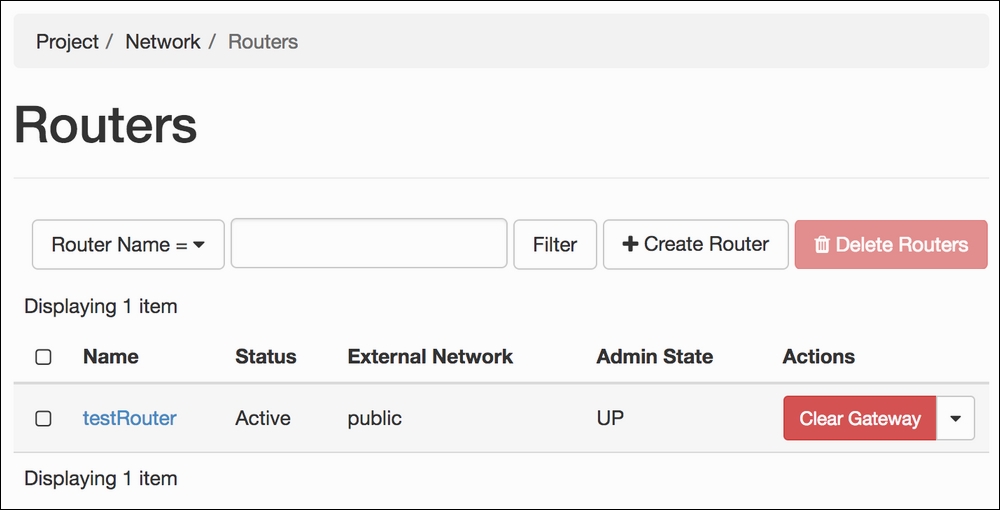
- To delete a router, click on the drop-down action menu item next to the Clear Gateway button and click on the Delete Router option:
- Once the router is deleted, you will be presented with a list of available remaining routers:
To delete a private network for a logged in user, carry out the following steps:
- To manage networks within our OpenStack Dashboard, select the Networks tab, as shown in the following screenshot:
- When this has been selected we will be presented with a list of networks that we can assign to our instances:

- To delete a network, select the checkbox next to the name of the network we want to delete, then click on the Delete Networks button:
- We will be presented with a dialog box asking us to confirm the deletion:
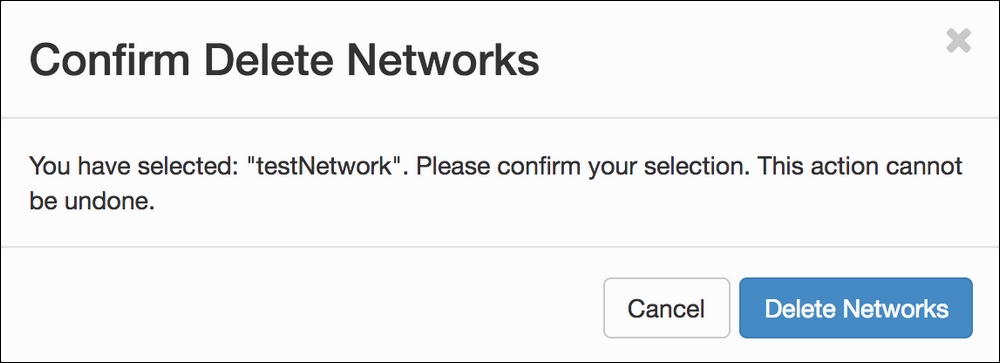
- Clicking on the Delete Networks button will remove that network and return us to the list of available networks.
The ability to view and edit Neutron networks is a convenient feature introduced in the one of the earlier releases of OpenStack. Managing Neutron networks and routers can be quite complicated, but having a visual aid, such as the one provided by the OpenStack Dashboard, makes this much easier.
As an administrator (a user with the admin role), you can create shared networks. The same process applies for the preceding recipes, but you are presented with an extra option to allow any created networks to be seen by all projects.