
Users can create custom images of various operating systems that can be used within an OpenStack environment. Tools such as cloud-init can be installed in the image to provide a method of bootstrapping an instance once it has been deployed.
Note
The use of cloud-init is beyond the scope of this book. More information can be found at https://cloud-init.io.
To begin, ensure that you are using an operating system that is not the OpenStack environment used throughout this book. Software packages and libraries needed to create images may conflict with the software currently installed, and could result in a broken environment. In this example, we will use a virtual machine configured with Ubuntu 16.04 LTS to create a custom CentOS 7 image.
The following packages are prerequisites for the host building of the image:
qemu-kvmlibvirt-binvirt-manager
Using apt, install the packages with the following commands:
sudo apt update
sudo apt install qemu-kvm libvirt-bin virt-manager
Carry out the following steps within the virtual machine to create a custom image:
- Change to your home directory and create a kickstart file named
ks.cfgwith the following contents:cd ~/ install text url --url http://mirror.rackspace.com/CentOS/7/os/x86_64/ lang en_US.UTF-8 keyboard us network --onboot yes --bootproto dhcp --noipv6 timezone --utc America/Chicago zerombr clearpart --all --initlabel bootloader --location=mbr --append="crashkernel=auto" part / --fstype=ext4 --size=1024 --grow authconfig --enableshadow --passalgo=sha512 rootpw openstack firewall --disable selinux --disabled skipx shutdown %packages @core openssh-server openssh-clients wget curl git man vim ntp %end %post %end
- Create an empty 10 GB virtual disk to be used by the CentOS virtual machine:
sudo qemu-img create -f qcow2
/var/lib/libvirt/images/centos-7.qcow2 10G
- Execute the following commands to initiate an unattended installation of the CentOS operating system:
sudo virt-install --virt-type qemu
--name centos-7
--ram 2048
--location="http://mirror.rackspace.com/CentOS/7/os/x86_64/"
--disk /var/lib/libvirt/images/centos-7.qcow2,format=qcow2
--network network=default
--graphics vnc,listen=0.0.0.0
--noautoconsole
--os-type=linux
--os-variant=centos7.0
--initrd-inject ks.cfg
--rng /dev/random
--extra-args="inst.ks=file:/ks.cfg console=ttyS0,115200"
The output returned should resemble the following:
Starting install...
Retrieving file vmlinuz...                  | 5.1 MB  00:00:01
Retrieving file initrd.img...               |  41 MB  00:00:07
Allocating 'centos-7.0-vm.img'              | 5.0 GB  00:00:00
Creating domain...                          |    0 B  00:00:00
Domain installation still in progress. You can reconnect to
the console to complete the installation process.
From the host machine, console to the newly-created CentOS virtual machine and log in as the
rootuser with theopenstackpassword. To escape from the console session, press Ctrl + ]:virsh console centos-7To refresh the console, press the Enter key. The output will resemble the following:
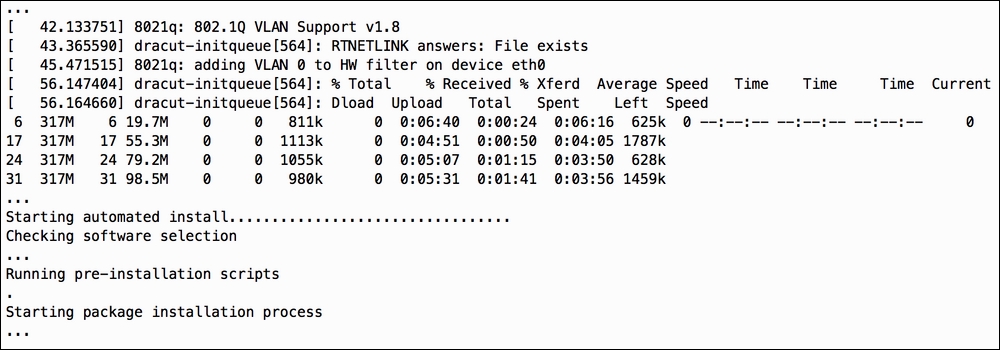
The guest should be in the process of booting, and a live console log will be displayed. The installation process is automated and could take a while depending on the resources available to the host performing the build.
When the installation is complete, the output will resemble the following:
[  OK  ] Reached target Shutdown.
dracut Warning: Killing all remaining processes
Powering off.
[ 3388.611074] Power down.
The console session should end, and you will be returned to a prompt on the host.
- Start the VM with the following command:
sudo virsh start centos-7From the host machine, console to the CentOS virtual machine and log in as the
rootuser with theopenstackpassword. To escape from the console session, press Ctrl + ]:virsh console centos-7To refresh the console, press the Enter key. The output will resemble the following:
Connected to domain centos-7
Escape character is ^]

CentOS Linux 7 (Core)
Kernel 3.10.0-693.el7.x86_64 on an x86_64

localhost login: root
Password:
Last login: Wed Aug 30 09:02:14 on tty1
[root@localhost ~]#
- In the guest, install the
epel-releaseandcloud-initpackages with the following commands:yum -y install epel-release yum -y install cloud-init cloud-utils cloud-utils-growpart
- Using a text editor, replace the guest's
cloud.cfgfile at/etc/cloud/cloud.cfgwith the following contents:users: - default disable_root: 1 ssh_pwauth: 0 locale_configfile: /etc/sysconfig/i18n mount_default_fields: [~, ~, 'auto', 'defaults,nofail', '0', '2'] resize_rootfs_tmp: /dev ssh_deletekeys: 0 ssh_genkeytypes: ~ syslog_fix_perms: ~ cloud_init_modules: - bootcmd - write-files - resizefs - set_hostname - update_hostname - update_etc_hosts - rsyslog - users-groups - ssh cloud_config_modules: - mounts - locale - set-passwords - timezone - puppet - chef - salt-minion - mcollective - disable-ec2-metadata - runcmd cloud_final_modules: - rightscale_userdata - scripts-per-once - scripts-per-boot - scripts-per-instance - scripts-user - ssh-authkey-fingerprints - keys-to-console - phone-home - final-message system_info: distro: rhel default_user: name: centos lock_passwd: True shell: /bin/bash sudo: ["ALL=(ALL) NOPASSWD: ALL"] paths: cloud_dir: /var/lib/cloud templates_dir: /etc/cloud/templates ssh_svcname: sshd
Note
The contents of
cloud.cfgare constructed in YAML, and are interpreted bycloud-initupon startup. In this example, the default username used to access the instance iscentosand no password is set. Instead, an SSH key must be used and will be pushed to the instance via the OpenStack metadata service. Refer to Chapter 5, Nova – OpenStack Compute, for more information. - Ensure that the guest can communicate with the metadata service with the following command:
echo "NOZEROCONF=yes" >> /etc/sysconfig/network - Remove persistent rules with the following command:
rm -rf /etc/udev/rules.d/70-persistent-net.rules - Remove machine-specific MAC address and UUID. Edit the
/etc/sysconfig/network-scripts/ifcfg-eth0file and remove lines starting withHWADDRandUUID:sed -i '/HWADDR/d' /etc/sysconfig/network-scripts/ifcfg-eth0 sed -i '/UUID/d' /etc/sysconfig/network-scripts/ifcfg-eth0
- After making the changes, ensure that the interface configuration file resembles the following:
NAME="eth0"
ONBOOT="yes"
NETBOOT="yes"
IPV6INIT="no"
BOOTPROTO="dhcp"
TYPE="Ethernet"
DEFROUTE="yes"
PEERDNS="yes"
PEERROUTES="yes"
IPV4_FAILURE_FATAL="no"
- Clean up various files and directories using the following commands:
yum clean all
rm -rf /var/log/*
rm -rf /tmp/*
history -c
- From within the guest, cleanly shutdown the guest using the following command:
shutdown -h nowOnce the guest is shutdown, the console session should end and you will be returned to a prompt on the host. Transfer the disk located at
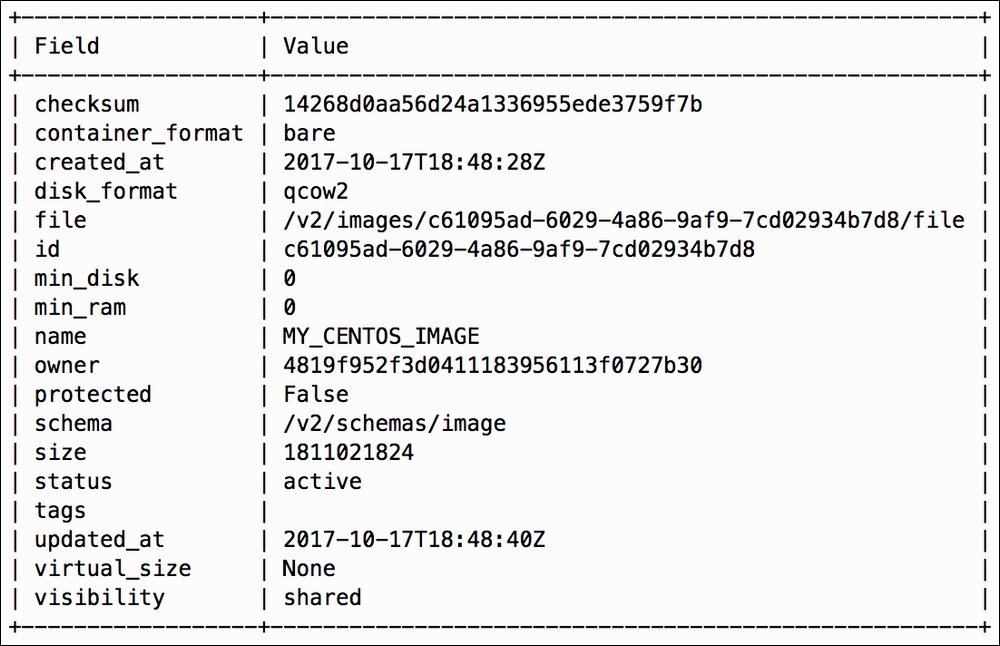
/var/lib/libvirt/images/centos-7.qcow2to your home directory, where it can be transferred out of the host and onto a client, where the OpenStack command-line utility is installed. Using the OpenStack client, upload the image to the OpenStack image repository:openstack image create MY_CENTOS_IMAGE --disk-format qcow2 --file ~/centos-7.qcow2
The output should resemble the following:
For more information on building custom images, visit https://docs.openstack.org/image-guide/create-images-manually.html.