
Security groups are network rules that allow instances in one project to be kept separate from other instances in another. Managing security group rules for our OpenStack instances is done as simply as possible with OpenStack Dashboard.
Load a web browser, point it to our OpenStack Dashboard address at http://192.168.100.117/, and log in as a user in the default domain, such as the developer user, created in the Common OpenStack identity tasks recipe in Chapter 2, The OpenStack Client, with the cookbook4 password. The URL for our dashboard is same as the public load balancer IP as discussed in Chapter 1, Installing OpenStack with Ansible. If you need to find out at what URL your Horizon is, use public IP from the OpenStack catalog list as described in Chapter 3, Keystone – OpenStack Identity Service.
To administer security groups under OpenStack Dashboard, carry out the steps discussed in the following sections:
To create a security group, perform the following steps:
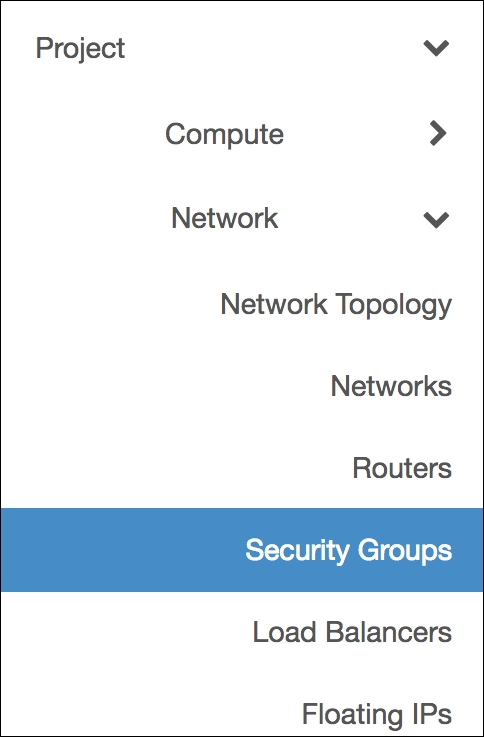
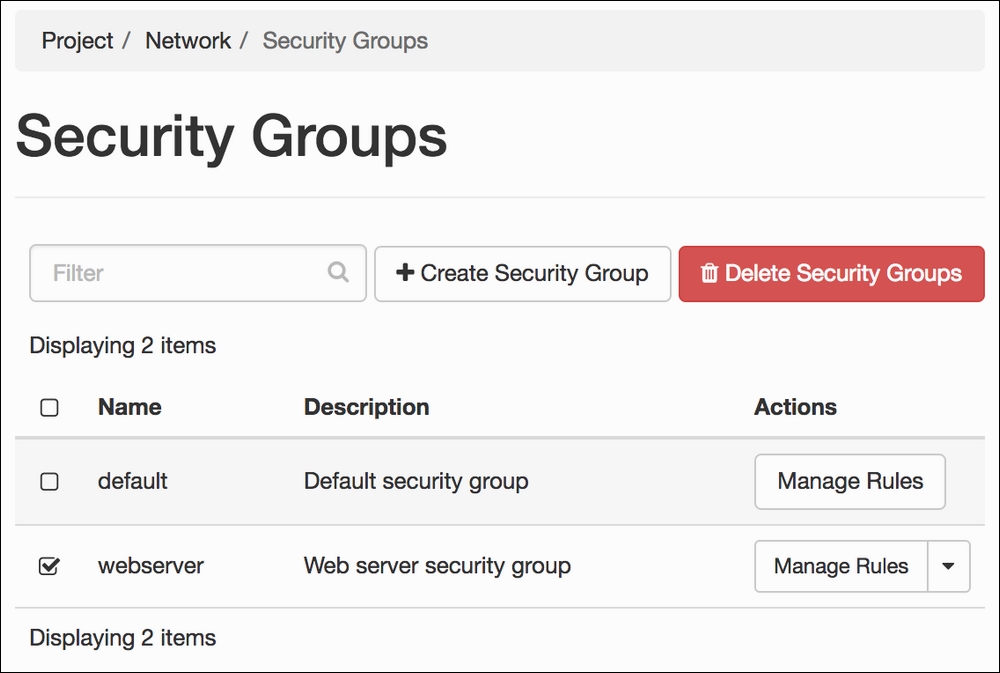
- A new security group is added to our system using the Security Groups tab in the Network section, so click on it:
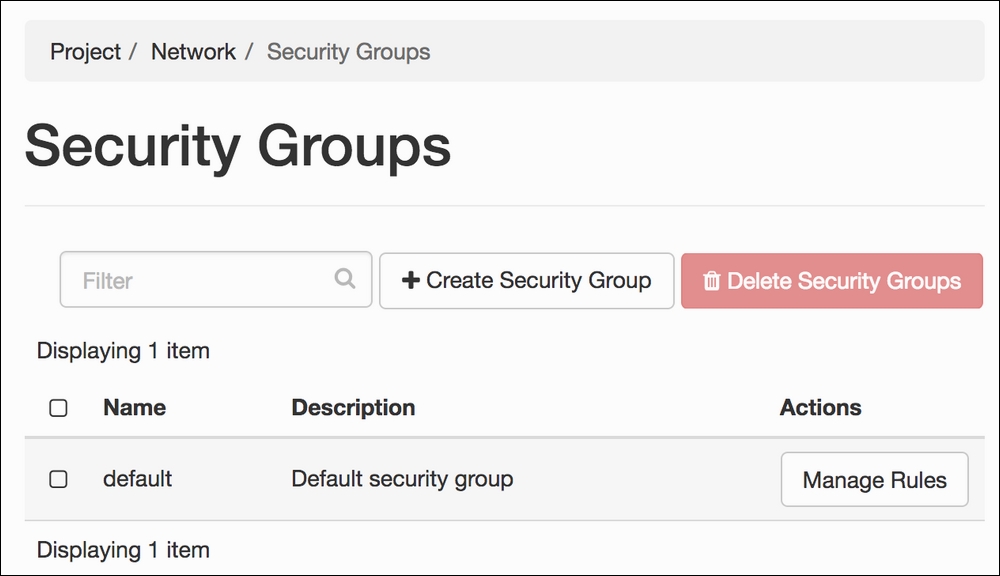
- Next, we will see a screen allowing access to security settings and manage key pairs. In Security Groups, there will be a list of security groups that can be used when we launch our instances. To create a new security group, click on the Create Security Group button:
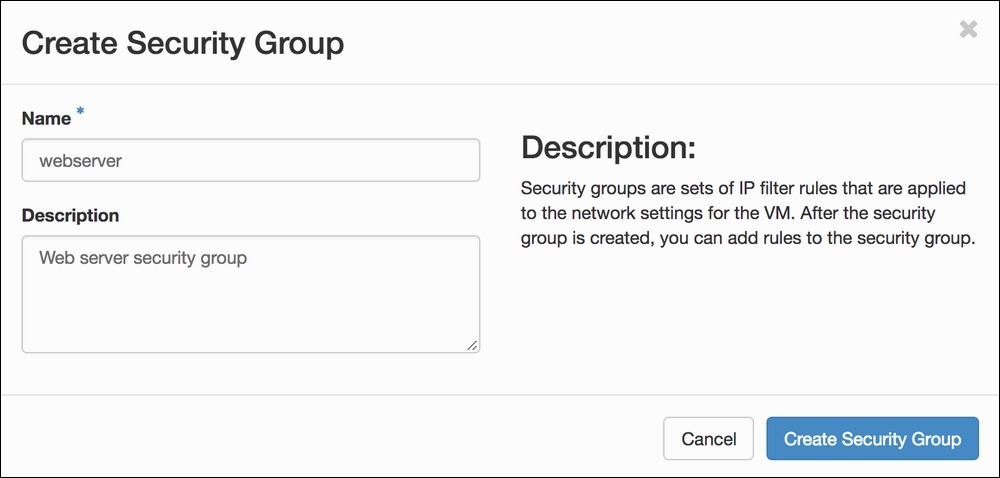
- We are asked to name the security group and provide a description. The name cannot contain spaces:
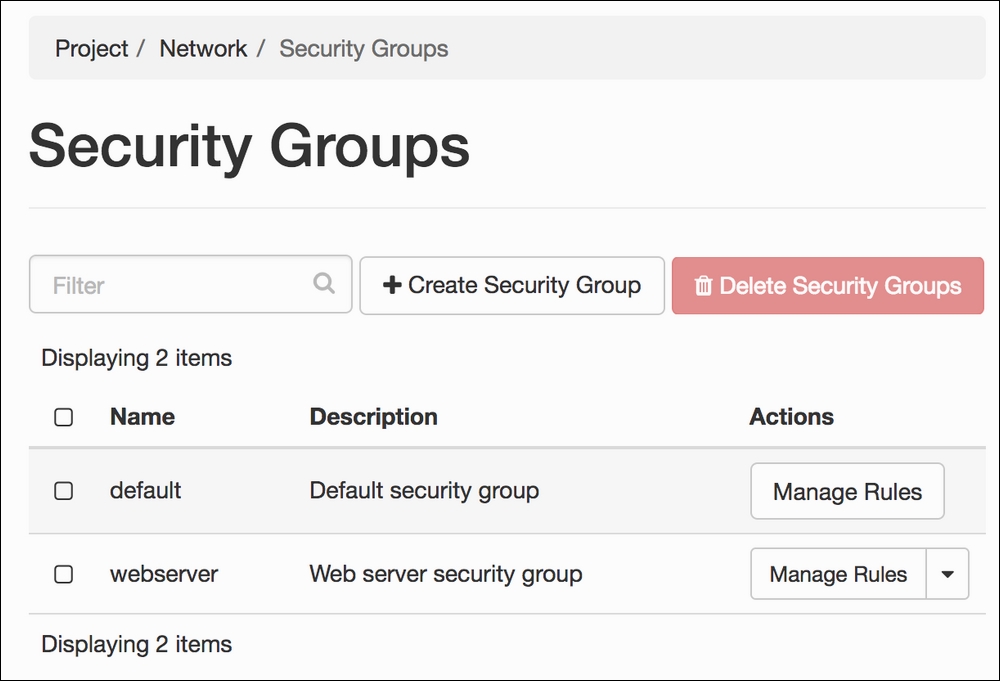
- Once a new security group is created, the list of available security groups will appear on the screen. From here, we can add new network security rules to the new security group:
To add and remove rules, security groups can be edited by performing the following steps:
- When we have created a new security group, or wish to modify the rules in an existing security group, we can click on the Manage Rules button for that particular security group:

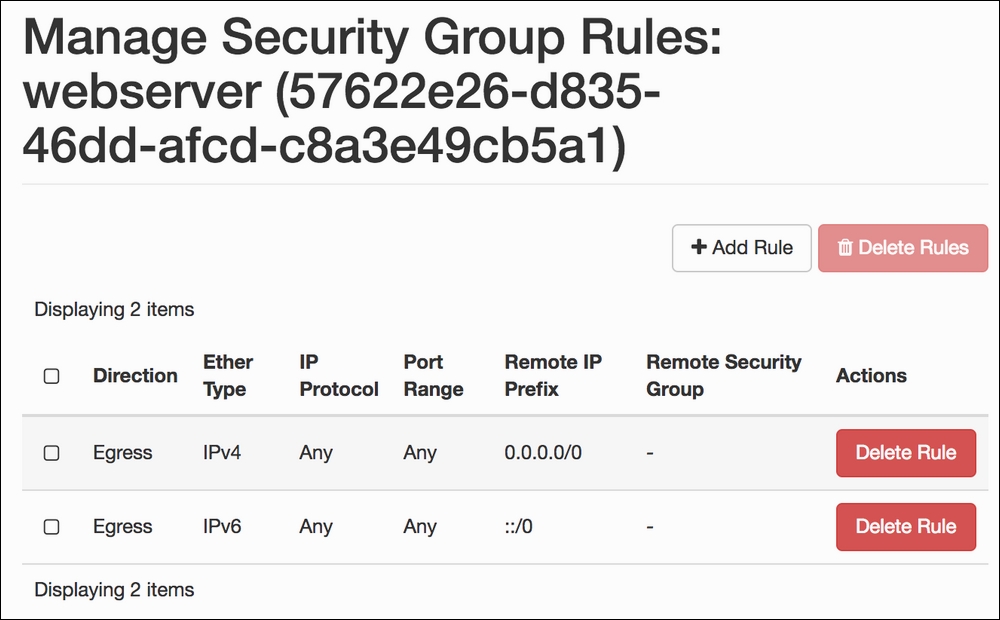
- After we click the Manage Rules button, we will be taken to a screen that lists any existing rules, enabling us to add new rules to this group:
To add a rule to our new security group we click on the Add Rule button. This allows us to create rules based on the different protocol types: ICMP, TCP, and UDP. There is also a list of rule templates for commonly added services. As an example, we will add in a security group rule that allows HTTPS access from anywhere. To do this, we choose the following:
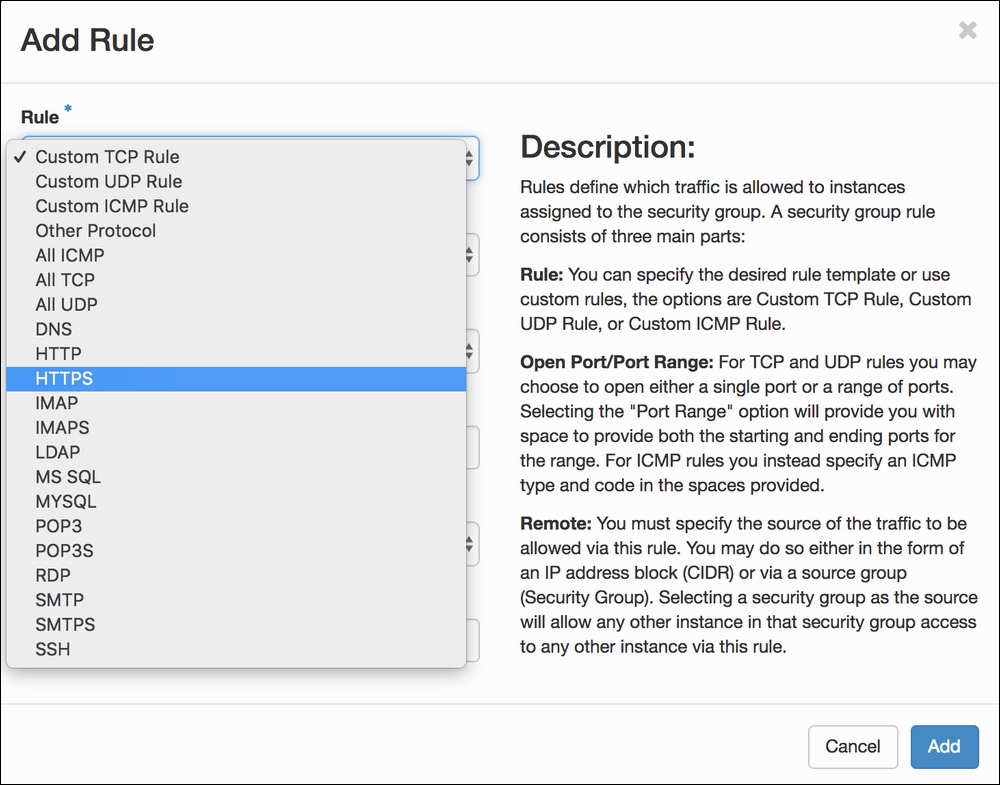
- We select the HTTPS option from the drop-down menu. This returns us to the Add Rule menu, where we can specify the source of the network traffic:
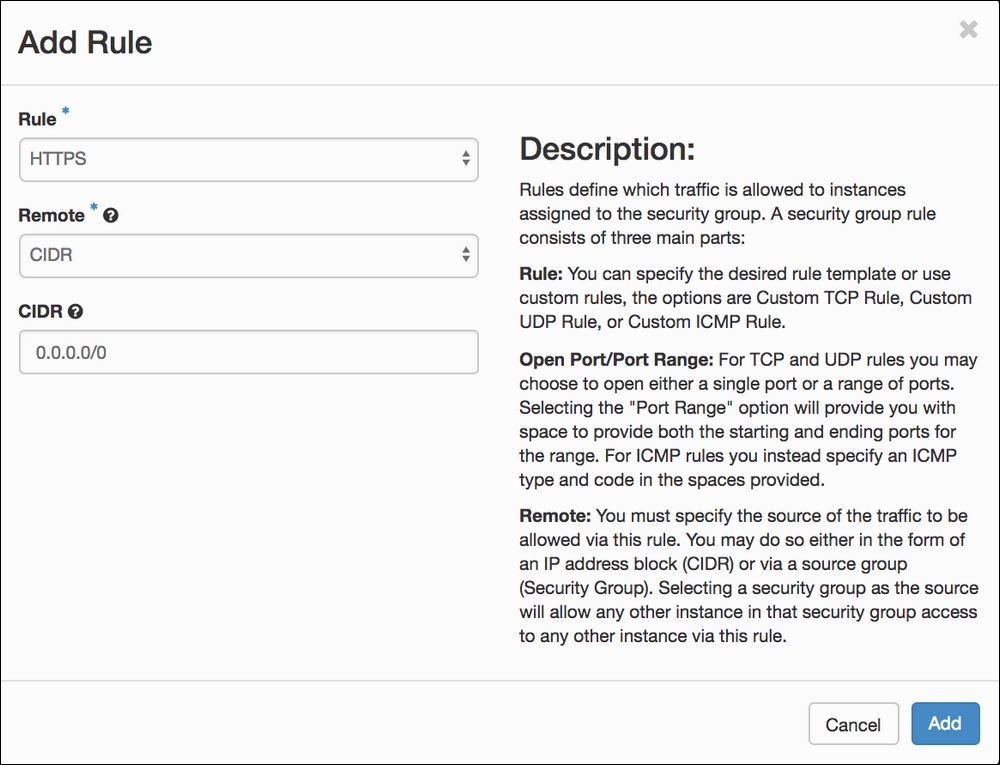
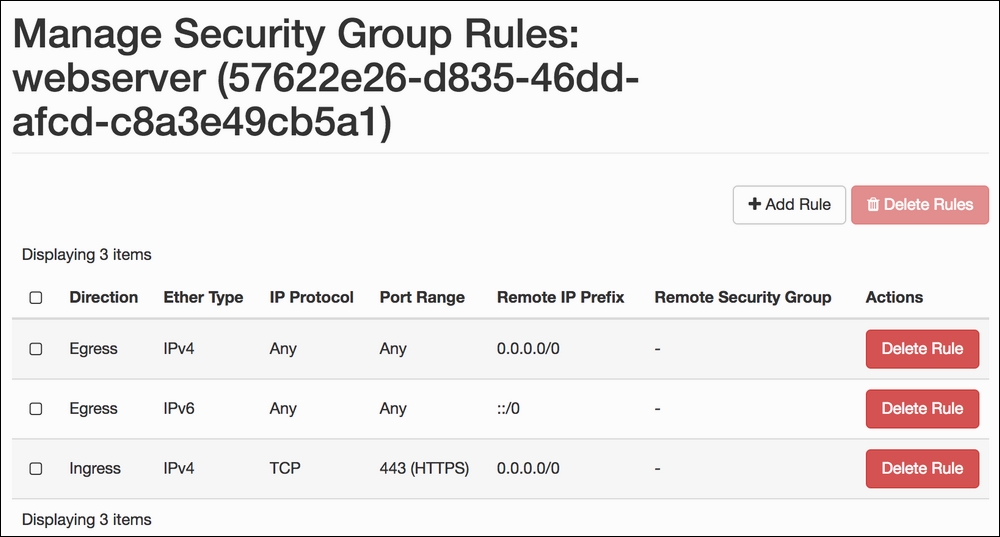
- When we click on the Add button, we are redirected to the list of rules now associated with our security group. Repeat the previous step until all the rules related to our security group have been configured:
- We can also add custom security rules for services that do not have built-in rule templates. After we click on the Add Rule button, we will select the Custom TCP Rule option from the Rule drop-down list. Then, we will select the Port Range option from the Open Port drop-down list, which presents us with the From Port and To Port fields. We enter the port range, and click on the Add button:

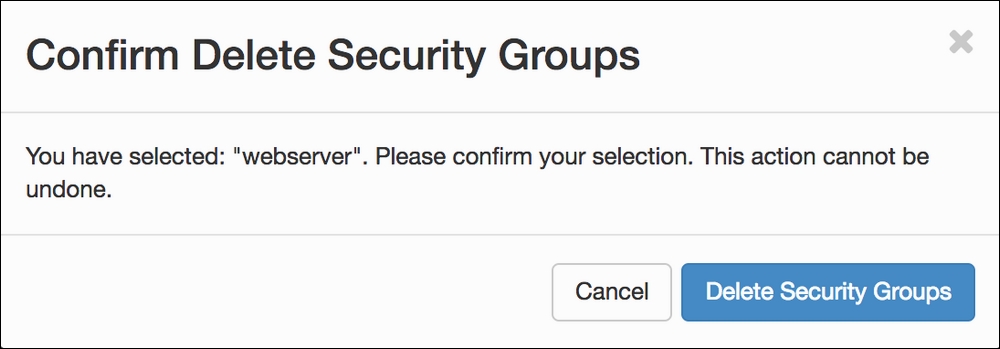
- Note that we can remove rules from here too. Simply select the rule that we no longer require and click on the Delete Rule button. We will be asked to confirm this removal.
Security groups are important to our OpenStack environment, as they provide a consistent and secure approach for accessing our running instances. Allowing the users to create, delete, and amend security groups to use within their projects allows them to create secure environments. Rules within a security group are "deny by default," meaning that if there is no rule for that particular protocol, no traffic for that protocol can access the running instance with that assigned security group.
Security groups are associated with instances on creation; however, they also can be added later on to a running instance. For example, suppose an instance was launched with only the default security group. The default security group that we have set up only has TCP port 22 accessible and the ability to ping the instance. If we require access to TCP port 80, we either have to add this rule to the default security group or add a new group to the running instance.