
Launching instances is easily done using the OpenStack Dashboard. We will simply select our chosen image, choose the size of the instance, and then launch it.
Load a web browser, point it to our OpenStack Dashboard address at http://192.168.100.117/, and log in as a user in the default domain, such as the developer user, created in the Common OpenStack identity tasks recipe in Chapter 2, The OpenStack Client with the cookbook4 password. The URL for our dashboard is same as the public load balancer IP as discussed in Chapter 1, Installing OpenStack with Ansible. If you need to find out at what URL your Horizon is, use public IP from the OpenStack catalog list as described in Chapter 3, Keystone – OpenStack Identity Service.
To launch an instance using the OpenStack Dashboard interface, carry out the following steps:
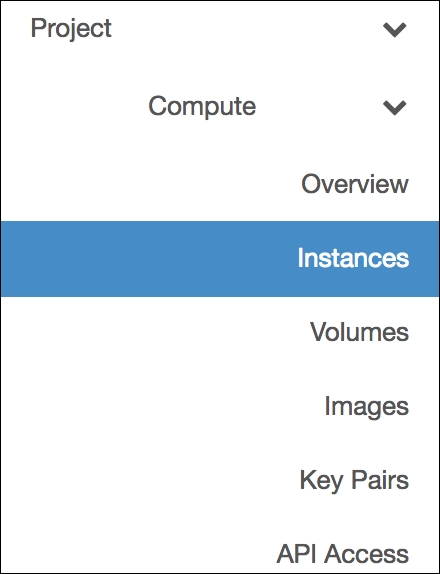
- Navigate to the Instances tab in the Compute section:
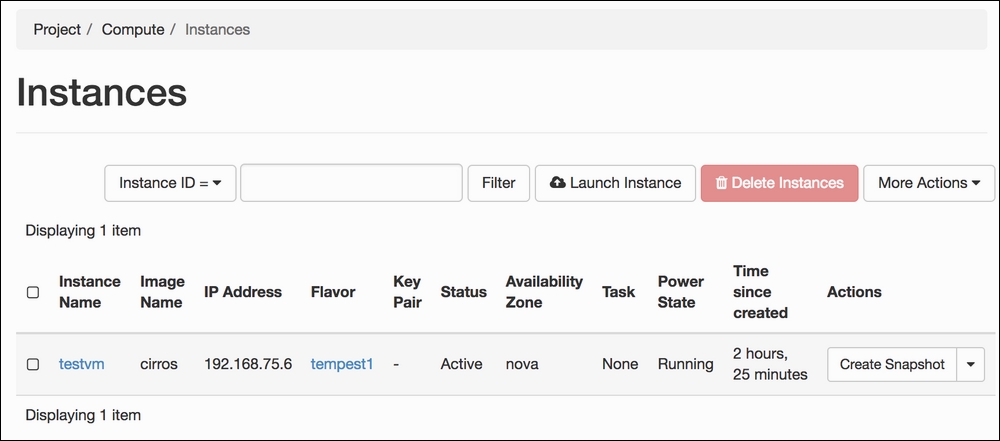
- Once there, you will see all the running instances:
- From the Instances screen, click on the Launch Instance button. This will present you with the first tab for instance creation:
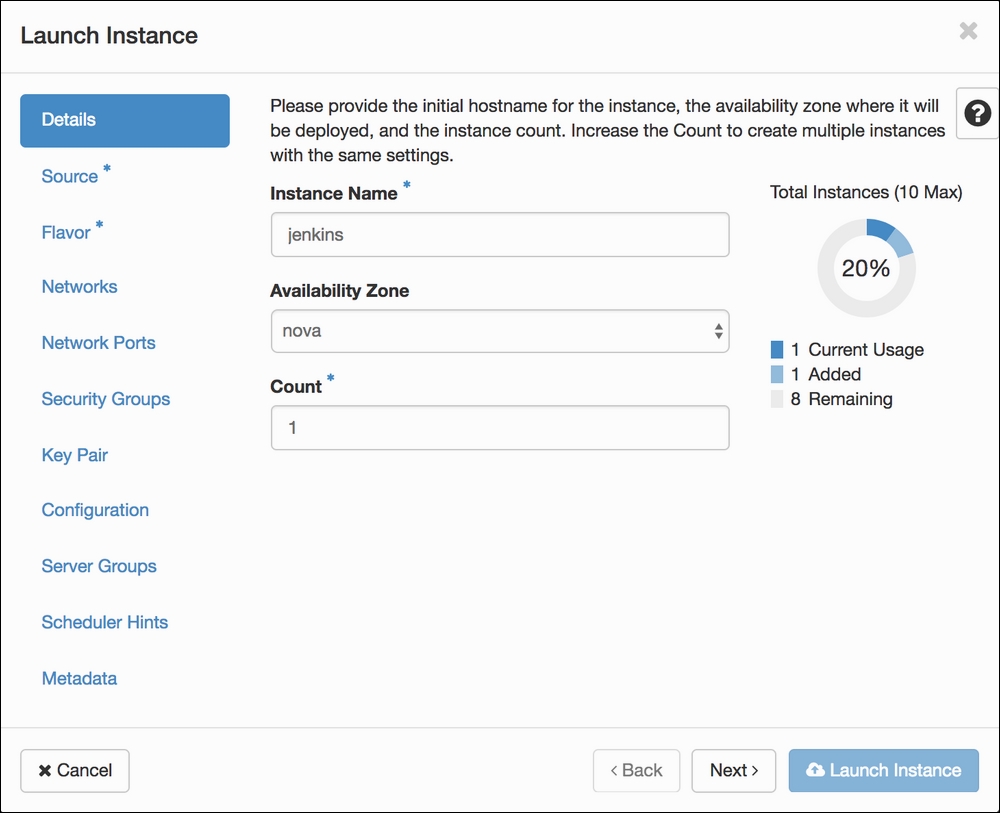
Enter instance name, select the availability zone and instance count. Then, click on the Next button.
- Select the source from which your instance should be launched. We are using the preloaded
ubuntu-xenialimage for our example. If you need a cinder volume, you can specify that on this tab as well. Click on the Next button after the instance source information is set: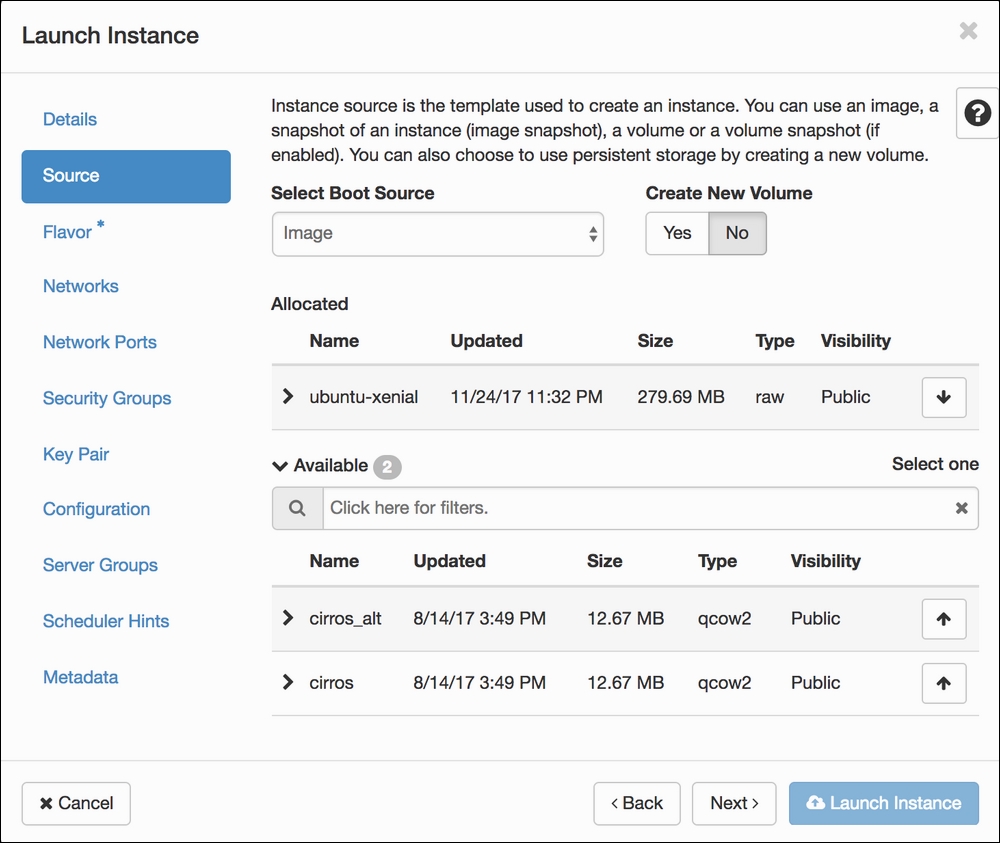
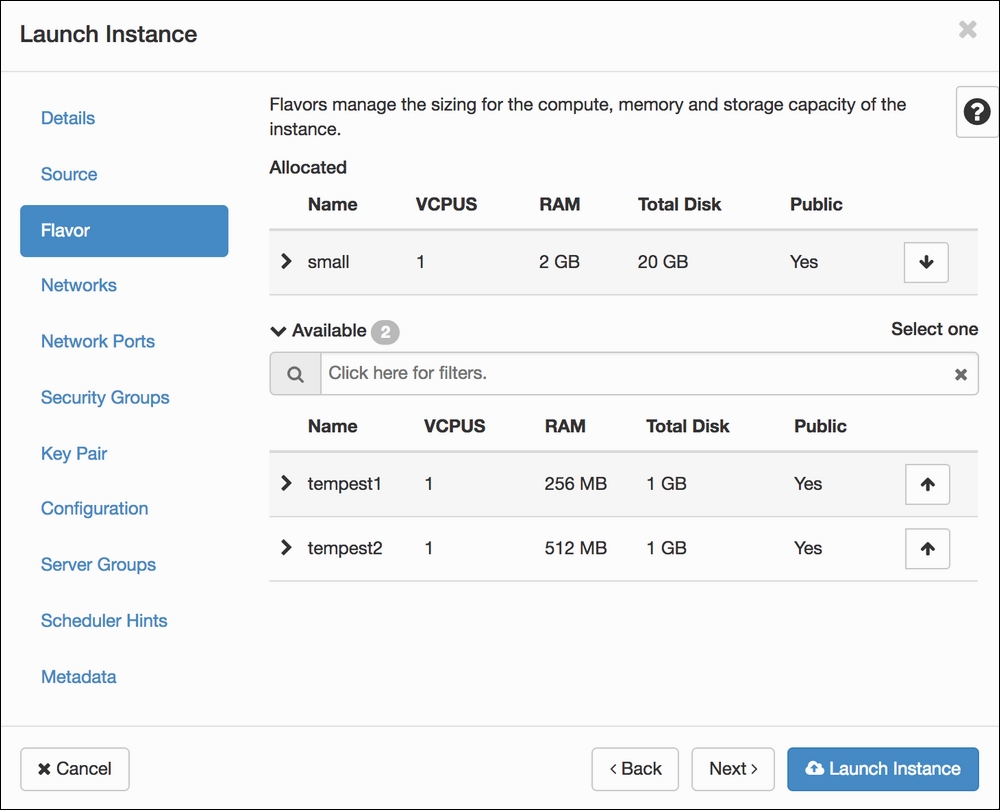
- Select the flavor for your VM. Flavor determines the size of the VM. Click on the Next button to proceed:
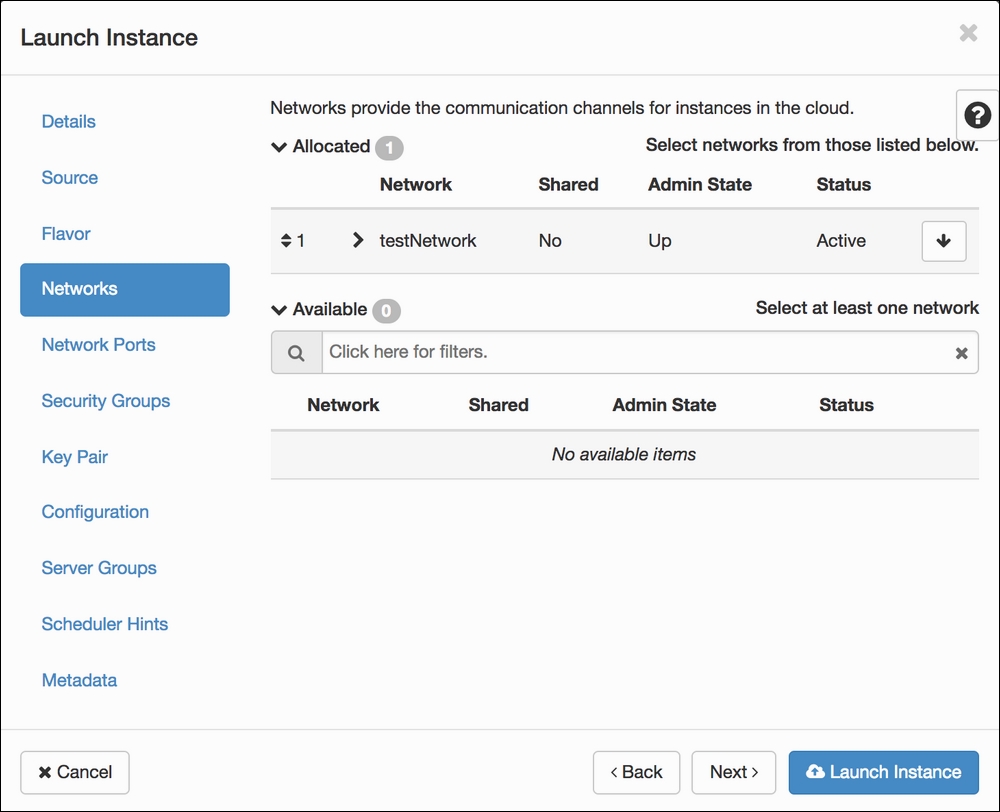
- Select a network to which your instance should be attached during launch. More than one network may be specified. Once the networks are selected, click on the Security Groups tab on the left:
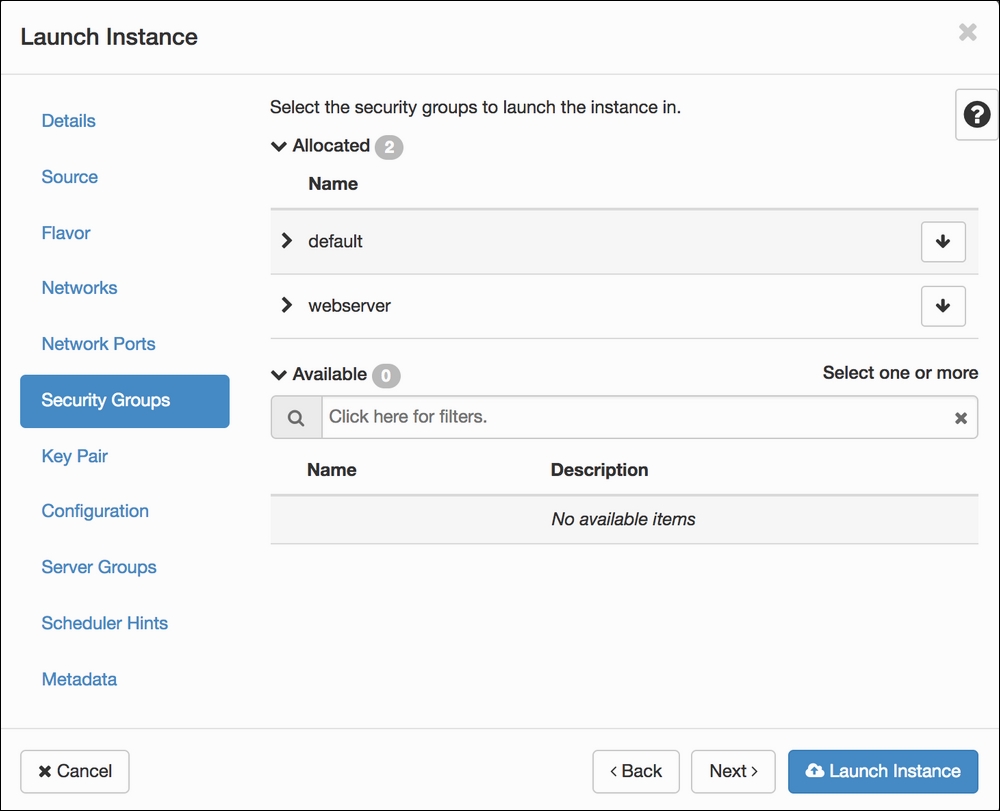
- Select security groups that should be attached to your instance. Security groups determine network access to newly created VM. Click on the Next button to proceed:
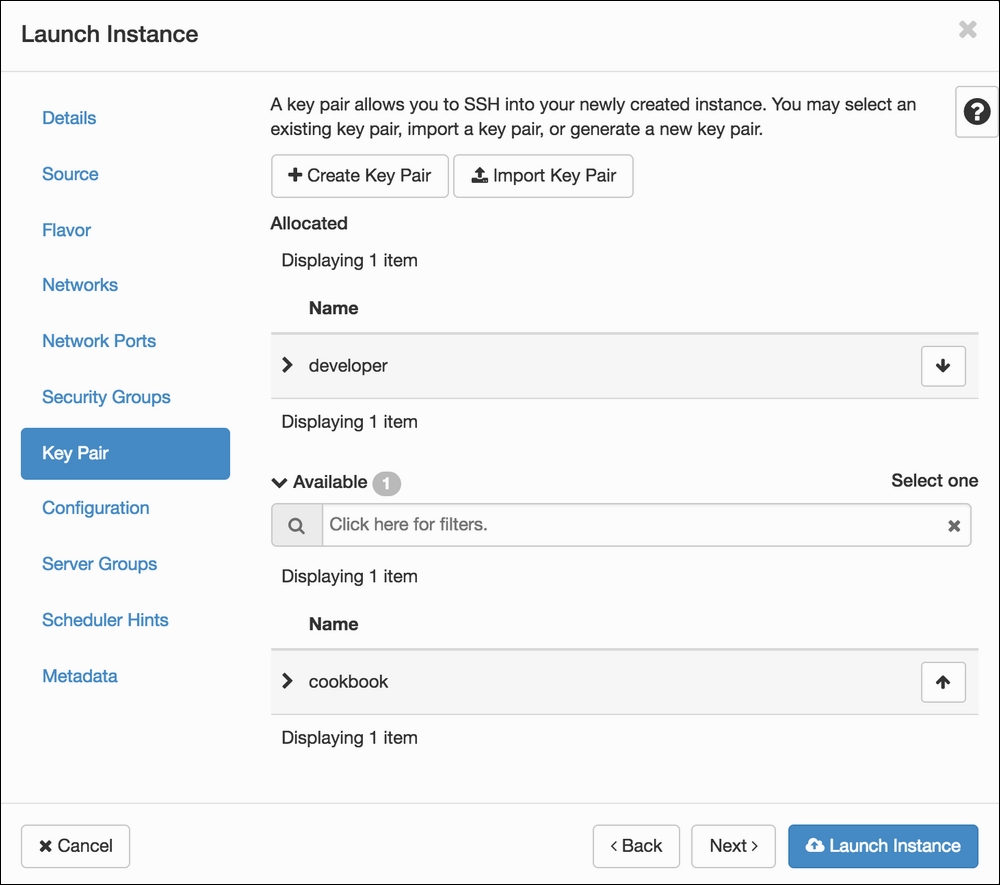
- On this screen, we have to select the key pair that will be used to access the instance after it has booted. After selecting the key pair, you may click on the Launch Instance button or check out the rest of the screens for additional information that might be added to the instance:
- After the VM is launched, a list of existing instances will be displayed. Should there be an issue with the newly created VM, it will be displayed so in the Status column:

Launching instances from Horizon—the OpenStack Dashboard—is done in several stages, all through the guided Launch Instance interface. Here are the required attributes to launch an instance:
- Source: This can be an image, snapshot, volume, or volume snapshot
- Flavor or size: This is for the compute, memory, and storage capacity of the instance
- Networks: At least one network interface must be selected for the instance to launch
- Security groups: These are not required to launch an instance; they are needed to control the instance's network access
- Key pair: This is also optional, but recommended for logging on to instances
The Instances tab shows the running instances under our development project.