
The OpenStack Dashboard has the ability to view, create and edit load balancers, add Virtual IPs (VIPs), and add nodes to be behind a load balancer. The dashboard also provides an interface for creating the HA Proxy server load balance service for our instances. We do this first by creating load balancing pool and then adding running instances to those pools.
In this section, we will use two instances running Apache. We will create a HTTP load balancing pool, create a VIP, and configure instances to be part of the pool. The result will be an ability to use the HTTP load balancer pool address to send traffic to two instances running Apache.
Load a web browser, point it to our OpenStack Dashboard address at http://192.168.100.117/, and log in as a user in the default domain, such as the developer user, created in the Common OpenStack identity tasks recipe in Chapter 2, The OpenStack Client with the cookbook4 password. The URL for our dashboard is same as the public load balancer IP as discussed in Chapter 1, Installing OpenStack with Ansible. If you need to find out at what URL your Horizon is, use public IP from the OpenStack catalog list as described in Chapter 3, Keystone – OpenStack Identity Service.
This recipe will walk you through creating and deleting load balancers using the OpenStack Dashboard:
To create a load balancer pool for a logged in user, carry out the following steps:
- To manage load balancers within our OpenStack Dashboard, select the Load Balancers tab, as shown in the following screenshot:
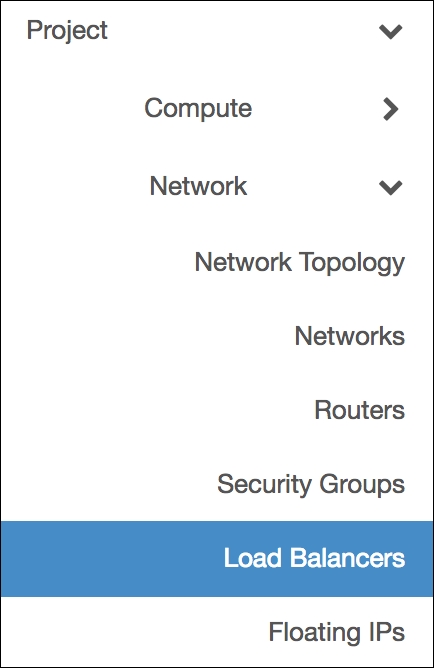
- This will show available load balancer pools. Since we currently do not have any created, click on the Create Load Balancer button in the top right corner to add a load balancer.
- After clicking on the Create Load Balancer button, we will be presented with a modal window. Fill out the details to add a new load balancer:
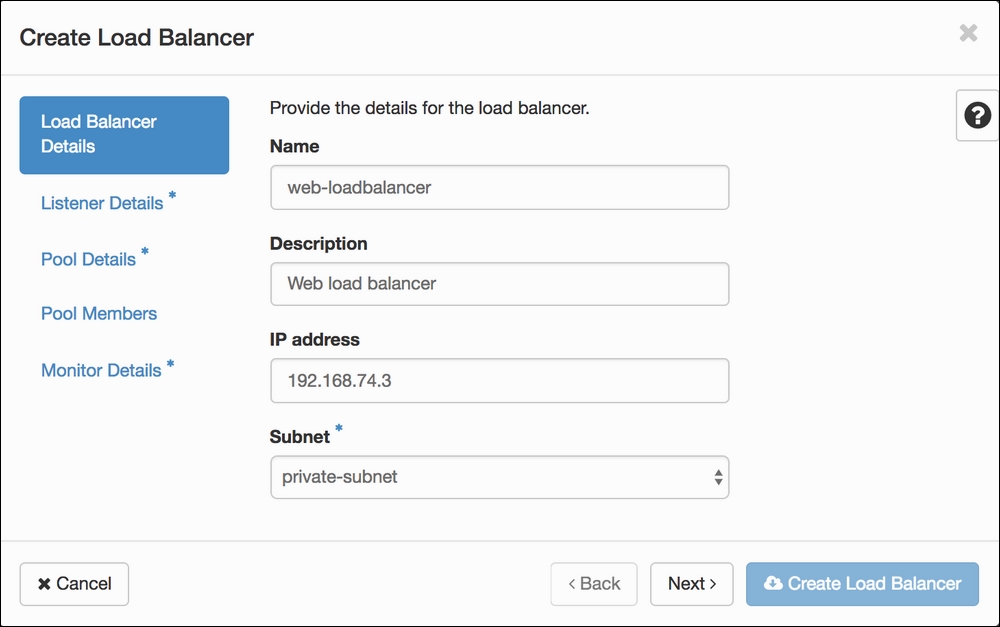
- The IP address is not required; if one is not provided, the system will select the next available IP on the subnet selected.
- Select a subnet for the pool by clicking on the drop-down menu. All of our instances are attached to the private network, so we select private-subnet.
- After clicking on the Next button, provide details for the load balancer's listener:
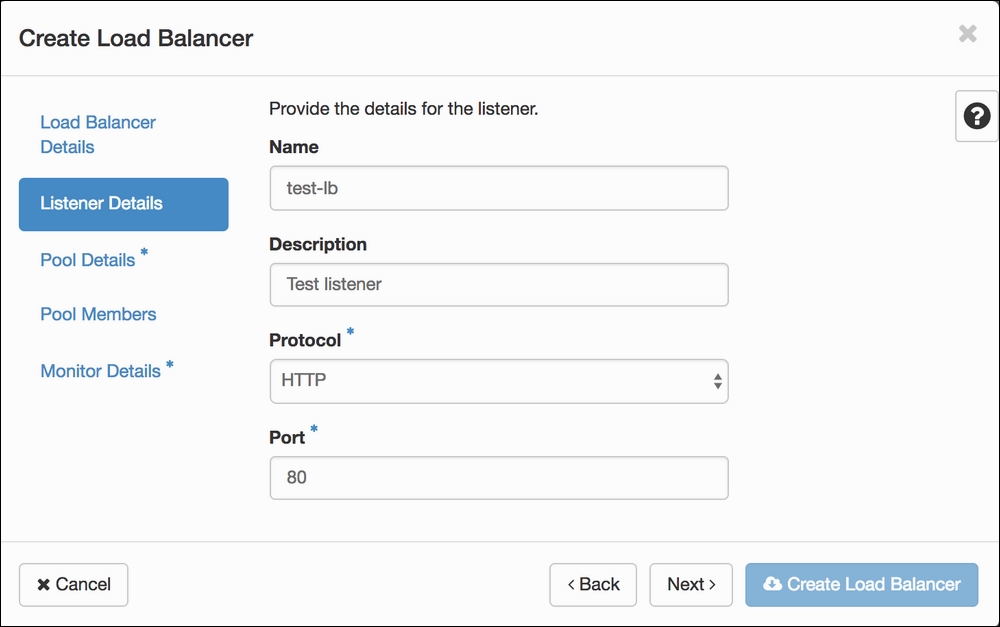
- The
HTTPandTCPprotocols are available to us, so we will useHTTP.TERMINATED_HTTPSis available only with a configured key-manager service. - Select a port on which the frontend listens. Multiple listeners can be configured on one load balancer, but each must have a unique port.
- After clicking on the Next button, provide pool details. We will use the
ROUND_ROBINload balancing method. Other algorithms includeLEAST_CONNECTIONSandSOURCE_IP: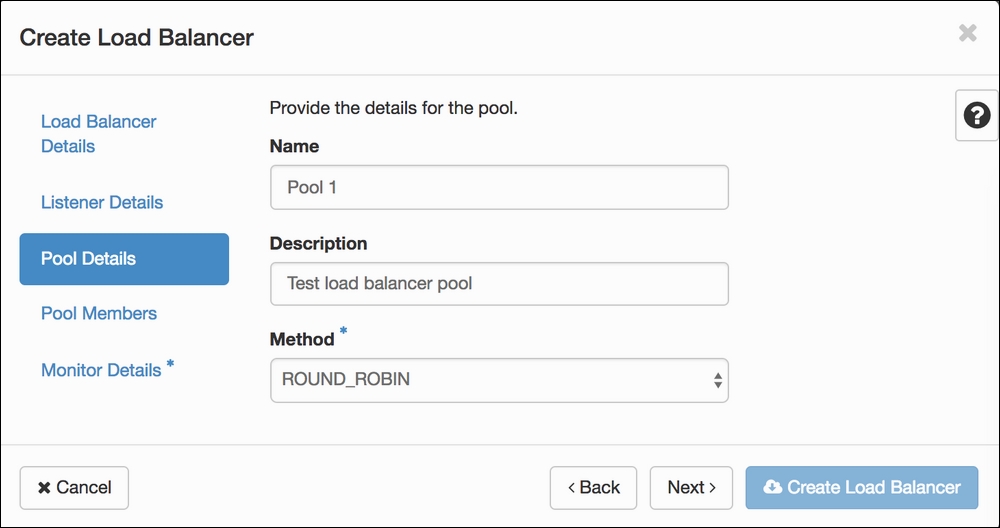
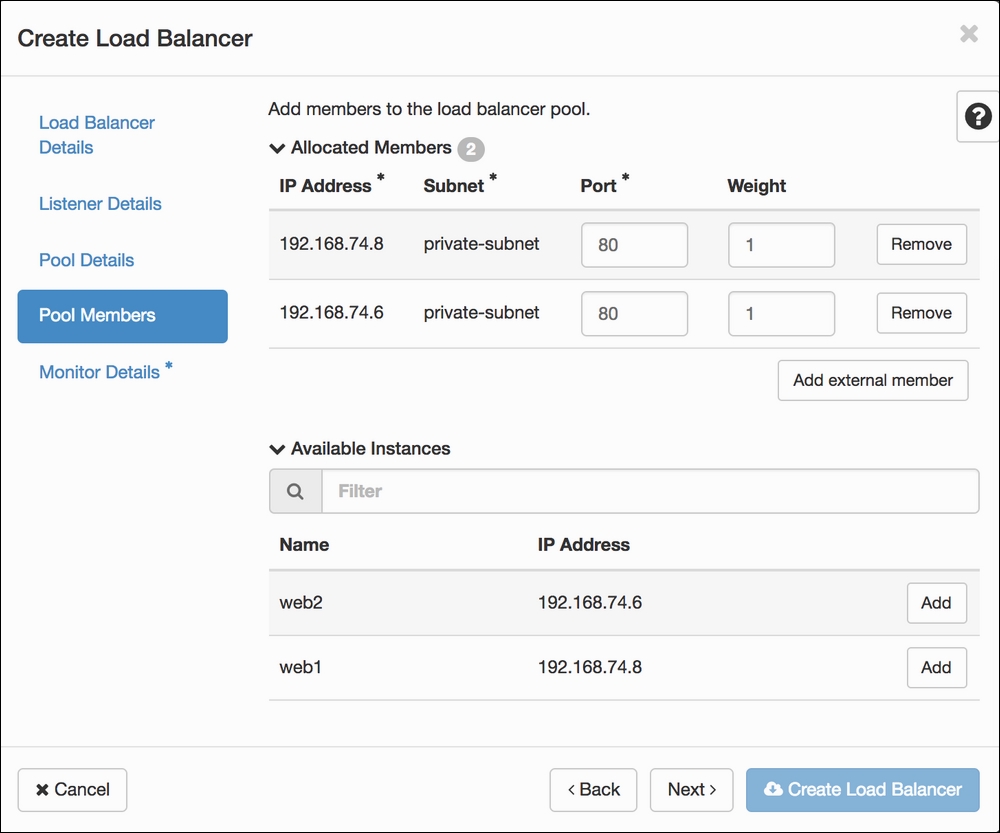
- Click on the Next button to proceed to the Pool Members screen. Add members to the pool by clicking on the Add button next to the available instances:
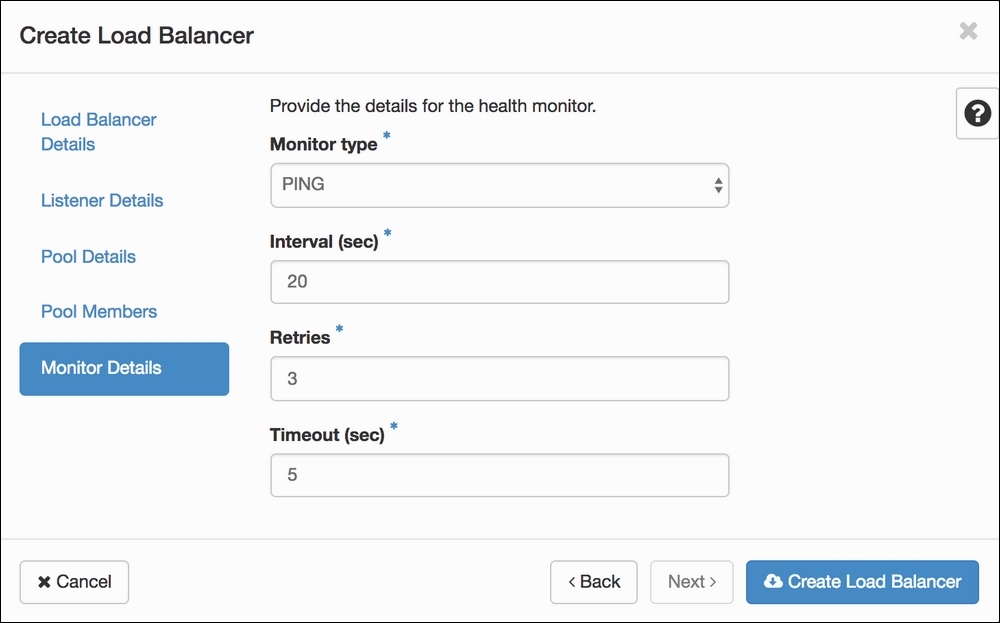
- After clicking on the Next button, we will be presented with the Monitor Details screen. Here we configure our health checks for pool members. We will use
PINGfor monitor type. Other options available areHTTPandTCP. - Set health check interval time in seconds, followed by the number of retries and the time after which the health check will timeout:
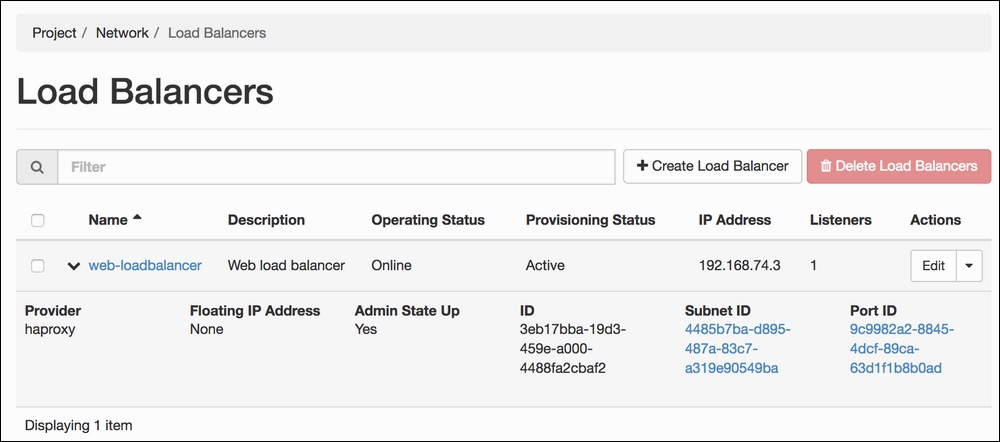
- Click on the Create Load Balancer button to create the load balancer with all the details entered. You will see a newly created load balancer in a list of all available load balancers.
To delete the load balancer, we will first delete attached health monitors, listeners and pools. In our example, we will show how to delete one of each, but if you have multiple pools, you will need to remove all pools, listeners, and health monitors before you are able to delete a load balancer.
- Start on a Load Balancers page and click on the load balancer name you wish to delete. In our example, the name is
web-loadbalancer: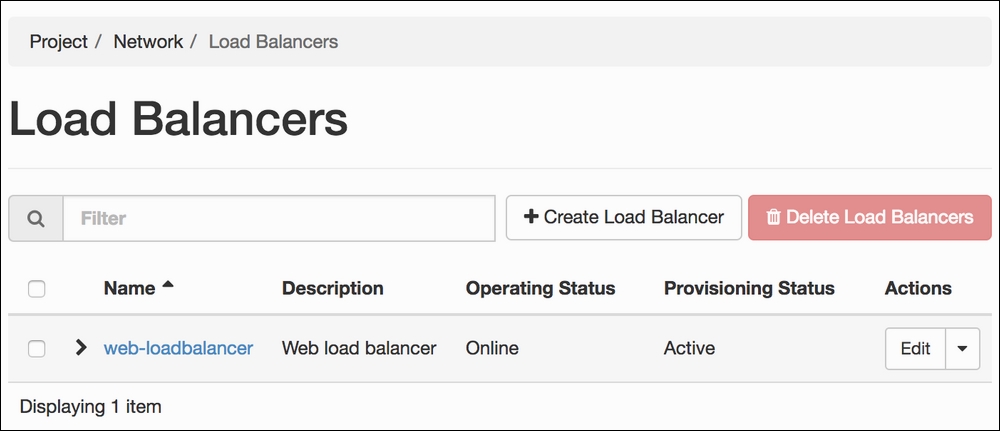
- From load balancer details page, click on the listener name. In our example, the listener is named
test-lb: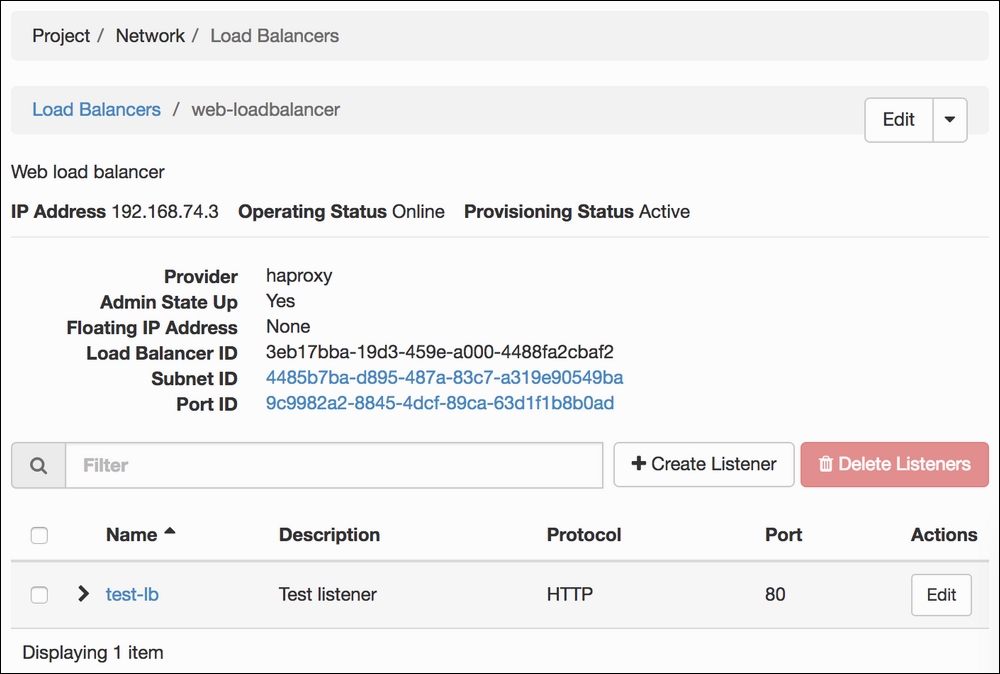
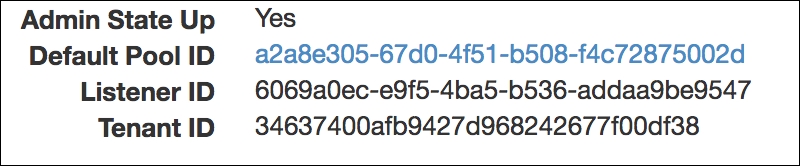
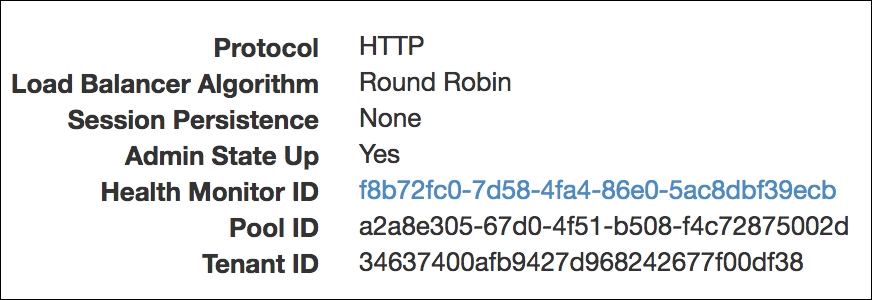
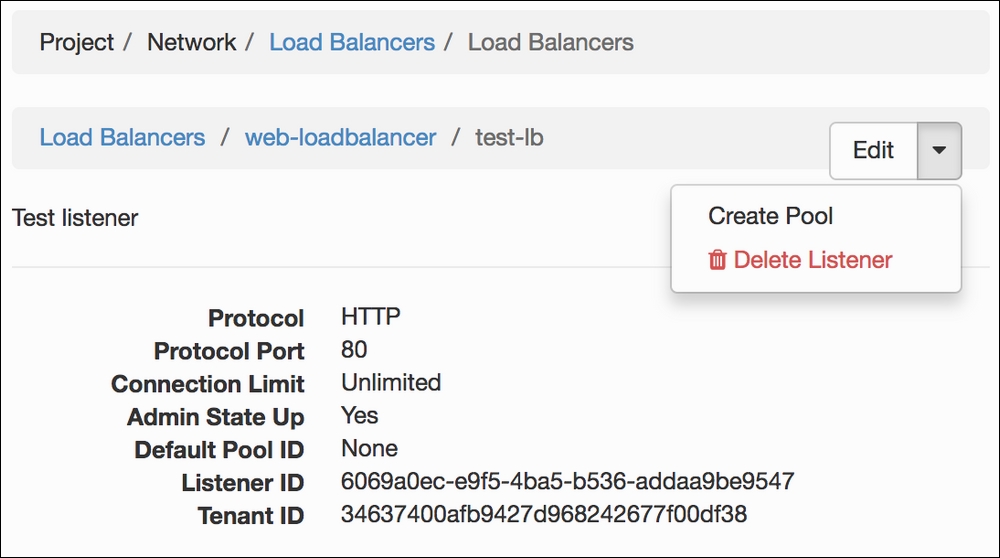
- On the listener details page, click on Default Pool ID:
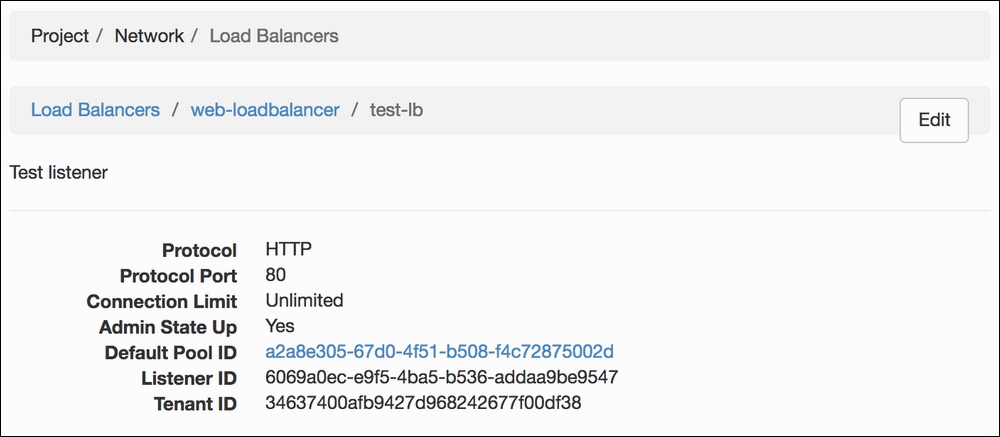
The default pool ID is right under the admin state, and it is the first of the three IDs shown:
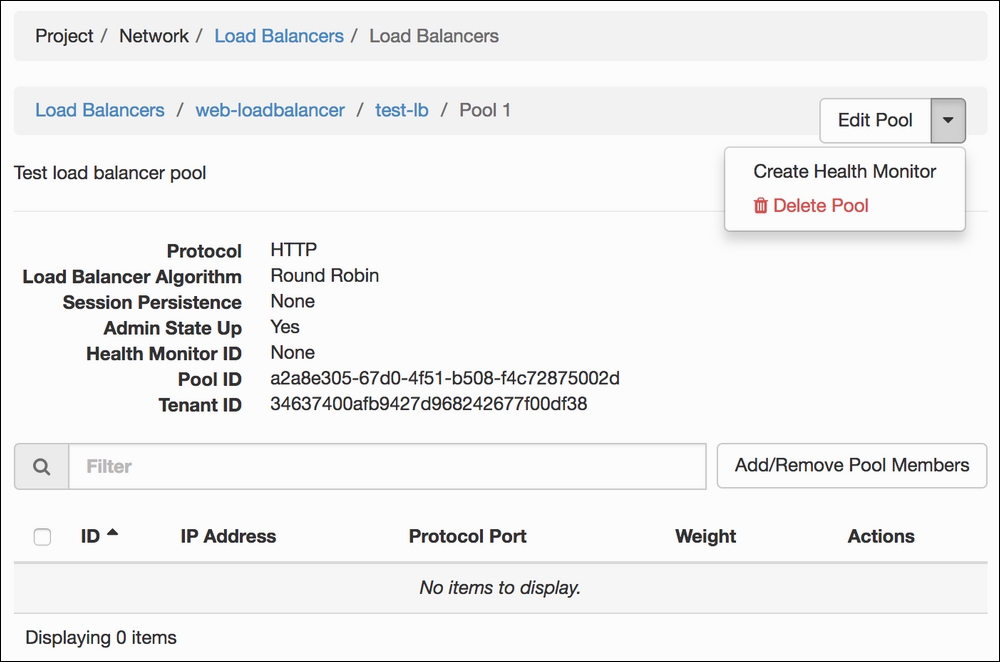
- Clicking on the pool ID brings us to the pool details page. Remove all pool members by clicking on the Add/Remove Pool Members button:
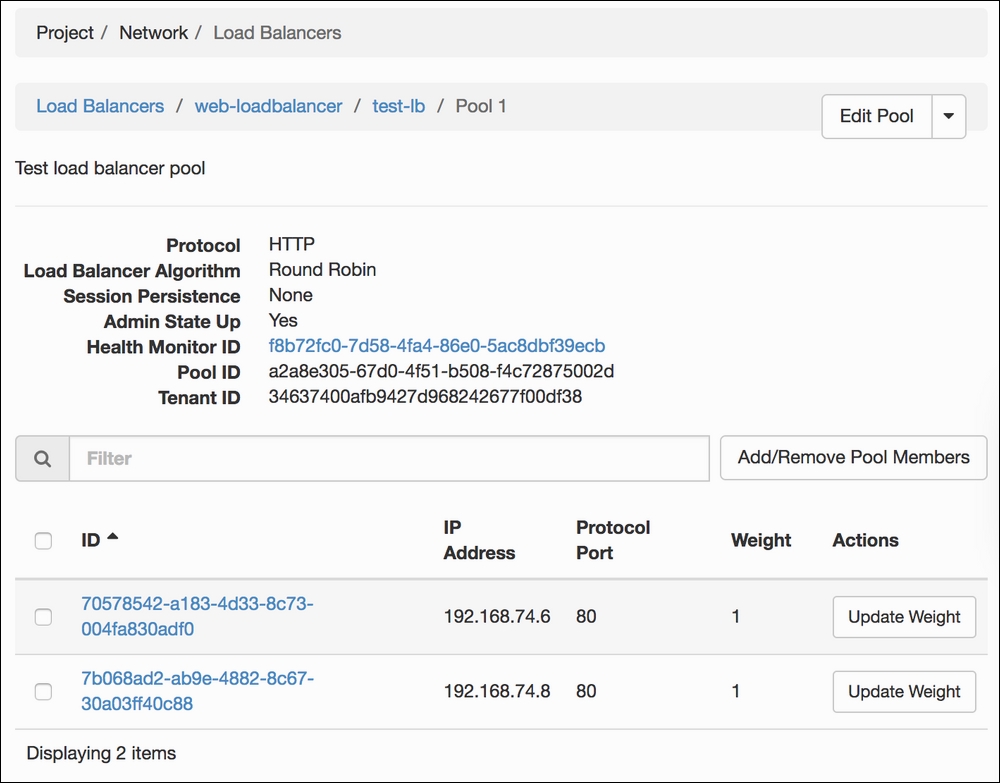
- This brings up a new screen for removing pool members. Remove all pool members from the pool by clicking on the Remove button next to each member:
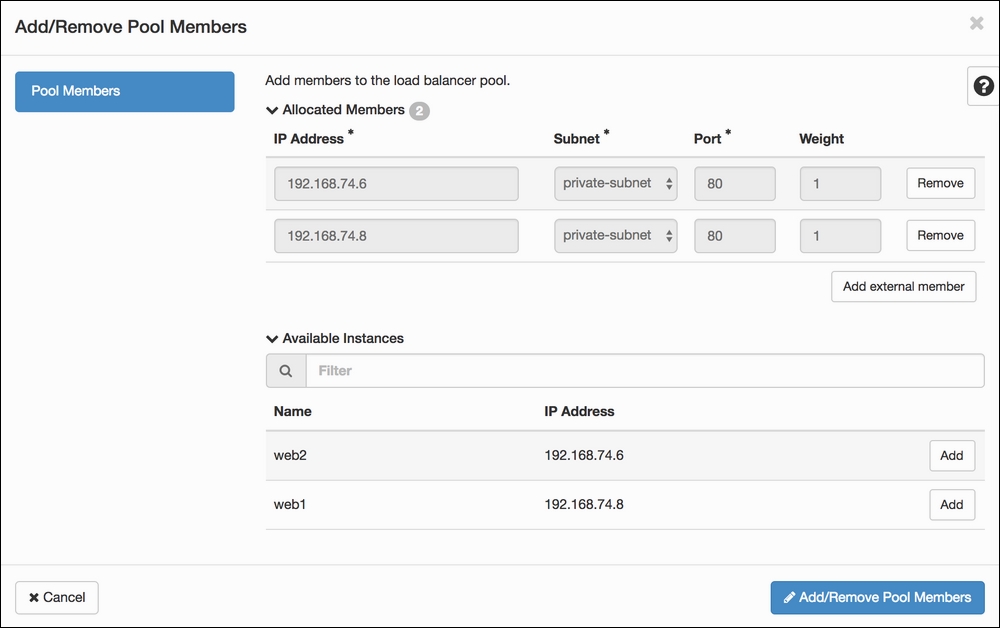
- Click on the Add/Remove Pool Members button to save the changes:
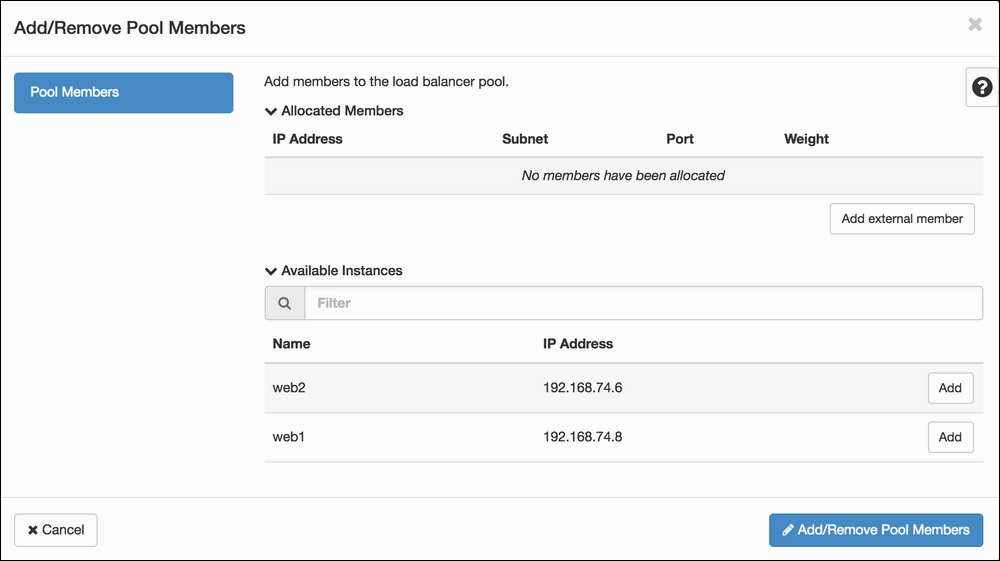
- After deleting pool members, we will get back to the pool details page. We need to delete all health monitors in order to be able to delete the pool:
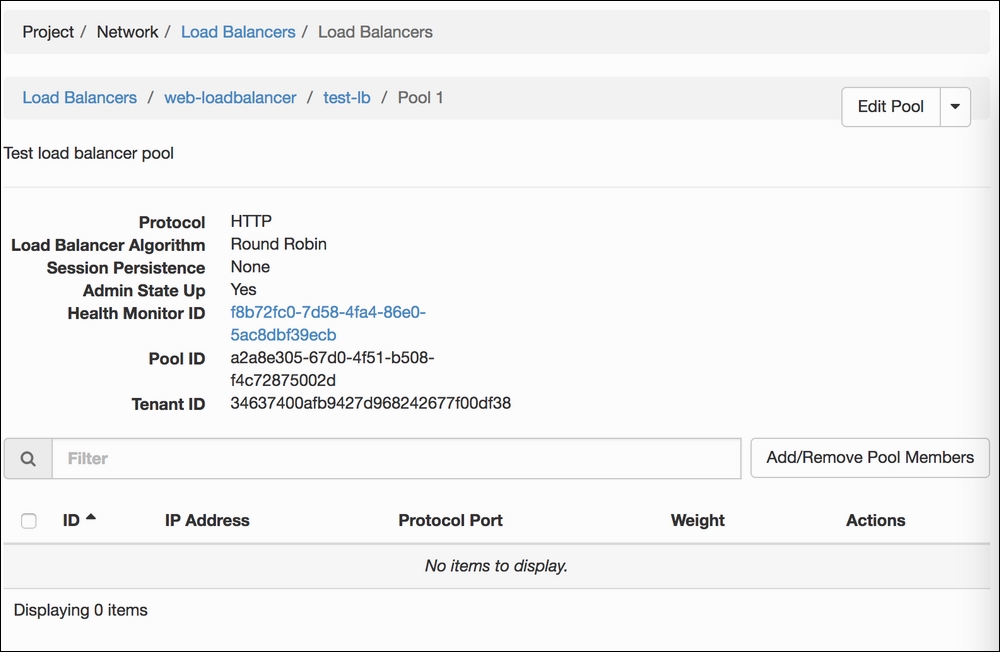
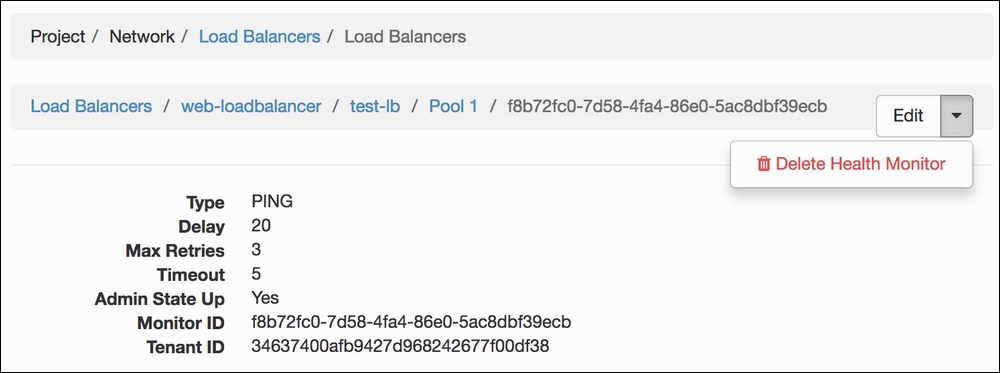
- Click on the Health Monitor ID to access the health monitor details:
- From the health monitor details page, click on the drop-down arrow next to the Edit button to reveal the Delete Health Monitor option. Click on the Delete Health Monitor option to delete the health monitor:
- This will give you a confirmation screen. Click on the Delete Health Monitor button to confirm:

- After deleting the health monitor, we get back to the pool screen. Click on the action arrow next to the Edit Pool button to reveal the Delete Pool option. Click on the Delete Pool option:
- You will be presented with a confirmation screen. Click on the Delete Pool button to confirm pool deletion:

- After deleting the pool, we are back on the listener details page. Click on the action arrow next to the Edit button to reveal the Delete Listener option. Click on the Delete Listener option to delete the listener:
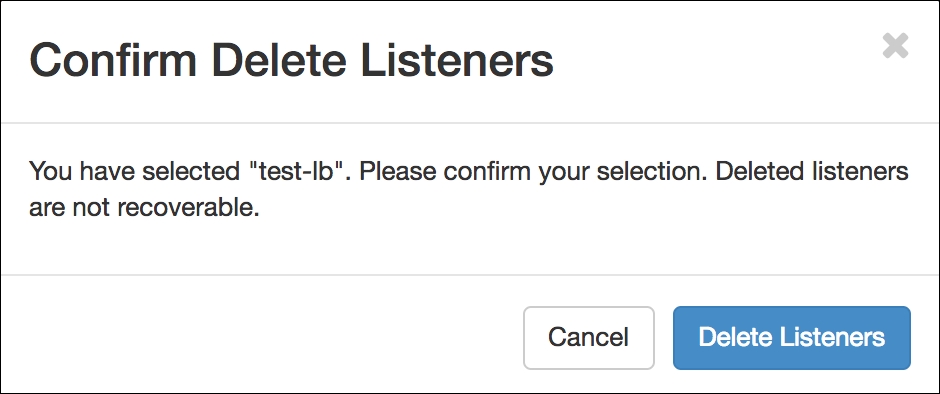
- You will be presented with the confirmation screen; click on the Delete Listeners button to confirm listener deletion:
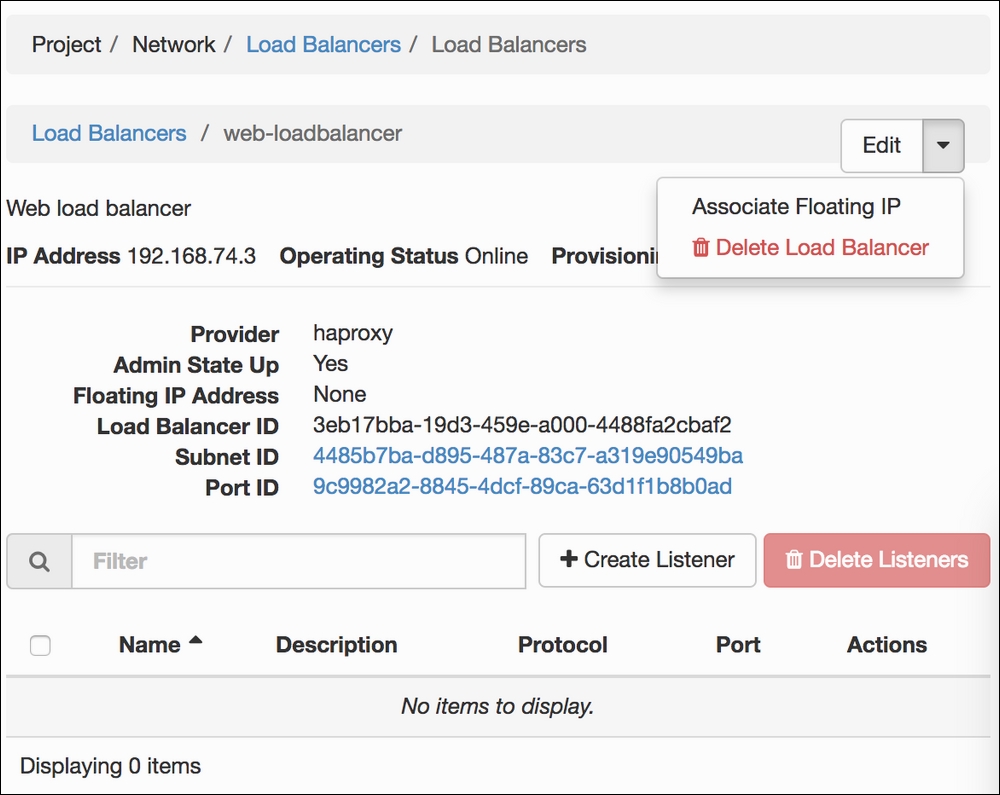
- After deleting the listener, we will be back on the load balancer details page. Click on the action arrow next to the Edit button to reveal the Delete Load Balancer option. Click on the Delete Load Balancer option to delete the load balancer:
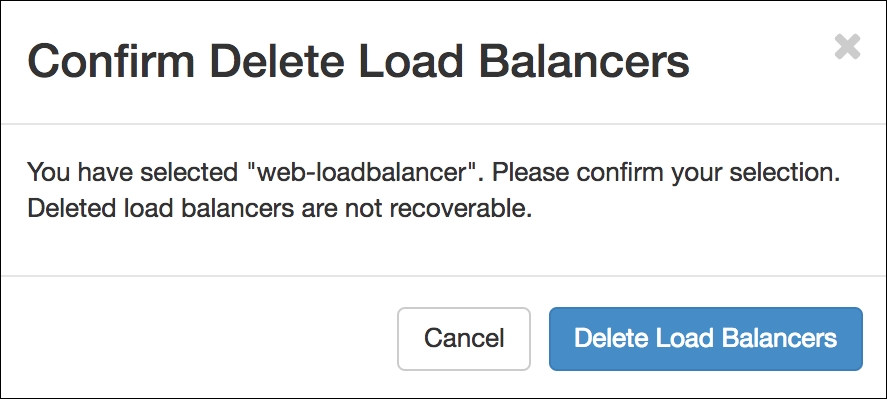
- You will be presented with the confirmation screen. Click on the Delete Load Balancers button to delete the load balancer:
We created a load balancer pool with a health monitor and added two instances to it. To do this, we executed the following steps:
- Creating a load balancer from the load balancer page.
- Selecting subnet to which all the nodes are attached when creating listener.
- Adding members to the listener.
- Adding a health monitor.
All the load balancer details can be edited after creation. Deleting a load balancer requires deletion of all the assets that were created: pool, listener, and health monitor.