
The OpenStack Dashboard gives us the ability to administer users through the web interface. This allows an administrator to easily create and edit users within an OpenStack environment. To manage users, you must log in using an account that is a member of the admin role.
Load a web browser, point it to our OpenStack Dashboard address at http://192.168.100.117/, and log in as a user in the default domain, such as the developer user, created in the Common OpenStack identity tasks recipe in Chapter 2, The OpenStack Client with the cookbook4 password. The URL for our dashboard is same as the public load balancer IP as discussed in Chapter 1, Installing OpenStack with Ansible. If you need to find out at what URL your Horizon is, use public IP from the OpenStack catalog list as described in Chapter 3, Keystone – OpenStack Identity Service.
User management under OpenStack Dashboard is achieved by carrying out the steps discussed in the following sections.
To add users, perform the following steps:
- In the Identity panel, click on the Users option to get a list of users configured on the system:

This screenshot truncates the available user list for the sake of clarity and space.
- To create a new user, click on the Create User button.
- We will be presented with a form that asks for username details. Enter the username, email, and the password for that user. In the example shown in the following screenshot, we create a user named
test, set a password, and assign that user to thehorizonproject with the role of admin. Click on the Create User button to create a new user with all the details specified:
- We will be returned to the screen listing the users of our OpenStack environment with a message stating that our user creation was successful.
To delete users, perform the following steps:
- In the Identity panel, click on the Users option to get a list of users on the system.
- We will be presented with a list of users in our OpenStack environment. To delete a user, click on the Edit button, which will present a drop-down list with the Delete User option:

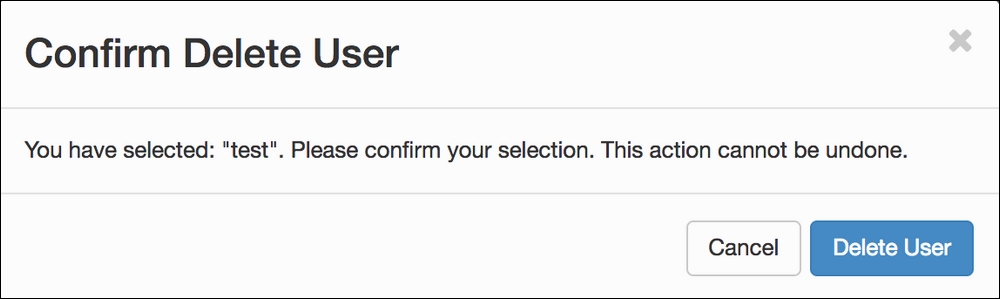
- Clicking on the Delete User option will bring up a confirmation dialog box. Confirm by clicking on the Delete User button to remove that user from the system:
To update user details and passwords, perform the following steps:
- In the Identity panel, click on the Users option to bring up a list of users on the system.
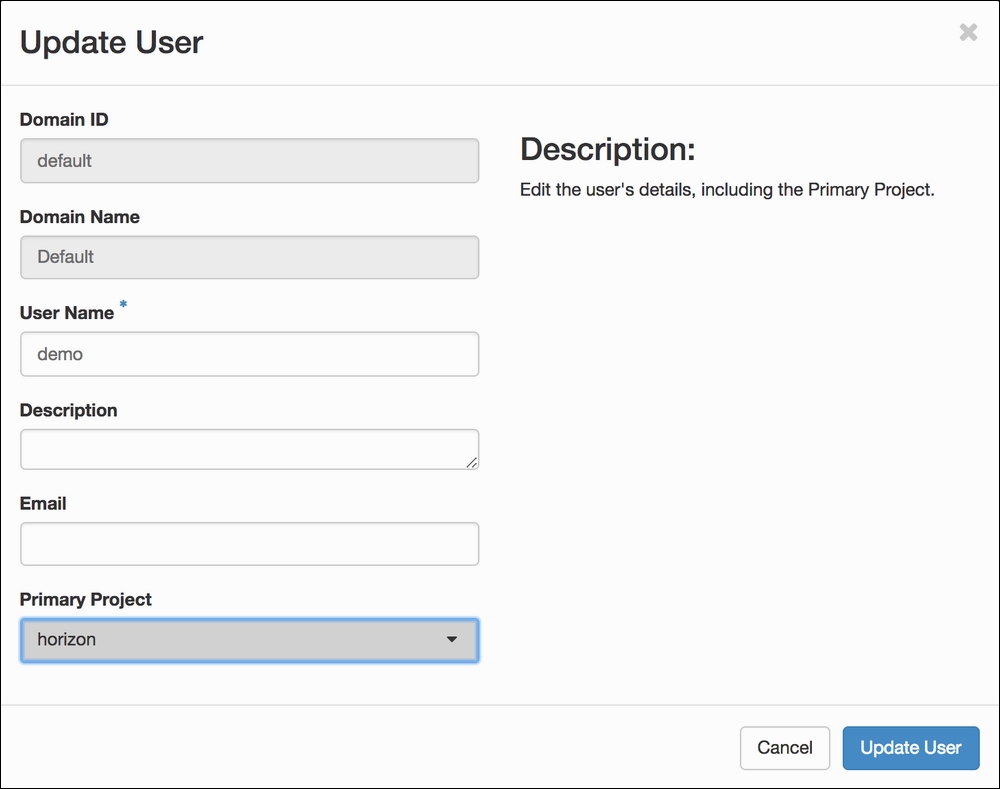
- To change a user's password, email address, or primary project, click on the Edit button for that user.
- This brings up a dialog box asking for the relevant information. When the information has been set as we want it to be, click on the Update User button:
To add users to projects, perform the following steps:
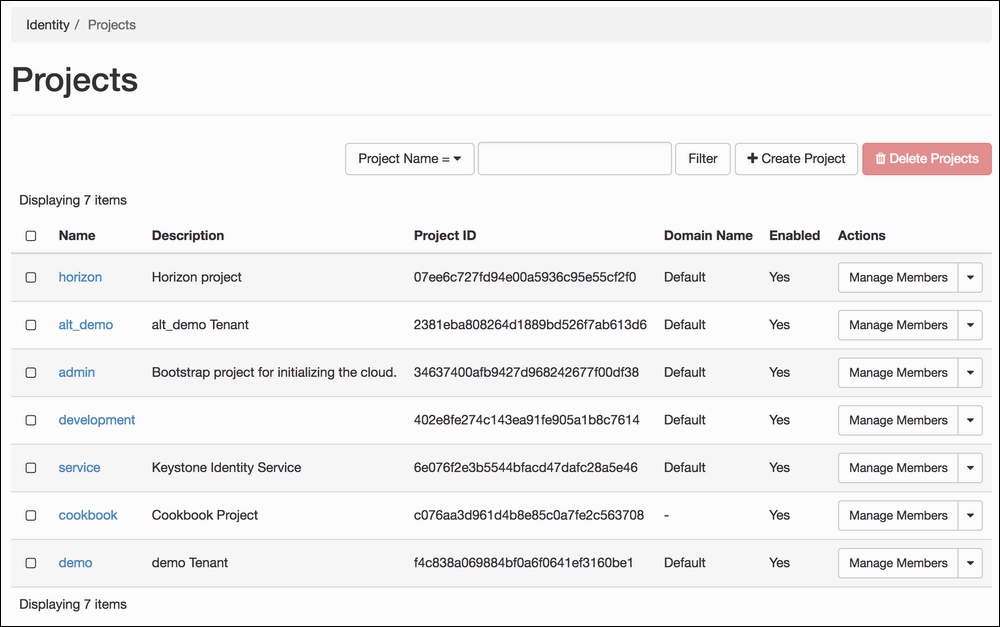
- In the Identity panel, click on the Projects option to bring up a list of projects on the system:
- Click on the Manage Members option to bring up a list of users associated with a project as well as a list of users, which we can add to that project:
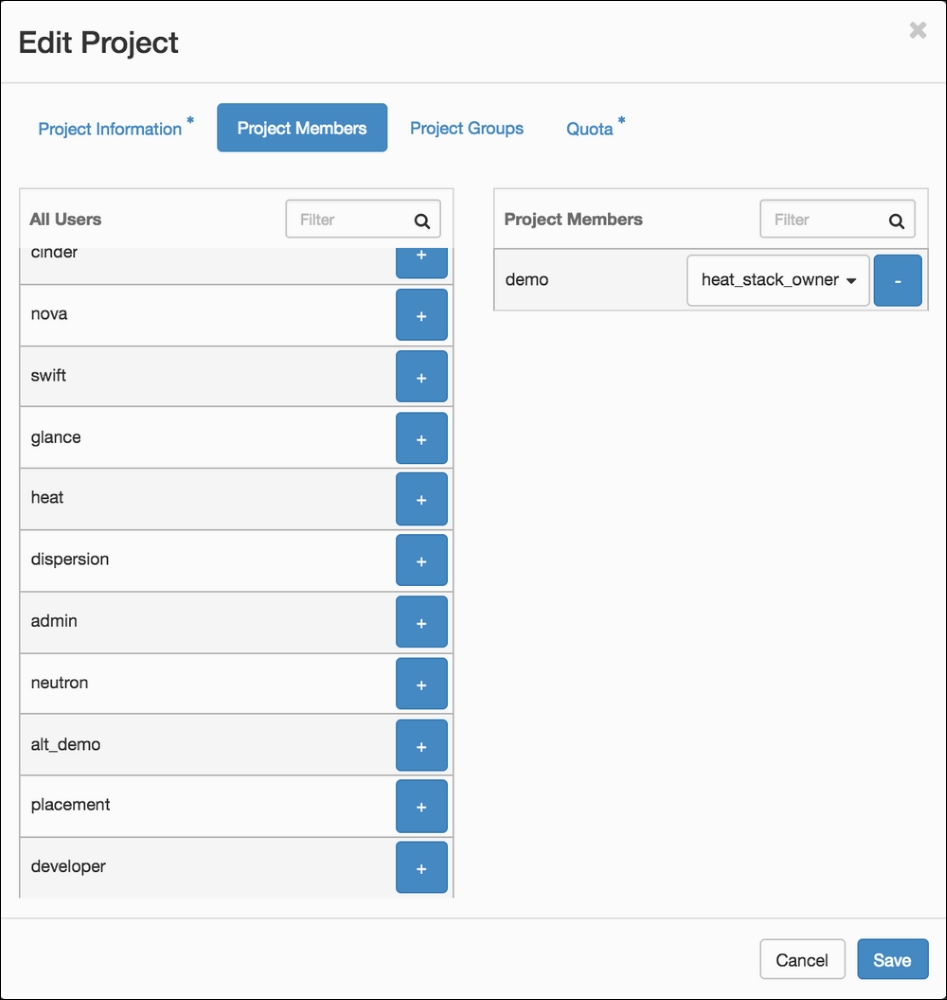
- To add a new user to the list, simply click on the + (plus sign) button next to that user.
- To change the role of the user within that project, select the dropdown next to the username and select a new role (or roles):
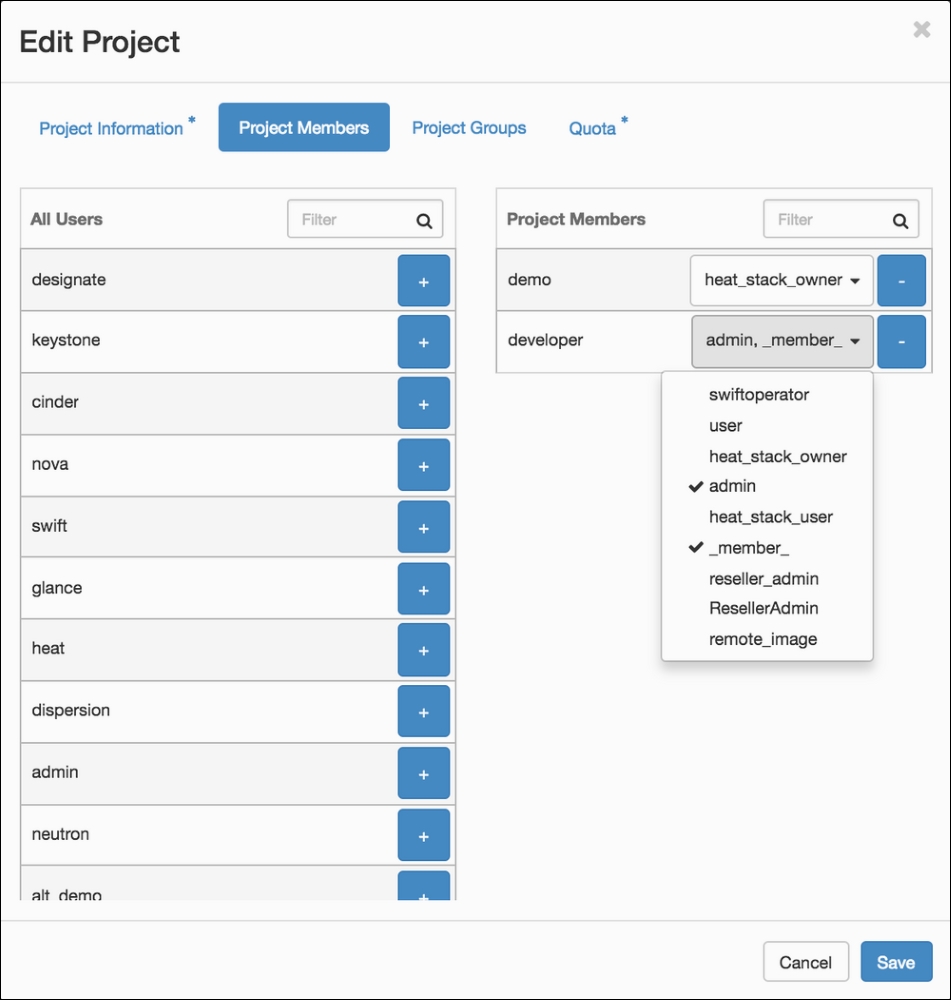
In our example, we have added the
developeruser to thedemoproject and have given theuseradminand_member_roles. - After clicking on the Save button at the bottom of the dialog box, we will see a message saying that our project has been updated. This user can now launch instances in different projects when they log on.
To remove users from projects, perform the following steps:
- In the Identity panel, click on the Projects option to bring up a list of projects on the system.
- To remove a user from a project, for example,
demo; click on the Manage Members button:
- By clicking on the Manage Members button, you will get a modal window with a list of all users as well as project members, which we can remove from that project:
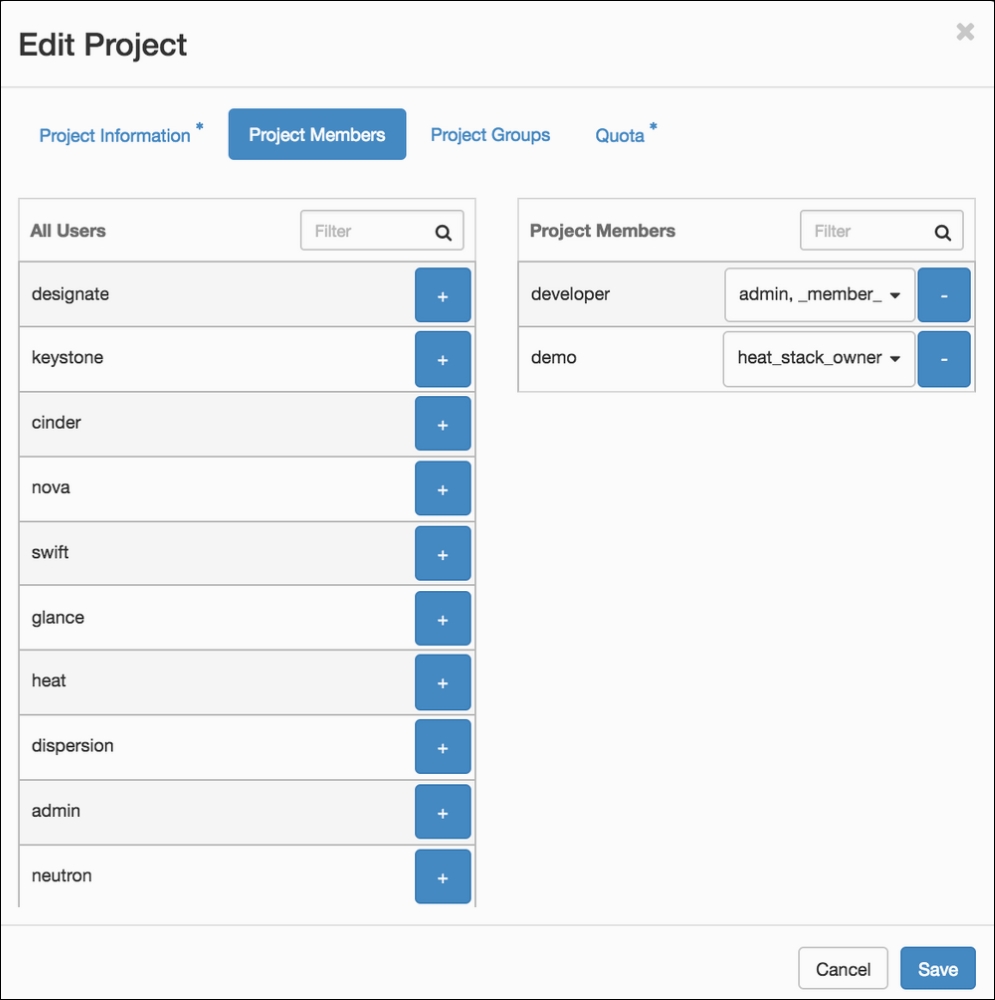
- To remove a user from this project, click on the - (minus sign) button next to that particular user under project members.
- After clicking on the Save button at the bottom of the dialog box, we will see a message saying that our project has been updated.