6.6 Example LCD Display Setup Program

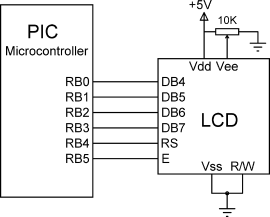
An example C program is given here to show how the LCD can be set up. The connection of the LCD to the microcontroller is shown in Figure 6.9 (if you are using the EasyPIC 7 development board, all you have to do is just connect the LCD to the board). PORT B lower pins (RB0 to RB3) are connected to the upper 4 bits of the LCD (DB4 to DB7). In addition, RB4 and RB5 pins are connected to LCD RS and E pins, respectively.

Figure 6.9 Connecting the LCD to a PIC microcontroller
img

The program listing is shown in Figure 6.10. The following functions are used in the program:

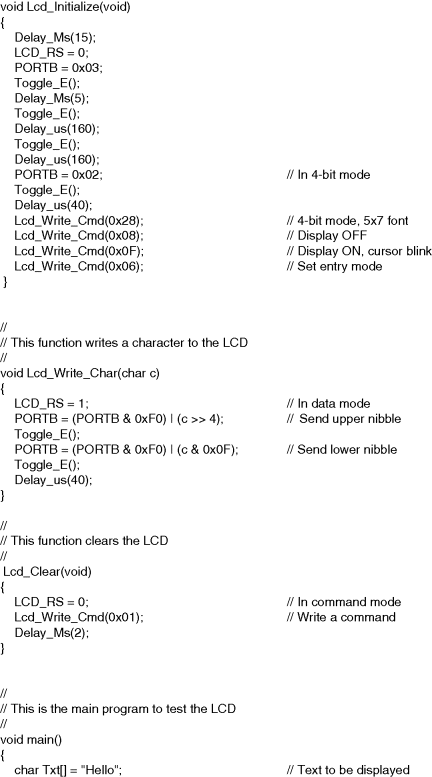
Lcd_Initialise: This function initialises the LCD in 4-bit mode, as described earlier. The enable clock pulses are sent to the LCD by calling to function Toggle_E, which simply sets the E line to HIGH and then LOW. The 4-bit LCD commands are sent using function Lcd_Write_Cmd.
Lcd_Write_Cmd: This function receives a byte, separates it into two nibbles, sends the high nibble, followed by the low nibble. The E line is toggled after each output.
Lcd_Clear: This function clears the LCD and homes the cursor.
Lcd_Write_Char: This function sends a character to the LCD. The upper nibble is sent first, followed by the lower nibble. Line E is toggled between each output.
Toggle_E: This function toggles the E line by first sending a HIGH and then a LOW signal.

The LCD setup functions are tested by the main program in Figure 6.10. Here, PORT B pins are configured to be output. Then the LCD is initialised by calling Lcd_Initialise and LCD is cleared by calling function Lcd_Clear. The text ‘Hello’ is then sent to the LCD by using function Lcd_Write_Char, where each character is sent individually using a for loop.

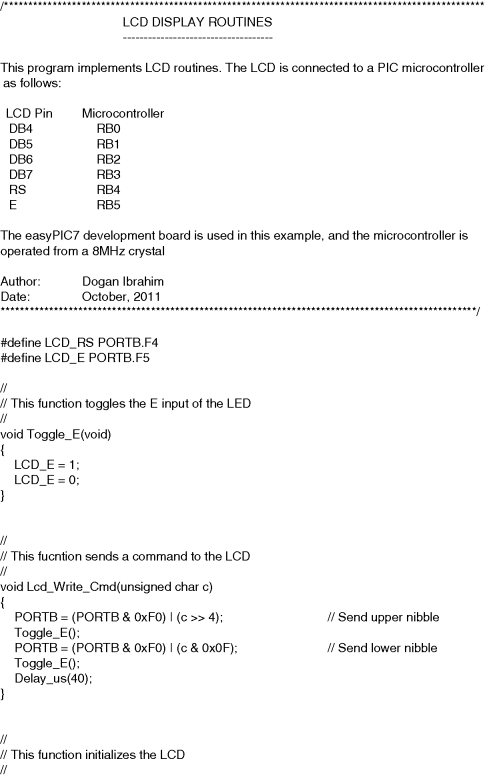
Figure 6.10 LCD setup and display program

img

img

img

..................Content has been hidden....................

You can't read the all page of ebook, please click here login for view all page.
Reset
3.145.166.167