Windows XP Administrative Tools
There are a number of system tools included with Windows XP that you need to know for the exam. These administrative tools are discussed in the order in which they appear in the objectives and also include Windows Firewall, which was covered earlier in this chapter.
Users and Groups
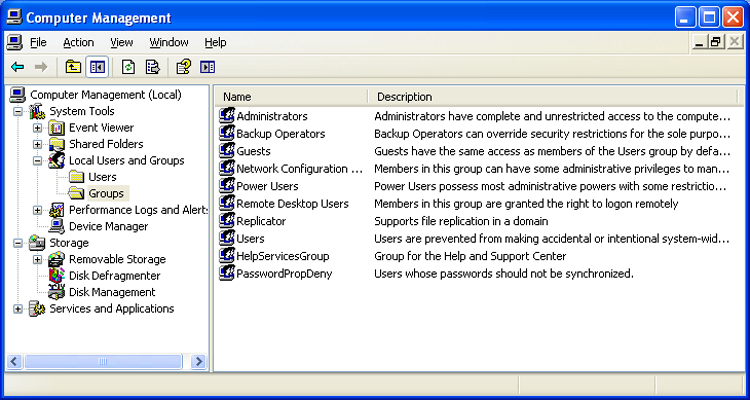
As an administrator, you can configure the users and groups on a Windows XP system by clicking Start > Control Panel > Administrative Tools > Computer Management > Local Users And Groups. The two folders—one for users, and the other for groups—provide an interface through which you can add and delete users and groups and set the password or properties for them. Figure 16-18 shows the users on a sample system, while Figure 16-19 shows the groups. The groups shown are the standard defaults (except the group PasswordPropDeny) for a Windows XP system, and you should know them for the exam.
Figure 16-18: Users in Windows XP
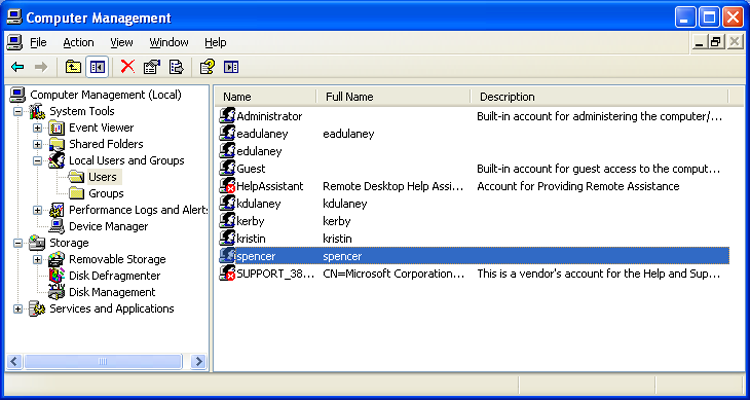
The standard users are Administrator and Guest. The standard groups are Administrators, Backup Operators, Guests, HelpServicesGroup (used to provide rights to accounts used by support applications such as Remote Assistance), Network Configuration Operators, Power Users (which have most of the rights of the Administrators group but not all), Remote Desktop Users, Replicator (which exists only for file replication in the domain), and Users.
Figure 16-19: Groups in Windows XP
Local Security Policy
The Local Security Policy (Start > Control Panel > Administrative Tools > Local Security Policy or choose Start > Run, and then enter secpol.msc) allows you to set the default security settings for the local system. Figure 16-20 shows an example of the screen.
Figure 16-20: Setting the Local Security Policy

The following sections examine some of the Security Settings choices.
Account Policies
Account Policies further divides into Password Policy and Account Lockout Policy. The following choices are available under Password Policy:
Because the likelihood of laptops being stolen always exists, it’s strongly encouraged that you use good password policies for this audience. Here’s an example:
- Enforce Password History: 8 passwords remembered
- Maximum Password Age: 42 days
- Minimum Password Age: 3 days
- Minimum Password Length: 6 to 8 characters
Leave the other three settings disabled.
Account Lockout Policy
The Account Lockout Policy setting divides into the following three values:
When you’re working with a mobile workforce, you must weigh the choice of users calling you in the middle of the night when they’ve forgotten their password against keeping the system from being entered if the wrong user picks up a laptop. A possible configuration for a medium to low security environment is to use a lockout after five attempts for a period of time between 30 and 60 minutes.
Local Policy Settings
The Local Policies section divides into three subsections: Audit Policy, User Rights Assignment, and Security Options. The Audit Policy section contains nine settings; the default value for each is No Auditing. Valid options are Success and/or Failure. The Audit Account Logon Events entry is the one you should consider turning on for mobile users to see how often they log in and out of their machines.
When auditing is turned on for an event, the entries are logged in the Security log file and can be viewed with Event Viewer.
The User Rights Assignment subsection of Local Policies is where the meat of the old System Policies comes into play. User Rights Assignment has many options, most of which are self-explanatory. Also shown in the list that follows are the defaults for who can perform these actions; Not Defined indicates that no one is specified for this operation. If your mobile users need to be able to install, delete, and modify their environment, make them a member of the Power Users group.
The Security Options section includes a great many options, which for the most part are Registry keys. The default for each is Not Defined; the two definitions that can be assigned are Enabled and Disabled, or a physical number (as with the number of previous logons to cache) can be assigned. In some cases, you can make a selection from a dropdown (such as Devices: Unsigned driver installtion behavior ) or a text message (such as Interactive logon: Message text for users attempting to log in).
System Configuration
The System Configuration tool (MSCONFIG.EXE) in Windows XP is used to control the way the system behaves at startup, and it includes a number of tabs and options not present in subsequent versions of Windows, as shown in Figure 16-21.
Among the options not present in Windows Vista or Windows 7 are the ability to interact with and minimally edit the INI files (BOOT.INI as well as SYSTEM.INI and WIN.INI) because these files are not used in those operating systems.
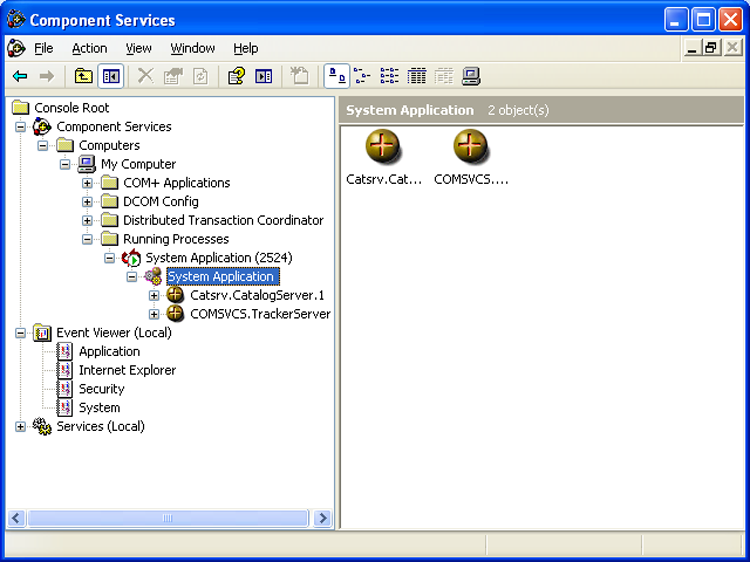
Component Services
Component Services (Start > Control Panel > Administrative Tools > Component Services) allows you to administer, as well as deploy, component services and configure behavior like security. In this tool, it is possible for administrators to manage components while developers configure routine component and application behavior (object pooling, for example). Figure 16-22 shows an example of the screen.
Figure 16-21: The System Configuration tool in Windows XP
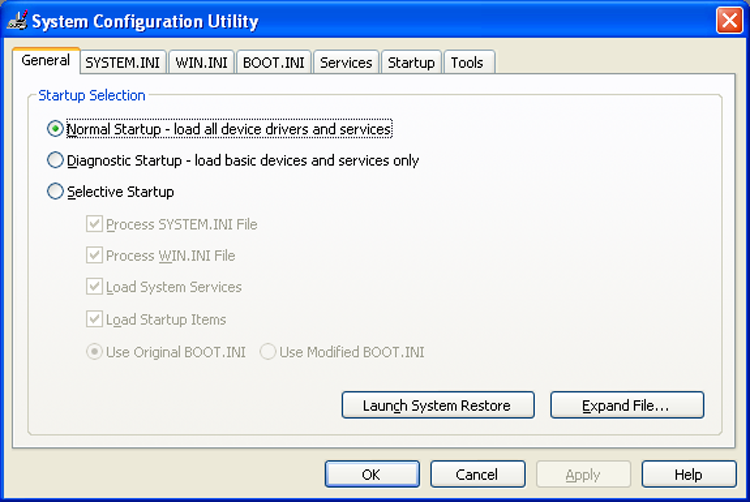
Figure 16-22: Component Services
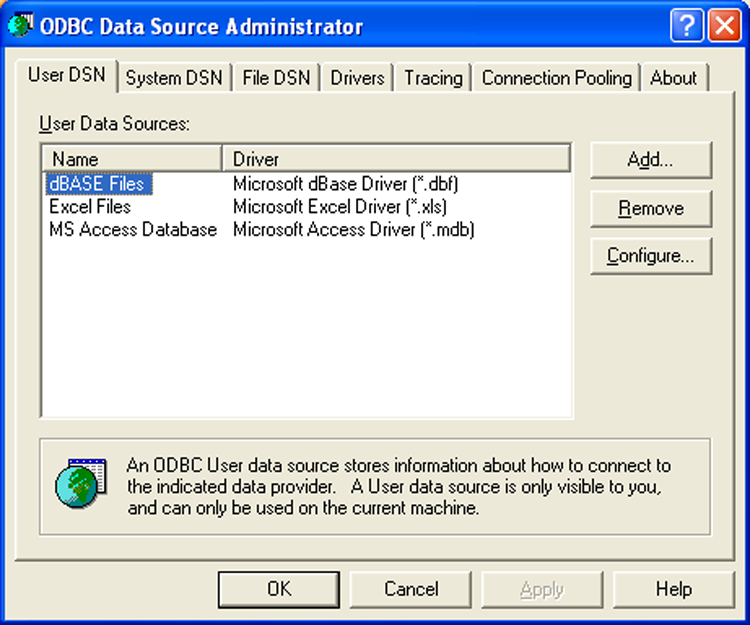
Data Sources
Data Sources, accessed by choosing Start > Control Panel > Administrative Tools > Data Sources (ODBC), allows you to interact with database management systems. Figure 16-23 shows an example of the ODBC Data Source Administrator dialog box.
Database drivers that are added to the system will show up here and can be shared between applications.
Figure 16-23: Data Sources in Windows XP