
Our virtual game world is now being populated with real-world-based places which we want the player to travel to and interact with. For this version of the game, we will let the player visit the places around him and try to sell his cooking monsters. If the place or restaurant likes any of the player's cooks, then it will offer a payment. The player can then accept the payment or move on. However, if the player does accept the payment, the cook will be sold to the restaurant and become its monster chef. A restaurant with a monster chef will not purchase any more cooks until the current chef leaves. A chef will leave after a certain amount of time has expired.
For this chapter, we will focus on completing that interaction of the player exploring the places around them. In order to do this, we will need to construct a new Places scene. This scene will allow the player to sell their monsters to collect new items, such as freeze balls and experience. This will require us to introduce new tables in the database, to handle new inventory items, player experience or level and track the history of a place. Also, we will be introducing a few subtle enhancements along the way. So get ready; this chapter will go over these materials very quickly and will cover the following topics:
- The Places scene
- Google Street View as a backdrop
- Slideshow with Google Places API photos
- Adding UI interaction for selling
- The game mechanics of selling
- Updating the database
- Connecting the pieces
There will be a few new elements introduced in this chapter, but most of the content added to the game at this point is an extension of concepts covered in several previous chapters. As always, we will continue the project from where we left it from the previous chapter. If you have jumped ahead from a previous chapter, consult the section on downloading the books source code for Chapter 8.
This scene will be another point where we want to mix the content of our alternate game world with the real world. Like the Catch scene, where our AR interaction was a game world on top of the real world, we will do something similar, but this time using a backdrop from Google Street View. We will also use real-world photos of the places within our markers in order to augment our game reality.
Let's get started by creating the new scene and putting the main base elements in place, as follows:
- Open up the
FoodyGoproject from where we left in the previous chapter. If you have jumped ahead, you will need to consult the section on restoring the project from the downloaded source code. - Type Ctrl + N (command + N on Mac) to create a new scene.
- Type Ctrl + S (command + S on Mac) to save the scene. Save the scene as
Places. - Type Ctrl + Shift + N (command + shift + N on Mac) to create a new empty Game Object. Rename the object
PlacesSceneand reset the transform to zero. - Drag the
Main CameraandDirectional Lightobjects onto thePlacesScene, to make them child objects. - Select the
Main Cameraobject in the Hierarchy window. Then, in the Inspector window, set the Transform PositionY =2and Z=-2. We want to raise the camera up and move it forward. - From the menu, select GameObject | UI | Panel. This will add a new
Canvaswith a childPanelin the Hierarchy window. Select theCanvasobject. - Locate the Canvas component in the Inspector window, and set the Render Mode to Screen Space - Camera. Then, drag the
Main Cameraobject from the Hierarchy window into the empty Render Camera slot on the Canvas component. - Select the
Panelobject in the Hierarchy window. Then, in the Inspector window, change the Image component Color to#FFFFFFFFby clicking on the color slot to open the Color dialog and enter the hex value. - Locate the
PlaceMarkerprefab in theAssets/FoodyGo/Prefabsfolder in the Project window. Select the prefab and type Ctrl + D (command + D on Mac) to duplicate the prefab. Rename the prefabPlacesMarkerand drag the new prefab into the Hierarchy window. - Finally, drag the
CanvasandPlacesMarkerobjects onto thePlacesSceneobject in the Hierarchy window to make them children. Your Game and Hierarchy windows should match the following screenshot: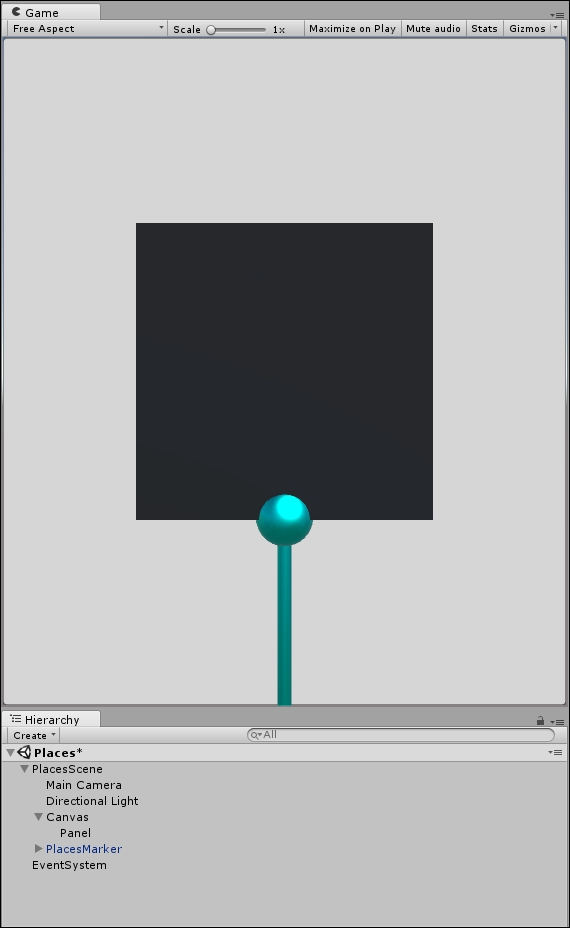
The start of the Places scene
That sets up our base Places scene, and now, we want to add the other AR elements, such as the backdrop, and sign in the next sections.