
Adding a network to the topology is a necessary step to implement CAC, not QoS. CAC uses the IP configuration of the client to decide which subnet and site the client belongs to. The information entered into Lync must match that of the client's IP configuration.
Supernetting two /24 subnets into one /23 subnet is not supported and will not work.
Subnets are added to sites, and sites are organized into regions. When entering this information into Lync, we have to create the regions first, then the sites, and finally the subnets.
Gather all the possible information on the layout of the infrastructure. Look at the previous tables for examples on how to document the deployment before entering data into Lync.
The tool that we'll use to show how it's done is CSCP, but look at the There's more… section for some PowerShell examples.
All of the following actions will require an account with the RTCUniversalServerAdmins permission.
Proceed with the following steps to add a Region:
- Launch the Lync CSCP and navigate to Region | Network Configuration.
- Select New.
- Add information related to Name and Central site (pick from the topology created for the organization), an alternate path (which allows a reroute), and a description, as shown in the following screenshot:
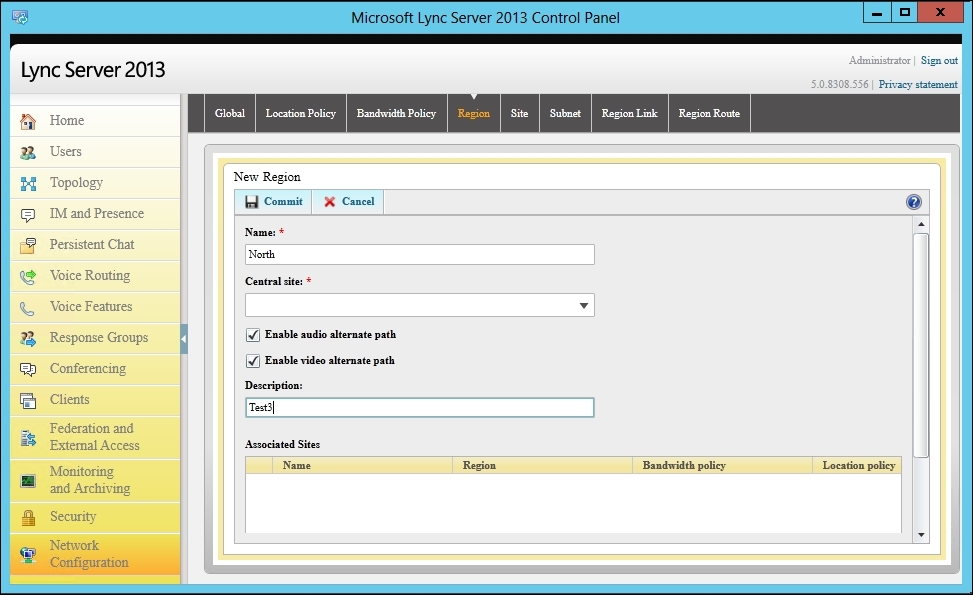
- Select Commit to save.
- The task is complete when all the regions have been added to the configuration.
The following are the steps to add a Site:
- Launch the Lync Server Control Panel with a CSAdministrator account, and navigate to Site | Network Configuration.
- Select New.
- Add information related to Name, Region, Bandwidth policy, and Description (and Location policy if in use), as shown in the following screenshot:

- Select Commit to save.
- The task is complete when all the regions have been added to the configuration.
The following are the five steps to add a subnet:
- Launch the Lync Server Control Panel with a CSAdministrator account, and navigate to the Subnet option under the Network Configuration section.
- Select New.
- Enter the information into Subnet ID and Mask, attach a site, and possibly add a useful description. Your screen will look similar to the one shown in the following screenshot:
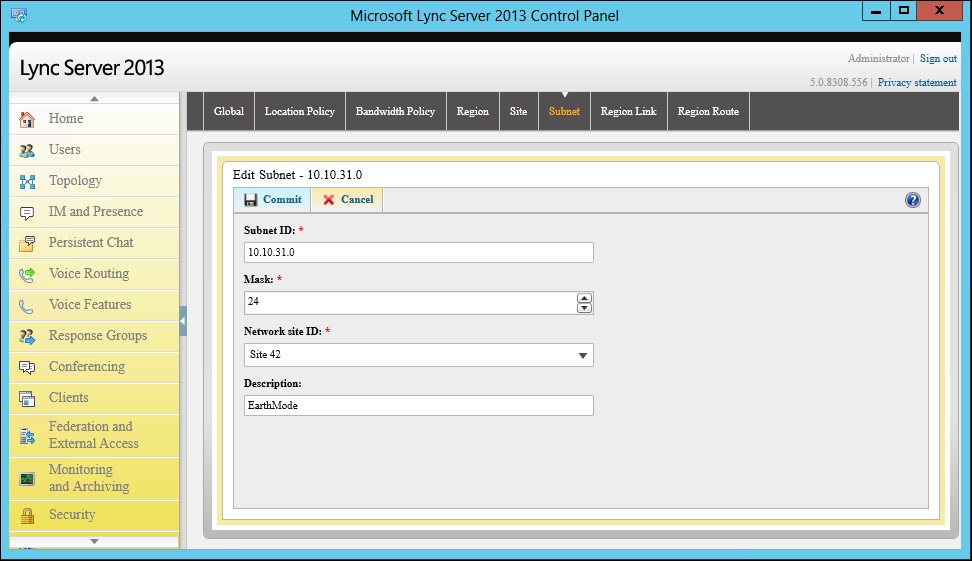
- Select Commit to save.
- The task is complete when all the regions have been added to the configuration.
When a lot of information has to be entered into Lync, it makes much more sense to collect the information into CSV files and bulk import it into Lync.
Proceed with the following steps to add regions using CSV files:
- Create a CSV file with all the information required, which looks similar to the following screenshot:

- Save the file (the import example shows
C:LyncScriptsRegions.csv). - Run the following PowerShell command to import and configure:
Import-Csv C:LyncScripts
egions.csv | foreach {
$_.AudioAlternatePath = [bool]($_.AudioAlternatePath -as [int])
$_.VideoAlternatePath = [bool]($_.VideoAlternatePath -as [int])
New-CsNetworkRegion -Identity $_.Identity`
 -CentralSite $_.CentralSite`
 -AudioAlternatePath $_.AudioAlternatePath`
 -VideoAlternatePath $_.VideoAlternatePath`
 -Description $_.Description
}
The following are the steps to add sites with the help of the CSV files:
- Create a CSV file with all the information required. It should look similar to this:

- Save the file (the example shows
C:LyncScriptsSites.csv). - Run the following PowerShell command to import and configure:
Import-Csv C:LyncScriptssites.csv | foreach {
New-CsNetworkSite -Identity $_.Identity`
 -NetworkRegionID $_.NetworkRegionID`
 -BWPolicyProfileID $_.BWPolicyProfileID`
 -Description $_.Description
}
The following are the three steps to add subnets:
- Create a CSV file with all the information required, which looks similar to this:
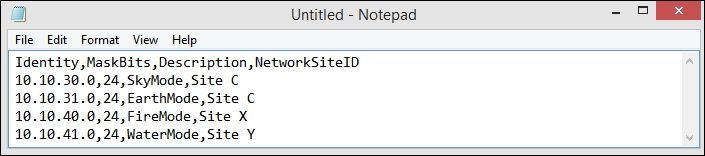
- Save the file (the example shows
C:LyncScriptssubnets.csv). - Run the following PowerShell command to import and configure:
Import-Csv C:LyncScriptssubnets.csv | foreach {
New-CsNetworkSubnet -Identity $_.identity`
 -MaskBits $_.MaskBits`
-Description $_.Description -NetworkSiteID $_.NetworkSiteID
}
- The New-CsNetworkRegion post at http://technet.microsoft.com/en-us/library/gg425829.aspx
- The New-CsNetworkSite post at http://technet.microsoft.com/en-us/library/gg398365.aspx
- The New-CsNetworkSubnet post at http://technet.microsoft.com/en-us/library/gg398226.aspx