
After adding all the relevant network information in the previous steps, it is now time to enable CAC.
Enabling CAC must be done for the sites in Topology Builder and globally in CSCP or PowerShell.
The following are the six steps to enable CAC in sites:
- Start Topology Builder with an account that has the RTCUniversalServerAdmins rights and save the topology file when prompted.
- For each site in the topology:
- Right-click on the site node.
- Select Edit properties.
- Scroll down to the Call admission control setting option.
- Select the Enable call admission control checkbox, as shown in the following screenshot:
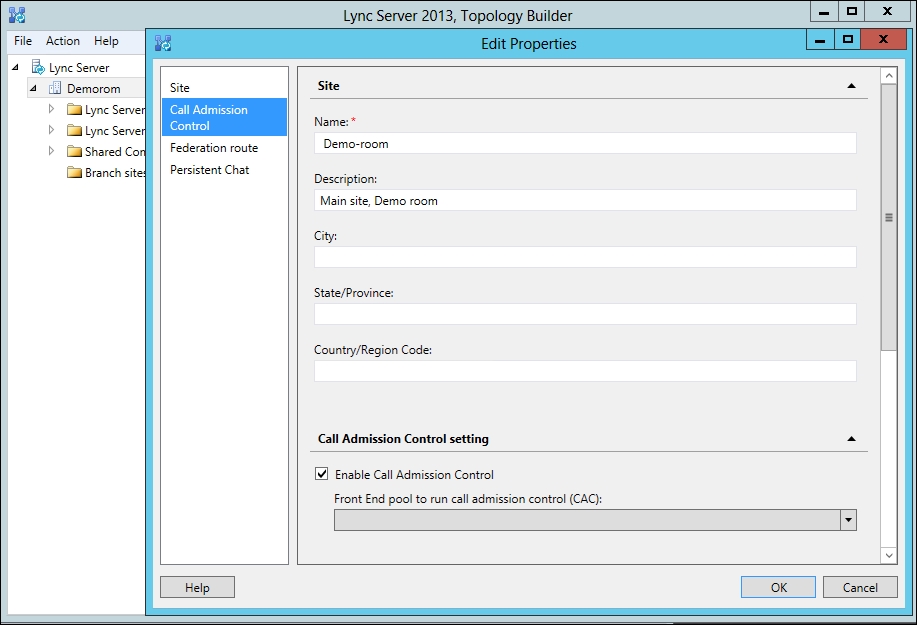
- If there is more than one pool in the site, select a pool (in a single pool site, the pool should be selected automatically).
- Click on OK.
- Publish the topology (and make note of the to-do list).
- Initiate the replication (
Invoke-CsManagementStoreReplication). - Wait for the replication to complete.
- Complete the to-do list from the publishing wizard.
Proceed with the following steps to enable CAC globally:
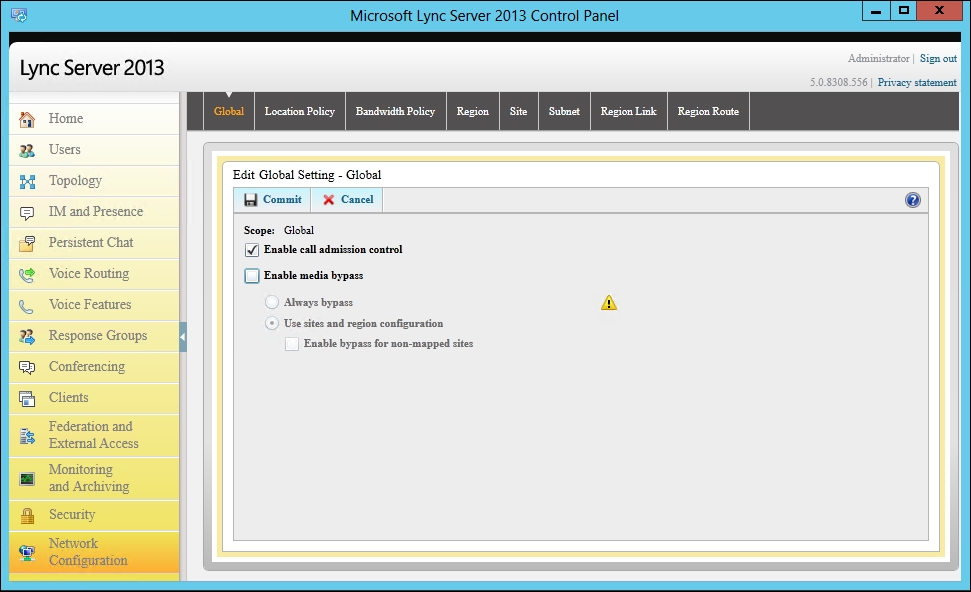
There are a lot of site settings that we can manage through the Set-CsSite command, but Enable call admission control is not one of them. This task has to be completed in Topology Builder.
The network configuration portion, however, can easily be performed through PowerShellin the following two steps:
- Launch PowerShell in an elevated prompt.
- Type the following command:
Set-CsNetworkConfiguration -EnableBandwidthPolicyCheck 1Note
As an addition to enabling CAC, it might be a good idea to enable logging as well. This can be done with the following command:
Set-CsBandwidthPolicyServiceConfiguration -EnableLogging $true – LogCleanUpInterval 10.00:00:00 -MaxLogFileSizeMb 10 –MaxTokenLifetime 12:00:00
Consider how much data to keep, and adjust the parameters of this command as needed.
The previous command will enable logging and store data in the fileshare under the application server's PDP directory, for example, \fileserver.mydomain.comShare1-ApplicationServer-1AppServerFilesPDP. These files can be viewed in the Lync Resource Tool Kit Bandwidth Utilization Analyzer for further analysis.
- The Set-CsNetworkConfiguration post at http://technet.microsoft.com/en-us/library/gg398642.aspx
- The Set-CsBandwidthPolicyServiceConfiguration post at http://technet.microsoft.com/en-us/library/gg412863.aspx