
Log data can be filled with identification numbers, short codes, error numbers, or other values that don't always make the information easy to read or understand quickly.
This recipe will show you how to add a lookup table to your Operational Intelligence application so that when a product code field is present in an event, a description field can automatically be added and populated with the full description of that product.
To step through this recipe, you will need a running Splunk Enterprise server, with the sample data loaded from Chapter 1, Play Time – Getting Data In. You should be familiar with navigating the Splunk user interface.
Follow the steps in this recipe to create an automatic product code lookup:
- Create a new file called
productdescriptions.csvusing your favorite text editor on your local computer and add the following lines, taking care to ensure that the commas are typed correctly:itemId,itemName,itemDescription 4728475,Rolux Navigator,Stylish men's watch with metal band 38492,Rolux Sportsman,Men's sport watch with timer 1000014,Ripple BookPro 13,13 inch laptop - 5PB HDD/200GB RAM 1000015,Ripple Jukebox 500,Portable music player - 984 hour battery life 1000016,Poku Castbox,Video streaming device - HDMI compatible 1000017,Ripple Jukebox 300,Music streaming device 300GB storage capacity 1000020,Ripple MyPhone 8,The latest phone from Ripple - 8 inch with 8TB of storage capacity
- You can alternatively use the
productdescriptions.csvfile that is provided. - Save the file in a location that is easily accessible from your web browser.
- Log in to your Splunk server.
- Select the Operational Intelligence application.

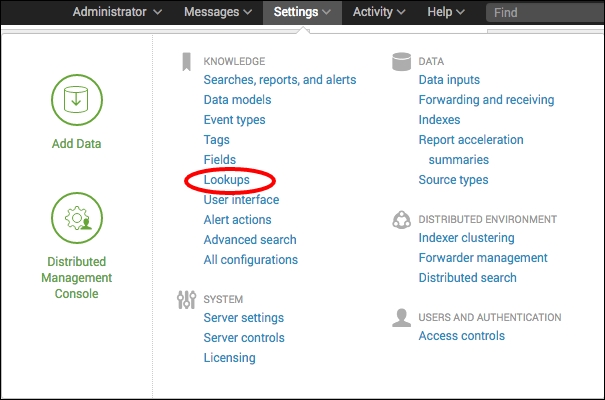
- Click on the Settings menu and then select the Lookups menu item.
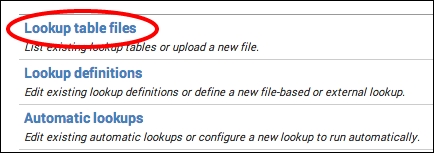
- Click on Lookup table files.
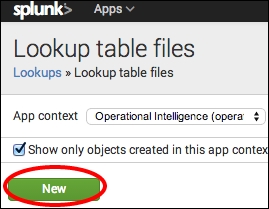
- Click on New.
- Select the Destination app as operational_intelligence.
- Click on the Choose File button (may be different depending on your browser or operating system) and select your
productdescriptions.csvfile.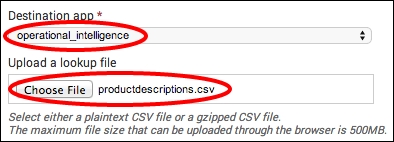
As the file is much smaller than the maximum 500 MB file size, we are able to upload it via the GUI without any issue.
- In the Destination filename field, enter
productdescriptions.csvand then click on Save.
- Now, we need to define our lookup in Splunk.
- Click on Lookups.
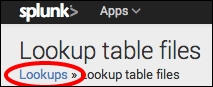
- Click on Lookup definitions:
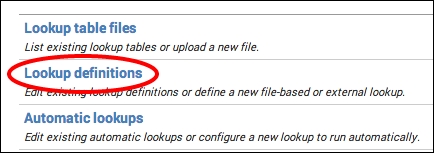
- Click on New.

- In the Name field, enter
Product_Descriptions, set the Type field to File-based, and select theproductdescriptions.csvfile in the Lookup file field. Then, click on Save.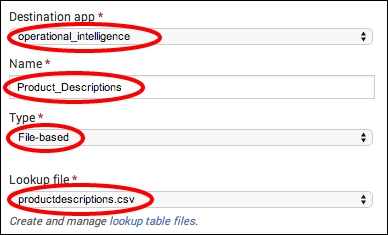
- Finally, we are going to automate the lookup so that the lookup is performed automatically when searching for the
log4jsourcetype. Click on Lookups again.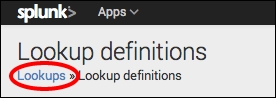
- This time, click on Automatic lookups.

- Click on New.

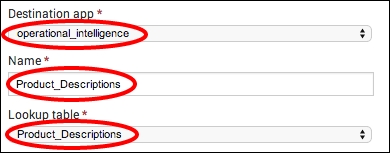
- Select
operational_intelligencein the Destination app field and enterProduct_Descriptionsin the Name field. - In the Lookup table dropdown, select Product_Descriptions.
- Select sourcetype in the Apply to field and enter
log4jin the named field. - Enter
itemIdin both fields for Lookup input fields.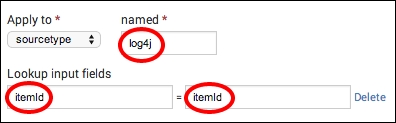
- Set
itemDescriptiontoProductDescriptionanditemNametoProductNamein Lookup output fields.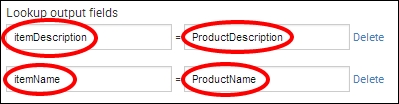
- Click on Save.
- Click on Apps and select the Operational Intelligence app.
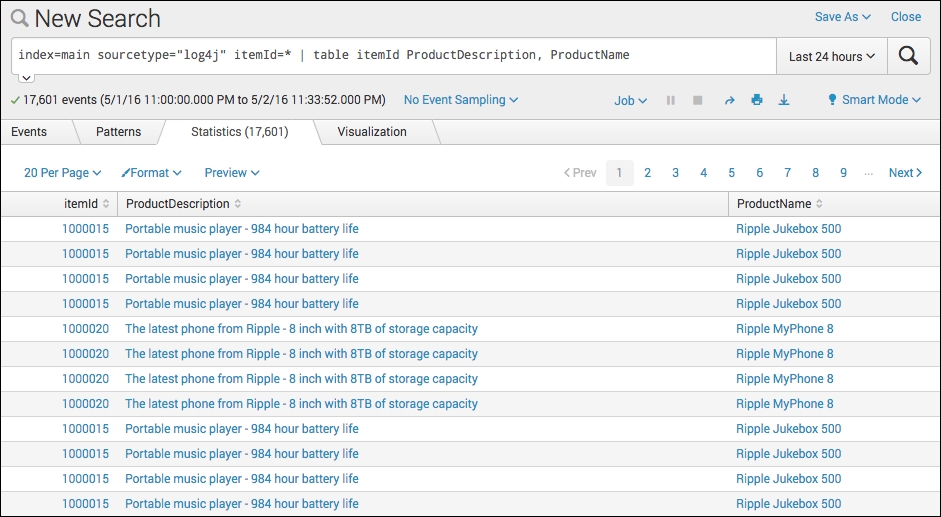
- In the search bar, enter the following search over Last 24 hours:
index=main sourcetype="log4j" itemId=* | table itemId ProductDescription, ProductName
- It should now display the ProductDescription and ProductName entries for each field.
When you issue a search in Splunk, it checks its configuration to see if there are any lookups defined. If it finds a lookup that matches the appropriate host, source, or sourcetype for the events returned in the search, it takes the input fields that are defined and matches them against the data in the lookup file and the fields in the events. If the field values match, it adds the output fields from the lookup table to the events as the new fields, as defined.
There are many different configurations possible with lookup tables. For example, it is possible to have input field matches on more than one field, and you can have the output fields overwrite the fields that already exist in the search results.
In this recipe, we chose to implement an automatic lookup. Automatic lookups negate the need to explicitly use the lookup command in your search but can carry a performance cost. For example, every search of the log4j sourcetype will now perform this product lookup automatically, whether we need the fields and associated values returned from the lookup or not.
As with most configurations in Splunk, there is more than one way to do something. While the product lookup can be configured via the web interface, it can also be performed manually.
Follow the given steps to manually add the lookup to Splunk:
- Upload your
productdescriptions.csvfile to$SPLUNK_HOME/etc/apps/operational_intelligence/lookupsdirectory (create thelookupsdirectory if required). - Add the following stanza to
$SPLUNK_HOME/etc/apps operational_intelligence/local/transforms.conf(create the local directory if required):[Product_Descriptions] filename = productdescriptions.csv
- Add the following stanza to
$SPLUNK_HOME/etc/apps operational_intelligence/local/props.conf(create the local directory if required):[log4j] LOOKUP-Product_Descriptions = Product_Descriptions itemId AS itemId OUTPUTNEW itemDescription AS ProductDescription, itemName AS ProductName