Creating a new Azure DevOps organization and one or more projects is a task often completed by administrators that will also be responsible for managing these environments later. These organizations are most likely connected to an Active Directory. To create an organization for private use or training and learning practices, it might be better to use a personal account.
To create a new organization using a personal account, do the following:
- Navigate to https://dev.azure.com.
- Choose Start free, to start the creation of a new Azure DevOps organization.
- When prompted with a login dialog, log in using a personal account.
- After logging in, select the correct country of residence and opt in/out of tips and other service updates using the following dialog:
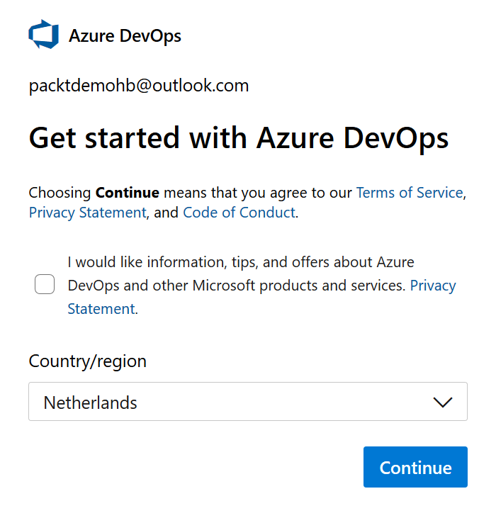
- Press Continue to create a new organization.
Once the organization is created, a new wizard will automatically start creating the first project. To create the project, do the following:
- Provide a project name.
- Choose between making the project public or private. Private projects are the default setting and are intended to create software within an organization and not allow anonymous access. Public projects are intended for open source development.
Once a new organization and a new project are created, it is possible to make changes to these choices using the management interface.
It is even possible to change the location of an organization later. This must be requested and is not as easy as changing other settings. A link to the documentation on how to do this is included at the end of this chapter.
Once an organization and project are available, it is time to set up security.