
In the previous recipes, we have worked with different types of images, but we have not designed activities with them. The aim of this chapter is to work with images and photographs, so it is time to upload them into our Moodle course.
We are working with art and photographs in this chapter, so we have to design an activity to cope with the previous bitmaps and photographs. Add a map of the Louvre museum to an HTML block in the Moodle course.
We have saved the same image in both formats: .PNG and .JPG. We will insert .PNG in our Moodle course because we have already learnt the difference in quality. When hovering the mouse over the said image, we can click and enter the official website of the Louvre Museum because we are linking the said image with a website.
Enter our Moodle course and follow these steps:
- Click on the downwards arrow in Add... within the block of Add a block.
- Choose HTML. When the new block appears, click on the Configuration icon.
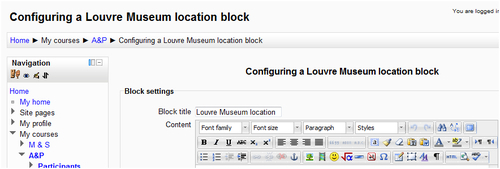
- Complete the Block title, as shown in the following screenshot:
- In the Content block, click on the Insert/Edit image icon | Find or upload an image | Upload a file | Browse (you are going to choose the
.PNGfile). - Select the image and click on Open | Upload this file.
- Complete the Description block.
- Click on Appearance, on the top margin.
- Click on the downwards arrow in Alignment and choose Middle.
- Within Dimensions, write 200 x 200 px.
- Click on Insert.
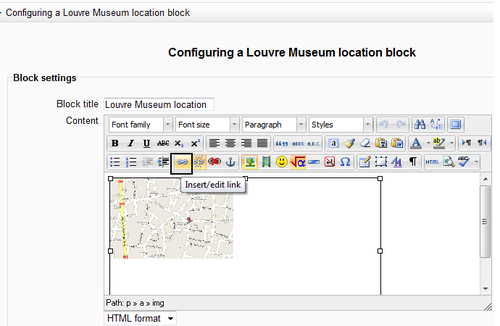
- Click on the image and click on the Insert/Edit link icon, as shown in the following screenshot:
- Complete the block and make a link to the following website: http://www.louvre.fr/llv/commun/home.jsp?bmLocale=en.
- Click on Save changes.
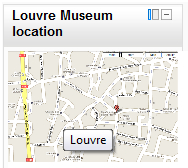
We have just uploaded the image of the Louvre Museum that we created to our Moodle course. We did not upload it in the ordinary way; we have made a link to a website using the said image. Therefore, when hovering the mouse over the said image, it will look as shown in the following screenshot:
We can also upload image files in the ordinary way without making links to a website, though it would be sometimes more attractive to our students to do it. Instead of making an ordinary link with words, an icon related to something that they are going to deal with is a good idea to strengthen our Moodle course.