
The first recipe of this chapter shows how to enable a portfolio in our Moodle course. One of its advantages is that content from our Moodle course can be exported to a virtual and stable external portfolio. So, let's get started!
Before entering the Moodle course that we want to edit, we need to change our role to Manager in order to have access to the Site Administration. When we enable a portfolio we can publish items from our Moodle course to other places to store and organize content.
Enabling a portfolio is a very simple process. After switching roles, we have to follow these steps to enable portfolios in our Moodle course:
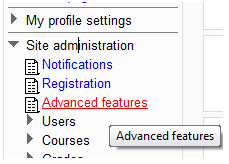
- Click on Site Administration | Advanced features, as shown in the following screenshot:
- Click on Site Administration | Plugins.
- Click on the box next to Enable portfolios, as shown in the following screenshot:

- Click on Save changes.
We have just enabled the option portfolio so that it is visible inside the plugins list. There are many portfolios that can be enabled in Moodle 2.0, therefore, follow these steps in order to make them visible:
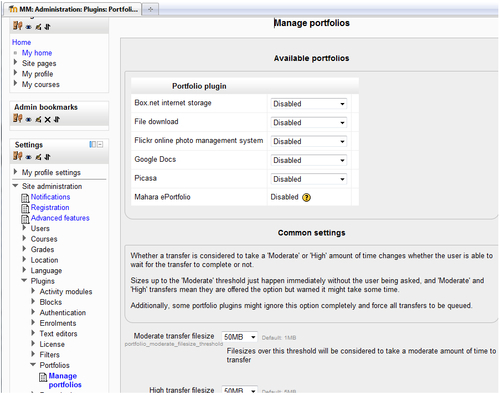
- Click on Site Administration | Plugins | Portfolios | Manage portfolios, as shown in the following screenshot:
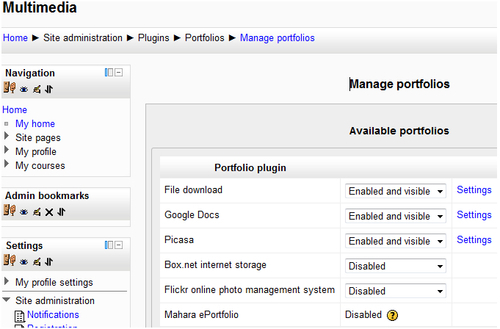
- Click on the downwards arrow next to File download and choose Enable and visible | Save | Continue.
- Repeat step 2 for Google Docs and Picassa.
- You have enabled three portfolios, as shown in the following screenshot:
- Click on Save changes.