
In this recipe, we will deal with Google Docs because we want students to write in a collaborative way. There are plenty of options that can be carried out according to the type of activity that needs to be designed; that is to say, the way it can be uploaded into our Moodle course.
First of all, enter the following website: https://docs.google.com/. If you have already used this online software, you must have an account; otherwise, you have to sign in so as to create a document. Therefore, enter the previous website, sign in, and choose Documents.
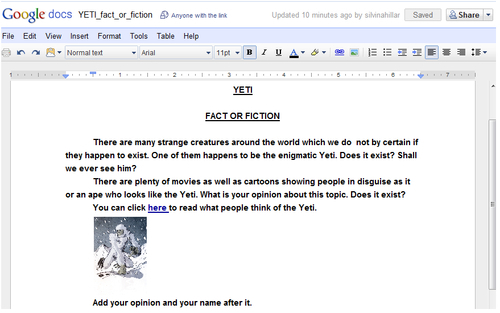
The Yeti is the topic to be covered in this recipe because Fact or Fiction is the baseline topic that is to be covered in this chapter. Now, we can create the activity—the first part of the activity—in this document. Thus, the following are the steps that you have to follow:
- Create a file that is to start a debate among students whether the Yeti is a fact or fiction. You can make a link to a website that gives information about the creature, as shown in the following screenshot:
- Click on File | Save | write a name for the file and save it.
- Click on Share on the top right-hand margin. Choose Anyone who has the link can view, as shown in the following screenshot:
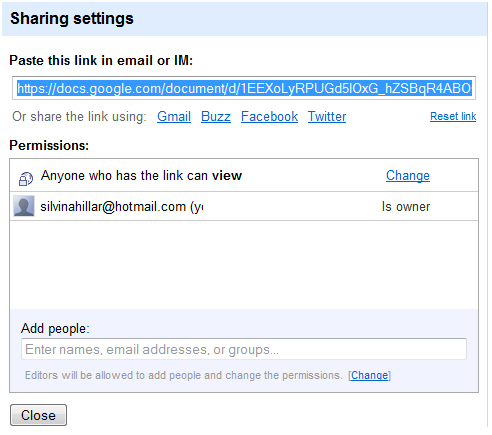
- Click on Close.
We have just created the file that students can modify in a collaborative way. It is time to upload it to our Moodle course. Choose the weekly outline section where you want to insert this activity and follow these steps:
- Click on Add an activity | Online text.
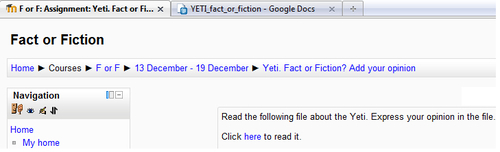
- Complete the Assignment name and the Description blocks.
- Click on Insert / edit link icon. Make a link to the website of Google Docs, shown in the previous screenshot.
- Click on Save and return to course. The activity looks as shown in the following screenshot:
You could also incorporate the following other options in your Moodle course:
One of the new features of Moodle 2.0 is that you can upload files from different sources. You can open the files that you have created directly from Moodle's file picker. So, as the file has been created in Google Docs, we can have access to it from the file picker in Moodle.
There are some steps that you have to take into account in order to enable the Google Docs options in the file picker. First of all, you have to switch role to "manager" in order to have access to the options that we need to work with. After switching role, these are the steps that we have to follow:
- Click on Site administration | Plugins | Repositories | Manage repositories.
- Click on Enabled and visible for Google Docs, as shown in the following screenshot:
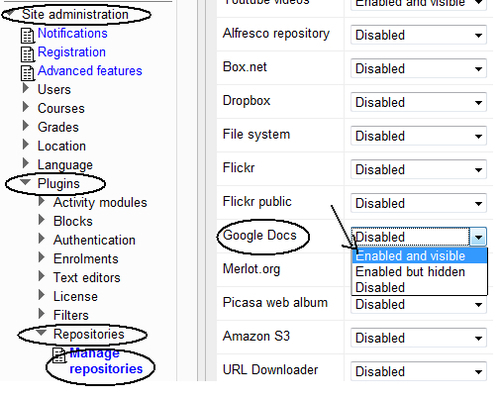
- Click on Save | Save changes.
We can add a resource in our Moodle course by uploading files from Google Docs directly from the file picker because it's just been enabled. So, let's add a resource. Choose the weekly outline section where you want to add the resource and follow these steps:
- Click on Add a resource | File.
- Complete the Name and Description blocks.
- Click on Add..., the pop-up window with the File picker will appear, as shown in the following screenshot:
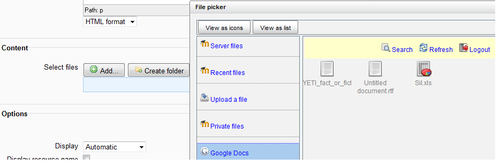
- Click on Google Docs, as shown in the previous screenshot.
- Choose the file that you want to upload | Select this file.
- Click on Save and return to course.
In Chapter 3, Working with Different Types of Interactive Charts, see:
- Embedding a line chart
- Designing an interactive pie chart with labels