
This recipe explores different ways of uploading files into our Moodle courses. The steps that we have to follow have to be together, that is to say it is not advisable to do them separately or edit the activity because they might not work.
We are dealing with a pure SVG and it is advisable that we use the Mozilla Firefox web browser because it might not work with other web browsers. You can download it at http://www.mozilla.com/en-US/products/download.html. So, let's see how to do this recipe!
We have already used a triangle and stars in the previous recipes, so it is time to change the shape. We can work with a spiral that we can create using Inkscape. Therefore, let's start said software and follow these steps in order to design the SVG to be embedded in our Moodle course:
- Click on Create spirals, as shown in the following screenshot:
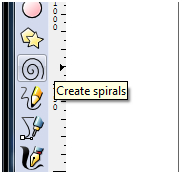
- Drag-and-drop the spiral shape to the desired size.
- Click on File | Save as | and write a name for the file.
- Click on Save.
We have just designed the SVG. Therefore, we need to embed it in our Moodle course. In this recipe, we need to work with some code! Thus, choose the weekly outline section where you want to add the activity. These are the steps that you are going to follow:
- Click on Add an activity | Online text.
- Complete the Assignment name block.
- Complete the Description block, as shown in the following screenshot:
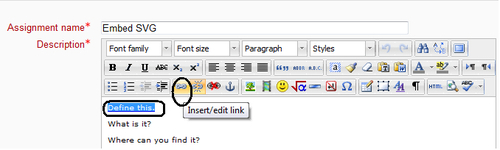
- Highlight a word or phrase, and click on the Insert/edit link icon, as shown circled in the previous screenshot.
- Click on Browse next to the Link to URL block.
- Click on Upload a file | Browse | and look for the file that was just created.
- Click on the file | Open | Upload this file.
- Click on Insert. The image will not appear.
- Click on HTML Source Editor. Some code will appear, so edit the code. The following code will appear on the HTML source editor. The only difference will be the location of the file (
"http://localhost/draftfile.php/13/user/draft/168792725/Embed_SVG_Spiral.svg"):<p><a href="http://localhost/draftfile.php/13/user/draft/168792725/Embed_SVG_Spiral.svg">Define this.</a></p> <p>What is it?</p> <p>Where can you find it?</p> <p> </p> <p>
- Add the following code in order to embed the spiral or any SVG file that you want to upload in our Moodle course:
<object type="image/svg+xml" data="http://localhost/draftfile.php/13/user/draft/168792725/Embed_SVG_Spiral.svg">
</object>
</p>
- You must bear in mind that the name of the file previously linked is the same in the code that you insert. Otherwise it won't work!
- Click on Update.
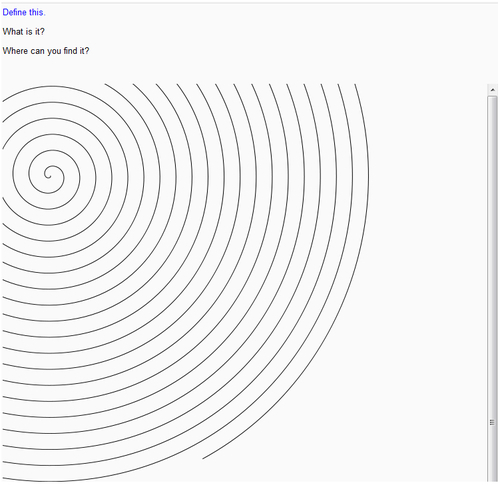
- Click on Save and display to see how it works, as shown in the following screenshot:
- Improving vector graphics rendering with anti-aliasing
- Chapter 7, Resizing photos to the appropriate size