We can create a playlist so that instead of showing one video to our students, we can show them several videos. It is not very difficult to do, but in order to create a playlist, we do need to take a previous step: create an account on YouTube.
Enter YouTube. Click on the Create Account icon and complete the necessary information, as shown in the following screenshot:
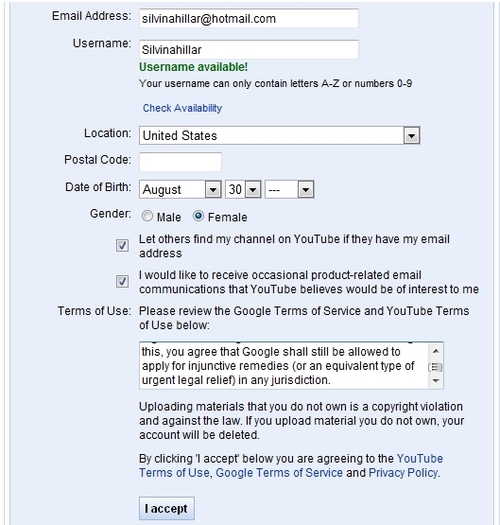
After filling all the information in the last screenshot, and reading all the terms and conditions, click on the I accept icon and then follow these steps:
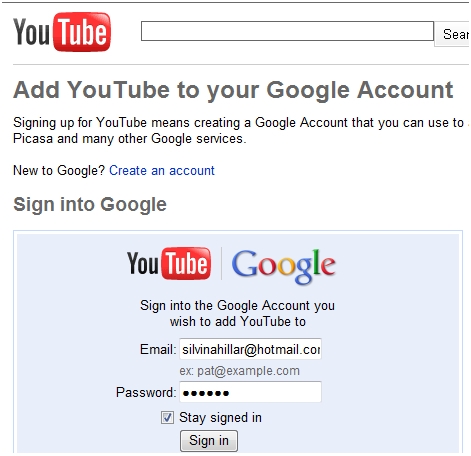
- Write a password in order to sign in to your account. Then, click on Sign in, as shown in the following screenshot:
- When you are signed in, click on Browse | complete the Search block with the items that you need to look for, for instance National Geographic Channel wild animals.
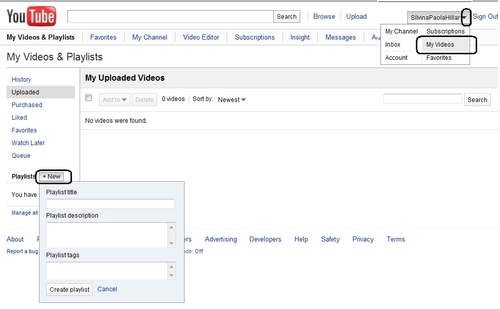
- You can choose a video to upload in our channel. Click on the downwards arrow in your user's name and choose My Videos.
- On the left-hand margin, there appears Playlist + New. Click on + New, and complete the pop-up window that appears, as shown in the following screenshot:
- Click on the downwards arrow in the Add videos to playlist block. There will appear the history of videos that you have watched, therefore, if you want to add them to our playlist, click on Add, as shown in the following screenshot:

- The videos added are shown on the left.
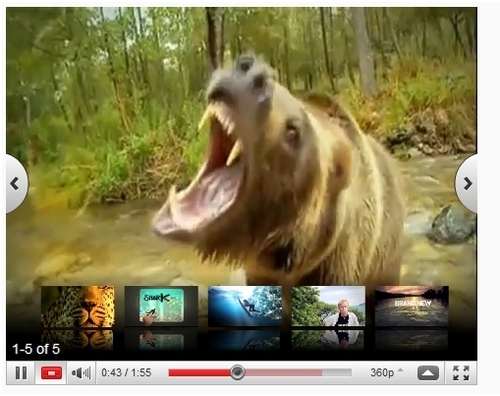
We have already created a playlist. When we want to watch the playlist of videos, they are displayed one after the other. Thus, enter your channel and click on the name of the playlist that we have just created. Click on Play all, and all the videos will be played. The videos belonging to the playlist are displayed underneath the video being broadcast in the playlist bar. The playlist bar allows the viewer to browse through videos without leaving the watch page, as shown in the following screenshot:

If you want to Turn autoplay off or Shuffle videos, click on the following icons in the playlist bar:

Embed the playlist in our Moodle course. We would like our students to watch the videos in a row. In order to design this type of resource, we have to copy the embedding code of the playlist.
In order to get the embedding code of the playlist, click on the name of the playlist that we have created and follow these steps:
- Click on Play all.
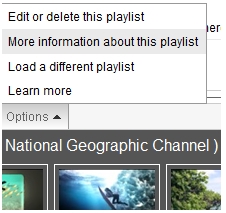
- Click on Options | More information about this playlist, as shown in the following screenshot:
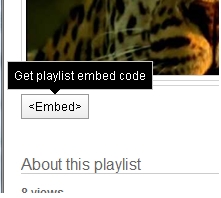
- Click on Embed to get the embedding code for this playlist, as shown in the following screenshot:
- Copy the code and embed it into our Moodle course either as a resource or an activity. When embedded in the Moodle course (clicking on the HTML icon), there appear two arrows next to videos. Thus, the playlist looks as shown in the following screenshot: