
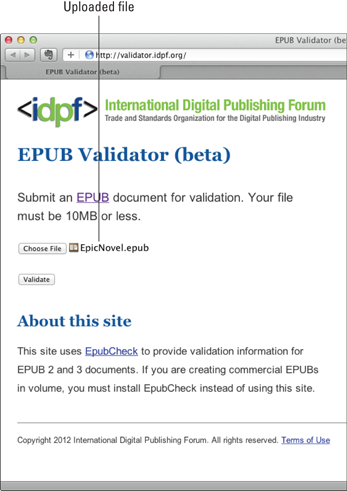
Figure 13-3: The EPUB Validator website.
Exporting for E-Books
Thinking of self-publishing? Want to do a read-through of your manuscript on your Nook? Maybe your critique partner wants to read your next chapter on her Kindle.
Scrivener has you covered with output options for ePub (Nook, iPad, Sony, and other popular e-readers) and MOBI (Kindle) formats. During the compile process, Scrivener even generates a table of contents, including all items that have a section break (for example, a page break before a new chapter).
Compiling for ePub
ePub is the most popular format for non-Kindle e-books, and it’s compatible with most e-reader devices and desktop reading software programs. Follow these steps to create an EPUB file from your manuscript:
1. Choose File⇒Compile.
The Compile window opens.
2. If necessary, click All Options to see the compilation options tabs.
On a Windows PC, click the Expansion button.
3. Select E-Book from the Format As drop-down list.
The Compile For output type changes to ePub eBook (.epub), and the relevant compilation options tabs appear along the left side of the Compile window.
4. In the Contents tab, choose the content to include (as outlined in Chapter 12).
5. Adjust the other options, as desired.
See Chapter 12 for more on compile options.
Some key options tabs that you may want to make adjustments in are Separators (to add transitions between item types), Cover (because readers will judge it), Formatting (to determine the format of titles and text), Layout (if you want an additional HTML table of contents that includes hyperlinks), and Meta-Data (to fill in the book’s title, author, and other information).
6. Click Compile.
The Export window opens.
7. Choose the desired location from the file list at the left, enter a filename for your e-book in the Save As text box, and then click Export.
Validating your ePub file
No need to guess if your shiny new EPUB file works. You can validate the file to make sure it adheres to the ePub standards by following these steps:
1. Go to http://validator.idpf.org
.
2. Click Choose File.
3. In the File Upload window that appears, select the EPUB file you just compiled, and then click Open.
The filename appears in the text box below Submit an EPUB Document for Validation, as shown in Figure 13-3.
4. Click Validate.
After a few seconds (or longer for a larger file or slower connection), a Results page appears, showing whether the file has any problems.
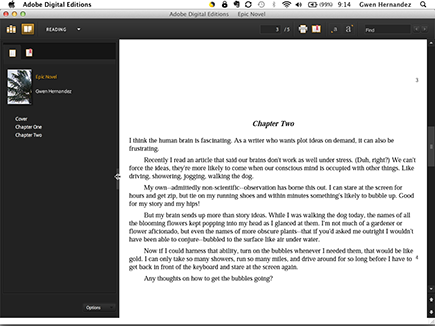
Keep in mind that the validator doesn’t tell you whether the formatting will look good on e-reader devices. If you don’t have an e-reader, download software such as Adobe Digital Editions (www.adobe.com/products/ digitaleditions
), shown in Figure 13-4, so that you can get a feel for the format of your book — and make changes to the compile settings, if necessary — before you send it out.
Chances are you’ll have to go back to Compile a few times and make some adjustments to get exactly the look you want. Just remember that your book may look slightly different on each e-reader.
To view your EPUB file on your iPad, simply drag the file into iTunes.
Figure 13-4: Previewing ePub output in Adobe Digital Editions.
Compiling for Kindle
Amazon’s Kindle has its own proprietary file type: .mobi. Follow these steps to create a MOBI file from your manuscript:
1. Choose File⇒Compile.
The Compile window opens.
2. If necessary, click All Options (Mac) to see the compilation options tabs.
Windows users, click the Expansion button.
3. From the Format As drop-down list, select E-Book.
The Compile For output type changes to ePub eBook (.epub), and the relevant compilation options tabs appear along the left side of the Compile window.
4. From the Compile For drop-down list, select Kindle eBook (.mobi).
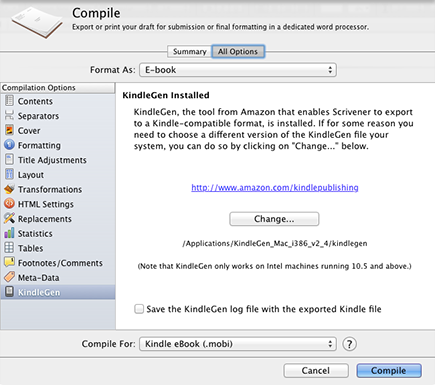
You can’t compile without installing the KindleGen tool, which lets Scrivener convert your file to the MOBI format. If you haven’t installed KindleGen, follow these steps:
a. Go to www.amazon.com/kindlepublishing
and download the KindleGen version appropriate for your computer.
Save the downloaded file somewhere safe and appropriate, such as the Applications or Program Files folder.
b. From the KindleGen tab in the Compile window, click Choose.
The Open window appears.
c. Navigate to the KindleGen executable file you just downloaded, and then click Open.
The KindleGen pane displays the location of the KindleGen executable, as shown in Figure 13-5.
 Mac users: KindleGen runs only on Mac computers running Intel processors and Mac OS X 10.5 or higher. To check whether your machine has Intel, choose ⇒About This Mac, and then look next to Processor.
5. Choose the content to include from the Contents tab (as discussed in Chapter 12).
6. Adjust your settings, as desired.
See Chapter 12 for more on the settings you can change.
Some key options tabs that you may want to make adjustments in are Separators (to add transitions between item types), Cover (because every book needs a cover), Formatting (to determine the format of titles and text), and Meta-Data (to fill in the book’s title, author, and other information).
If you want to adjust the number of navigation dots that appears on the Kindle progress bar, check out Chapter 12.
7. Click Compile.
The Export window opens.
8. Choose the desired location from the file list, enter a filename for your e-book in the Save As text box, and then click Export.
Figure 13-5: The KindleGen pane.
Previewing your Kindle file
To ensure that your MOBI file is properly formatted, you can use the Kindle Previewer to see how your book appears on Kindle devices and apps. Just follow these steps:
1. Go to www.amazon.com/kindlepublishing
.
2. In the Resources section, click Kindle Previewer.
3. On the Kindle Previewer page that appears, click the appropriate button to download the version for your computer.
4. Save the application to your hard drive.
I recommend you save in Applications or Program Files because this application is a piece of software.
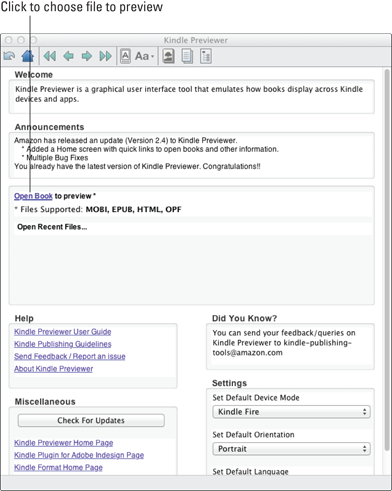
5. Open the Kindle Previewer.
A window like the one shown in Figure 13-6 appears.
Figure 13-6: The Kindle Previewer main window.
6. Select the device to preview from the Set Default Device Mode drop-down list, in the Settings section.
7. Click the Open Book to Preview link in the middle of the window.
8. Choose the MOBI file you created from Open Kindle Book window that appears, and then click Open.
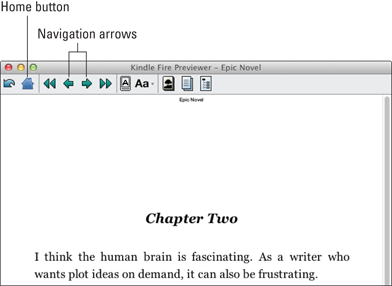
Your book opens in the Previewer, like in Figure 13-7. Use the arrows at the top to navigate through the file, and the Home button to return to the main window (refer to Figure 13-6).
9. If you see any formatting problems, you can go back into Compile to fix them and then preview again.
10. Repeat Step 9 until your book looks good on all the desired Kindle devices and apps.
Figure 13-7: MOBI output viewed in the Kindle Previewer.
..................Content has been hidden....................
You can't read the all page of ebook, please click here login for view all page.