
Adding Decorative Text with WordArt
If you need to add a design touch to a workbook, you can add a WordArt item. WordArt gives you an easy way to turn text into graphical items—for example, for your company logo.
To create a WordArt item, follow these steps:
- Choose
Insert
WordArtfrom the menu bar to add a WordArt item and to add the Format tab to the Ribbon. - Type your text over the placeholder text (“Your Text Here”) in the WordArt box (see Figure 9–23).
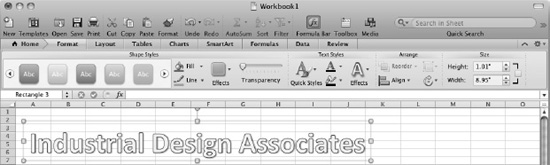
Figure 9–23. Type your text in the WordArt container and drag it to where you want it in the worksheet.
- Drag the WordArt item to where you want it. Move the mouse pointer over the item's border, and then drag.
- Resize the WordArt item as needed. You can either drag a side or corner handle or change the values in the Height box and Width box in the Size group on the Format tab. Select the check box on the right size of the Size group if you want to preserve the aspect ratio of the WordArt item (so that Excel automatically adjusts the width when you change the height, and vice versa).
- Format the WordArt item so it looks the way you want it:
- Move the mouse pointer over the Shape Styles box, click the panel button that appears, and then click the style you want to use.
- To change the WordArt item's fill, choose
Format Shape Styles Fill, and then click the fill you want. - To change the WordArt item's line color, weight, or type, choose
Format Shape Styles Line, and then choose suitable options. - To apply an effect, choose
Format Shape Styles Effects, and then choose the effect you want. For example, click the 3-D Rotation submenu, and then choose a rotation effect. - To change the text style, work with the controls in the Text Styles group on the Format tab.
..................Content has been hidden....................
You can't read the all page of ebook, please click here login for view all page.