We have already created a screencast in the previous recipe. Therefore, we can design another one about a specific wild animal and write some text at the specified seconds. Those texts are to be the annotations that we can add to our screencast.
In the previous task, we have already used http://www.screencast-o-matic.com/, and we will use this software in order to add the annotations to the new screencast that we will create in this recipe.
Enter the previously-mentioned website and follow these steps in order to create a screencast enhanced with annotations:
- Click on Start recording and resize the frame to surround the recording area that you want to record.
- Click on the recording button to record the screencast.
- When the screencast is finished, click on Done | Done with this screencast | Export Movie.
- Click on the downwards arrow in Type and choose Flash (FLV).
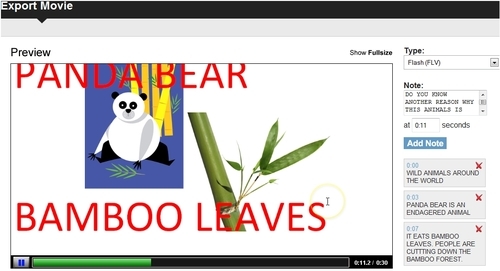
- Play the screencast. Write the annotations that you want to add within the Note block. Click on Add Note when the screencast is being played at the second that you wish to add the annotations, as shown in the following screenshot:
- Customize the Size and Options blocks. When you finish, click on Export.
- Write a name for this file and click on Save.
- Click on Done with this screencast if you are satisfied with the result. A pop-up window appears, click OK.
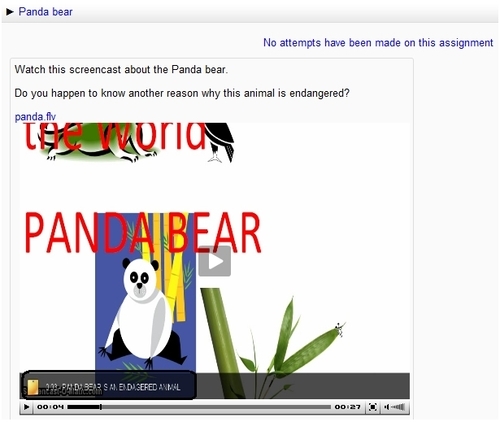
We have already designed the screencast that students have to watch to learn one of the reasons why the panda bear is endangered. Upload it to our Moodle course. Choose the weekly outline section where you want to insert it and follow these steps:
- Click on Add an activity | Upload a single file within Assignments.
- Complete the Assignment name and Description blocks.
- Click on the Moodle Media icon | Find or upload a sound, video or applet ... | Upload a file | Browse | Look for the file that you want to upload and click on it.
- Click on Open | Upload this file | Insert.
- Click on Save and return to course. Click on the activity. It looks as shown in the following screenshot: