
In this recipe, we will work with Inkscape (used in the previous recipe). By this time, you must have this software installed on your computer. We will create an SVG using the drawing options in Inkscape that is very simple. After creating the graphic, we will render some of its parts.
In the previous recipe, we worked with a triangle, so let's work with stars, with which we can combine both shapes and create an activity sharing both of them. Imagine that we had the said file, but we want to use only a part of it; it looks as if you have an article in a magazine and you need to take out the advertisement.
Rendering parts of vector graphics means that we use a part of a drawing that we have designed. Therefore, we will not use all the shapes in the file; we will save some of them that we are to select before exporting them. The aim of this recipe is to transform the selection in a bitmap.
Run the Inskape software and follow these steps:
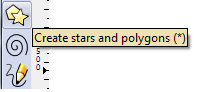
- Click on Create stars and polygons (*) on the left-hand side margin, as shown in the following screenshot:
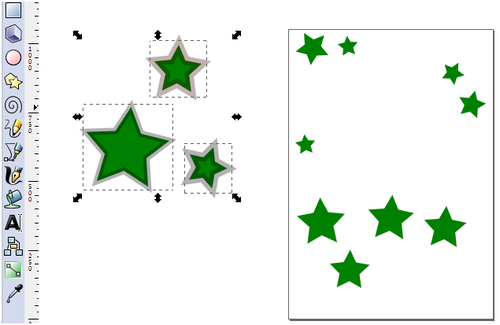
- Draw several stars of different sizes.
- Right-click on one of the stars. A pop-up window appears; choose Fill and Stroke. Another window on the right-hand margin appears and you can change the color or you can add stripes to the shapes as you click on each of them.
- When you finish, press the Shift key and click on the stars that you want to export as bitmap images.
- You can move the stars that you want to save onto the left/right-hand margin of the drawing area, as shown in the following screenshot:
- Save the file. Click on File | Save as ... and write a name for the file.
- Click on File | Export Bitmap. A pop-up window appears. On its ribbon, Selection is highlighted. You export the stars that you have selected on the left, as shown in the previous screenshot.
- Click on Browse | and write the name of the file.
- Click on Export.
We have just designed the drawing that we want our students to work with. It was a very simple drawing, but we can also do the same process with others that we just want to use a part of. We can check what we have done. We can look for the file in our computer files, and in this case, this is what we have just saved, as shown in the following screenshot:

It is time to Moodle it! We can insert this image in any activity that we want to design in our Moodle course.
- Chapter 7, Uploading images to Moodle