
This is a very simple recipe. In the previous recipe, we created a file in Open Office in which we included some SVG. So, we can use the same file to work with in order to avoid some steps. Let's get ready!
What we need to have installed is Open Office, which we have already used in previous recipes, and Adobe Reader. We can download the latest software from: http://get.adobe.com/reader/.
We open the file in Open Office and we only make a little change to it, in order to export it as PDF. It is very simple, we are just a click away. Start Open Office Presentation and open the file that we created in the previous recipe. Then, follow these steps:
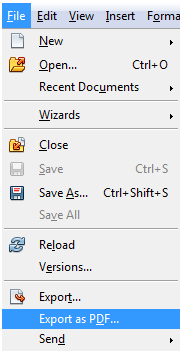
- Click on File | Export as PDF, as shown in the following screenshot:
- Click on Export.
- Write a name for the file and click on Save.
We have just saved the file as PDF. It is time to open the file in Adobe Reader. Considering the fact that in the original file there were SVG, it means that when transforming to original file to PDF, we have included SVG in PDF. You can also perform the same procedure using Microsoft Office or any other type of Open Office. In this case, we converted a presentation into a PDF, but we can convert a Text document as well. These are the steps that you have to follow:
- Run Adobe Reader.
- Click on File | Open and look for the file that you have just saved as PDF.
- Click on the said file and click on Open.
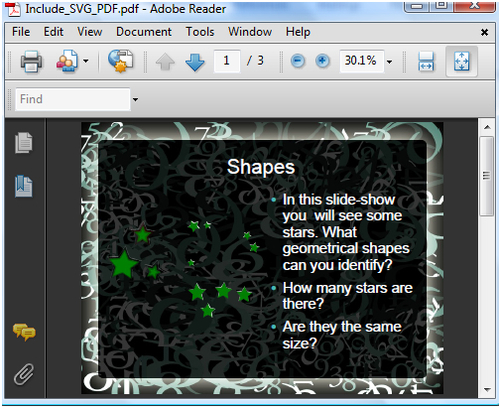
- The file looks as shown in the following screenshot:
We can upload this file to our Moodle course in the same way that we did in the previous recipe.