
Once the necessary packages and drivers are built and installed, we will connect the Hokuyo URG-04LX-UG01 to the computer using a USB cable and check whether it is detected or not:
$ ls -l /dev/ttyACM0
When the laser is connected, the system detects it, and the preceding command will show the following output:
crw-rw---- 1 root dialout 166, 0 May 14 12:06 /dev/ttyACM0
In some cases, we have to reconfigure the laser device node to provide access permission. By default, it only has root permission:
$ sudo chmod a+rw /dev/ttyACM0
Once everything is good to go, we will switch on the Hokuyo URG-04LX-UG01 device and start roscore in one terminal, and in another terminal, execute the following command:
$ rosrun hokuyo_node hokuyo_node
The preceding command will show the following output if hokuyo_node started correctly:
[ INFO] [1458876560.194647219]: Connected to device with ID: H1000589
We can use the rostopic list to see all the topics created by hokuyo_node, which will show the following output:
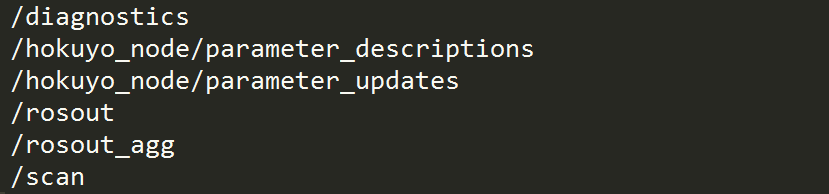
Where the /scan topic of message type sensor_msgs/LaserScan is used to publish the information about the laser scan. We can see how the laser works and what data it is sending by using the rostopic command:
$ rostopic echo /scan
This will show the following outputs, as depicted in the following diagram. It is difficult to understand the laser scan data for humans. We can represent the data in a more friendly and graphical way by using rviz visualization tools. We will learn more about configuring the rviz to visualize the laser scan in the next chapter in more detail:
