
In previous sections, we created nodes and have been executing them in different shells. Imagine working with 20 nodes and the nightmare of executing each one in a shell! However, with the launch file, we can do it in the same shell by launching a configuration file with the extension .launch. The launch file is a useful feature in ROS for launching more than one node.
To learn about the ROS launch file, we will create a new folder in the chapter2_tutorials package, as follows:
$ roscd chapter2_tutorials/
$ mkdir launch
$ cd launch
$ vim chapter2.launch
Add the following code inside the chapter2.launch file:
<?xml version="1.0"?>
<launch>
   <node name ="example1a" pkg="chapter2_tutorials" type="example1a" output="screen"/>
   <node name ="example1b" pkg="chapter2_tutorials" type="example1b" output="screen"/>
</launch>
This file is simple, although we would have to write a very complex file to, for example, control a complete robot, such as PR2. These could be real robots or simulated in ROS.
The ROS launch is an XML file with the .launch extension and has a launch tag. Inside this tag, we will find the node tag, which is used to launch a node from a package, for example, the example1a node from the chapter2_tutorials package.
The chapter2.launch file will execute two nodes—the first two examples of this chapter :example1a and example1b.
To launch the file, use the following command:
$ roslaunch chapter2_tutorials chapter2.launch
We will see something similar to the following screenshot on our screens:
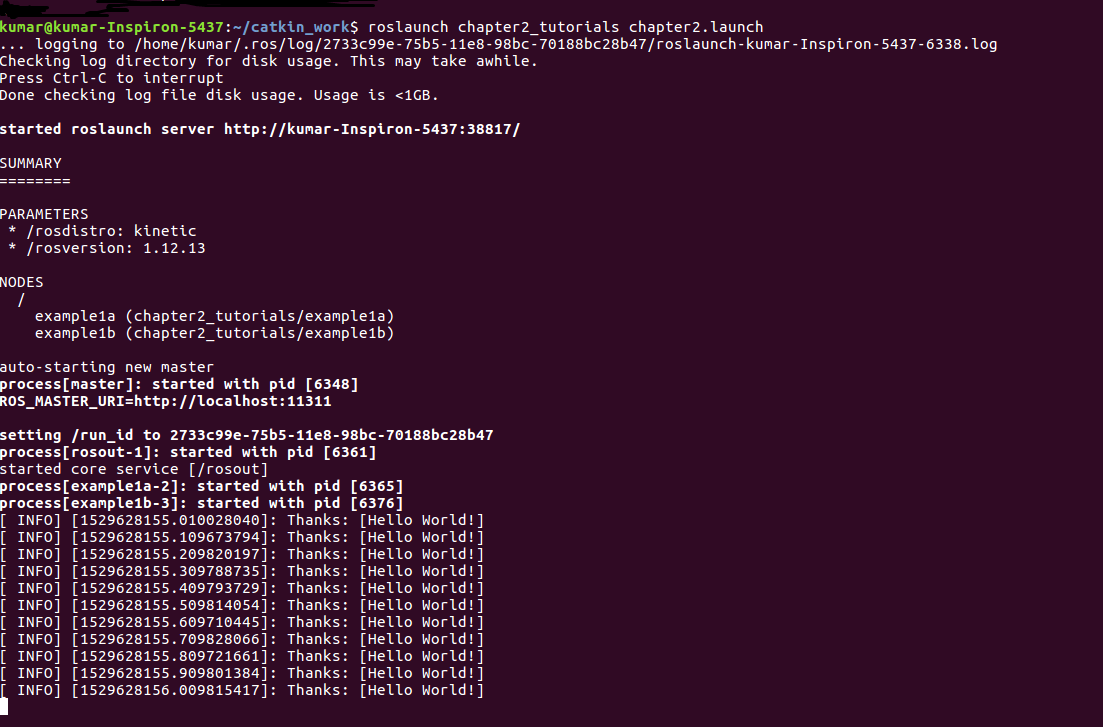
The running nodes are listed in the screenshot. When you launch a launch file, it is not necessary to execute it before the roscore command; roslaunch does it for us.