
Once the packages and drivers have been built and installed, we can plug the Microsoft Kinect sensor into the Linux system or PC, and then run the following command to run the nodes to start using the sensors:
$ rosrun openni_camera openni_node
$ roslaunch openni_launch openni.launch
roscore must be running before executing the preceding command. No errors will occur if all works to plan.
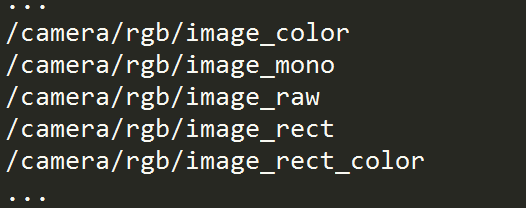
Next, we will learn how to use the Kinect sensors. List the rostopics created by using the preceding launch command when the sensor driver and nodes start. Although the rostopic list shows that many topics have been created, the following diagram shows some of the topics that are important to discuss:
To view the image from the sensor, we will have to use the image_view package as follows:
$ rosrun image_view image_view image:=/camera/rgb/image_color
Here, you may have noticed that we have to rename (remap) the image topic to /camera/rgb/image_color using the parameter's image.
Well! If everything works fine, a new window will appear that shows the diagram from Kinect. Similarly, we can view the image from the depth sensor by changing the topic in the previous command line:
$ rosrun image_view image_view image:=/camera/depth/image
Good luck! We will then see an image similar to the following screenshot:

Another important topic is the /camera/depth/points, which publishes the point cloud data. The point cloud data is a 3D representation of the depth image. However, we can view the point cloud data in RViz, a 3D visualization tools provided by the ROS. The following screenshot shows the visualization of point cloud in RViz. Notice that the pointcloud2 topic is set to /camera/depth/points in the RViz display panel:
