
We can create a MoveIt package for the simulated robot, just like we did in the previous section. We will have to add two planning groups to this package, one for the arm, and one for the end-effector.
We can create as many poses as we want, but these two are the most important poses—start and home.
The following screenshot shows the start pose of the robot:

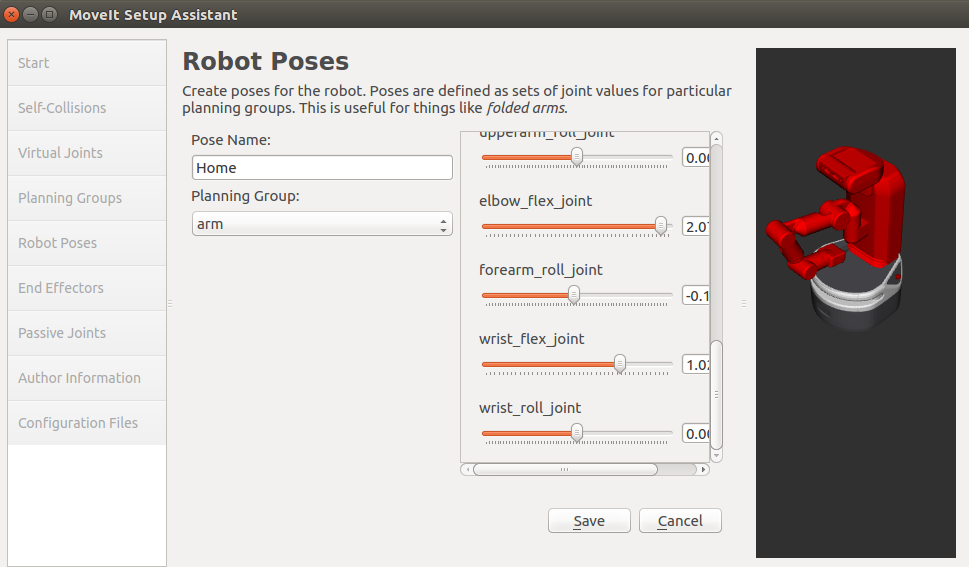
The following screenshot shows the home pose, which is the trivial pose on any arm robot:
Next, we will connect this MoveIt package to the simulated robot. We will test that we can plan and execute trajectories using the MoveIt package and that these trajectories apply to the simulated robot. You may get confused when you try to add the gripper to the controllers.yaml file. If you know how to do it, go ahead and add it. If you don't, you can wait until next section to add it, where this will be explained. It is not mandatory to add the gripper to the controllers.yaml file now. It is mandatory, though, to add it into the planning groups and the end-effector sections when you create the MoveIt package. You already know how to do that! In this case, it is not required to create a Virtual Joint, so you can leave this section empty.
Great! So now that we have created the MoveIt package, we're ready to begin with the main goal of this section!
Before actually starting with the contents of this section, let's execute the following command in order to raise the fetch robot's torso. This will make it easier to plan and execute trajectories with the arm of the robot:
$ roslaunch fetch_gazebo_demo move_torso.launch
We can see how the fetch robot's torso rises in the following screenshot:
